Mondrian a la P5.JS
I made the background a bluish-white to mimic the lighting conditions in the reference photo.
sketch2.js code
I made the background a bluish-white to mimic the lighting conditions in the reference photo.
sketch2.js code


Acquire a HP pencil and a piece of paper, 8.5” x 11”
Repeat:
1.Draw a circle
2.Draw a perpendicular line branching off of the circle
3. at the end of that line, draw a circle.
4. Repeat steps 2-3 until there is no longer room to continue the chain.
In retrospect, I should not have used the word perpendicular seeing as it does not make any sense in context. What surprised me was they way participents interpreted what I thought was clear and how they varried the sizes of the circles without any instruction to do so.
My instructions were
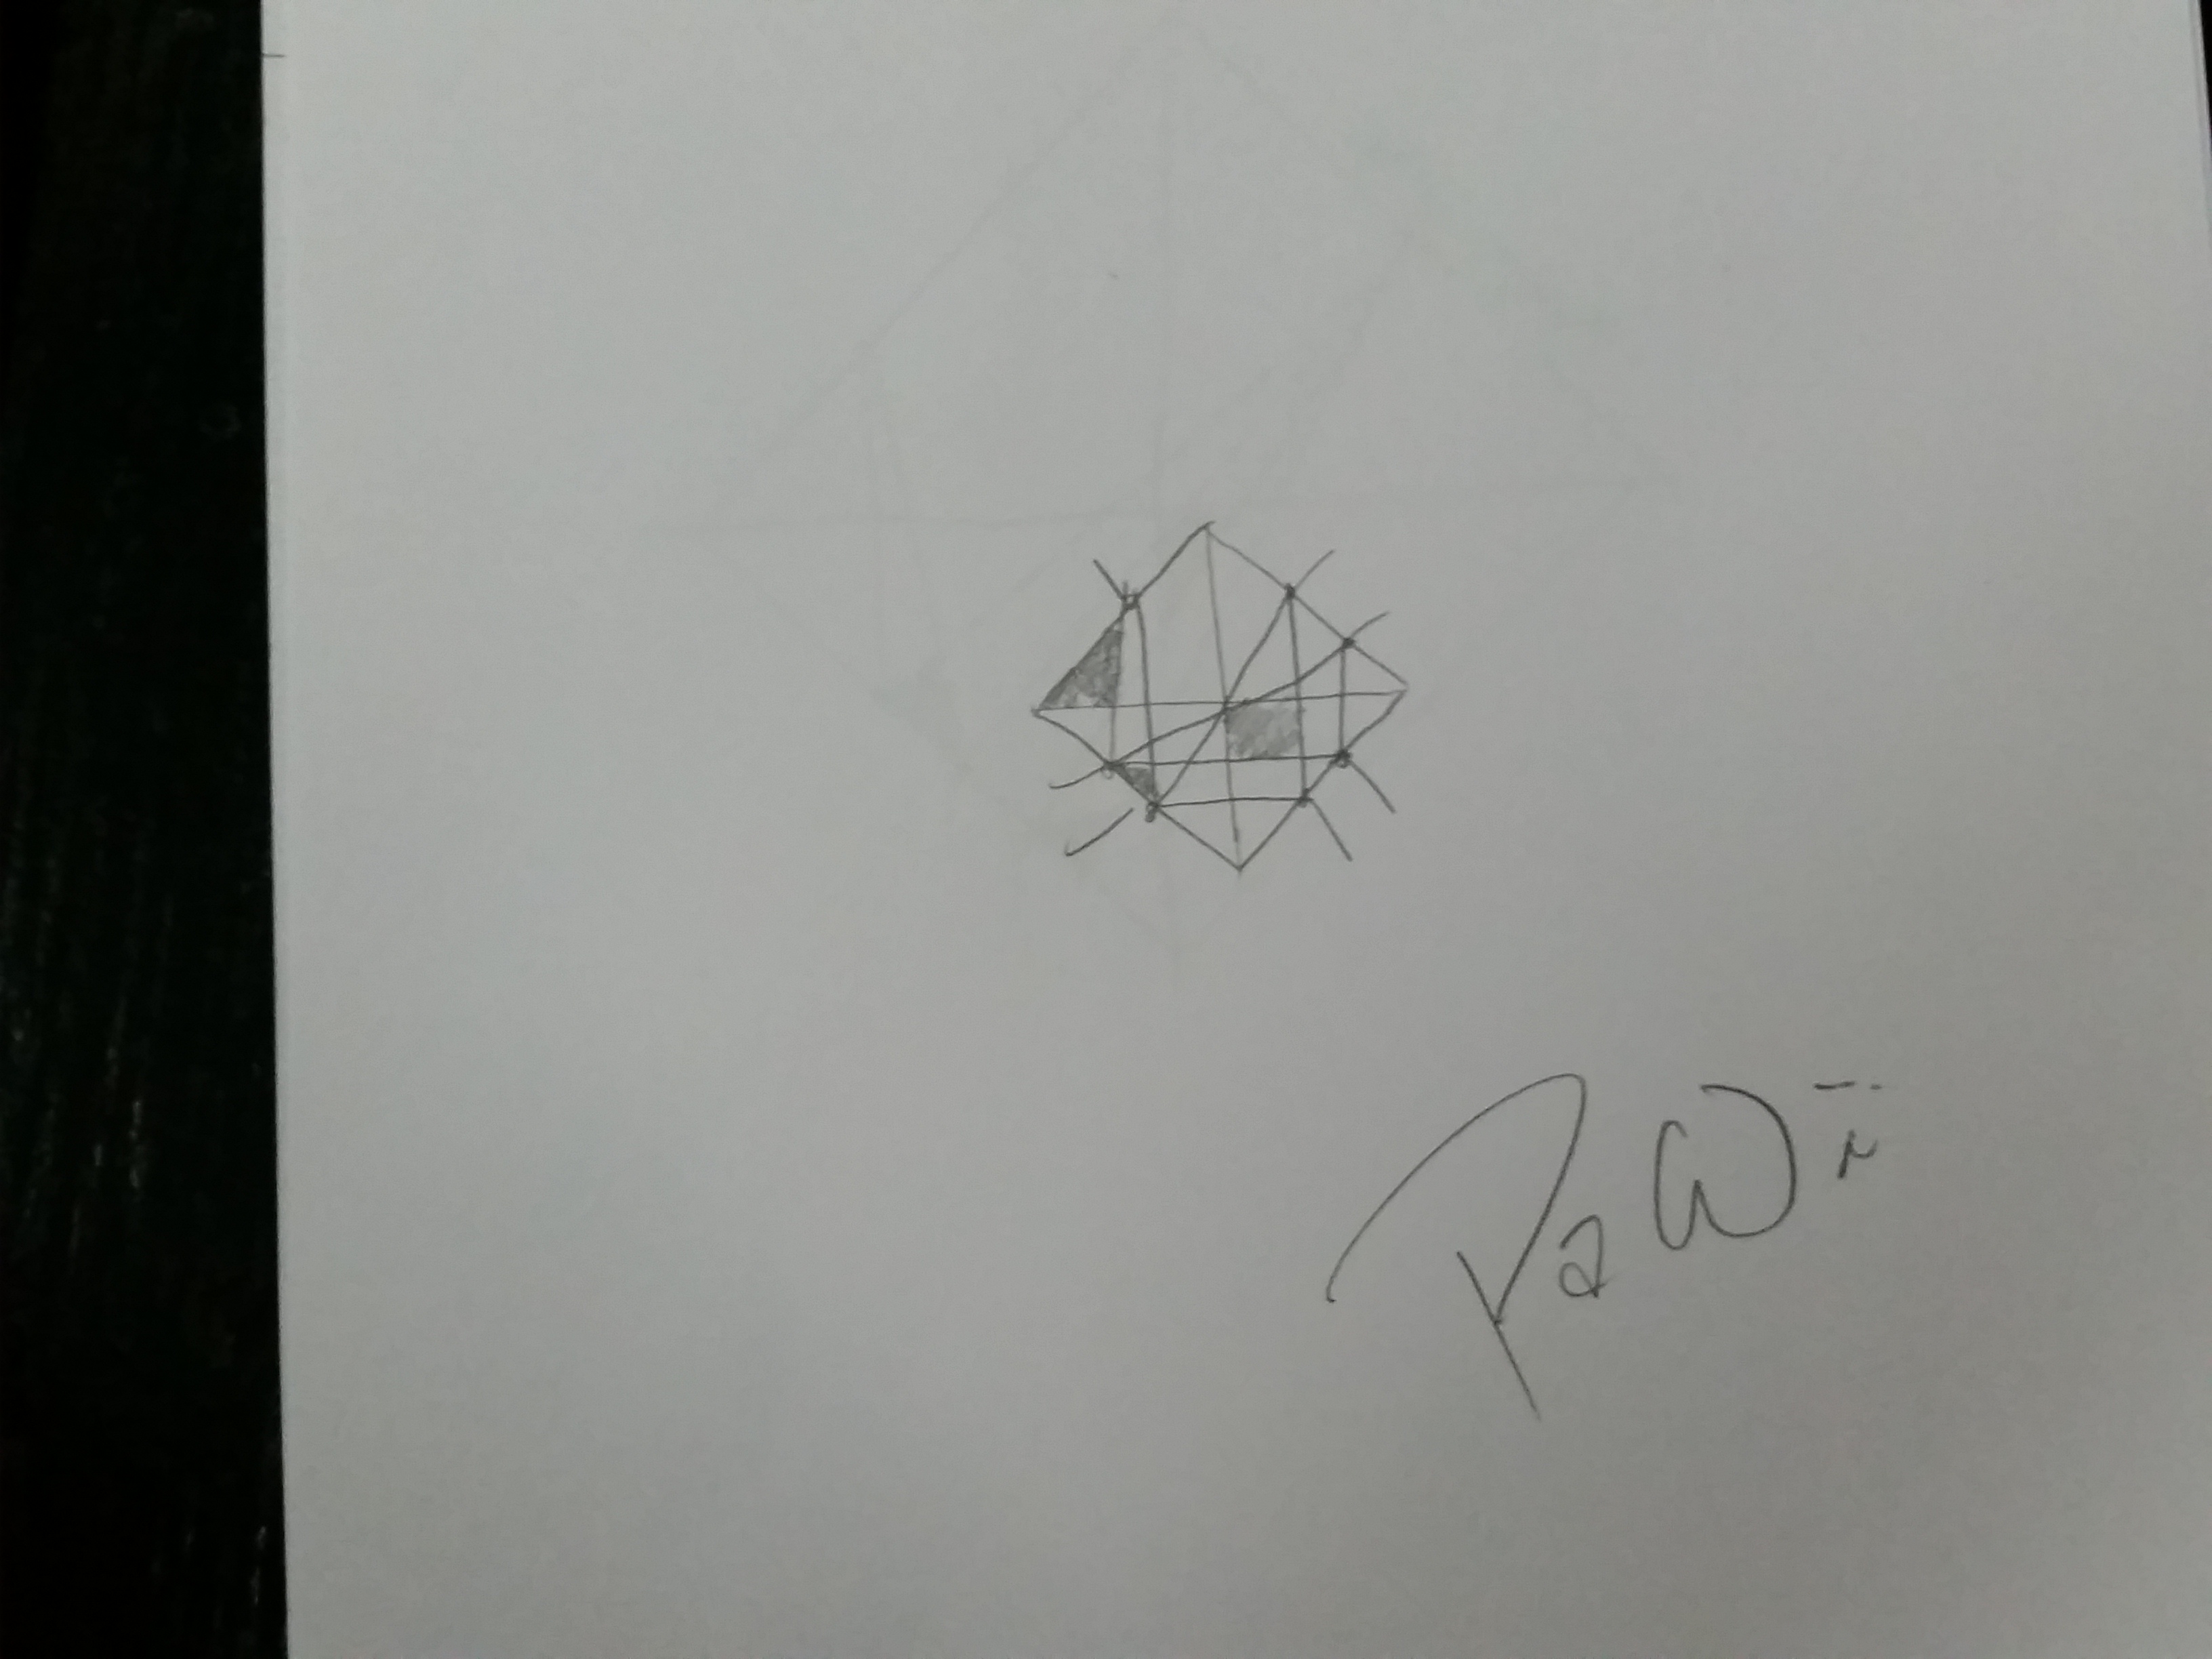
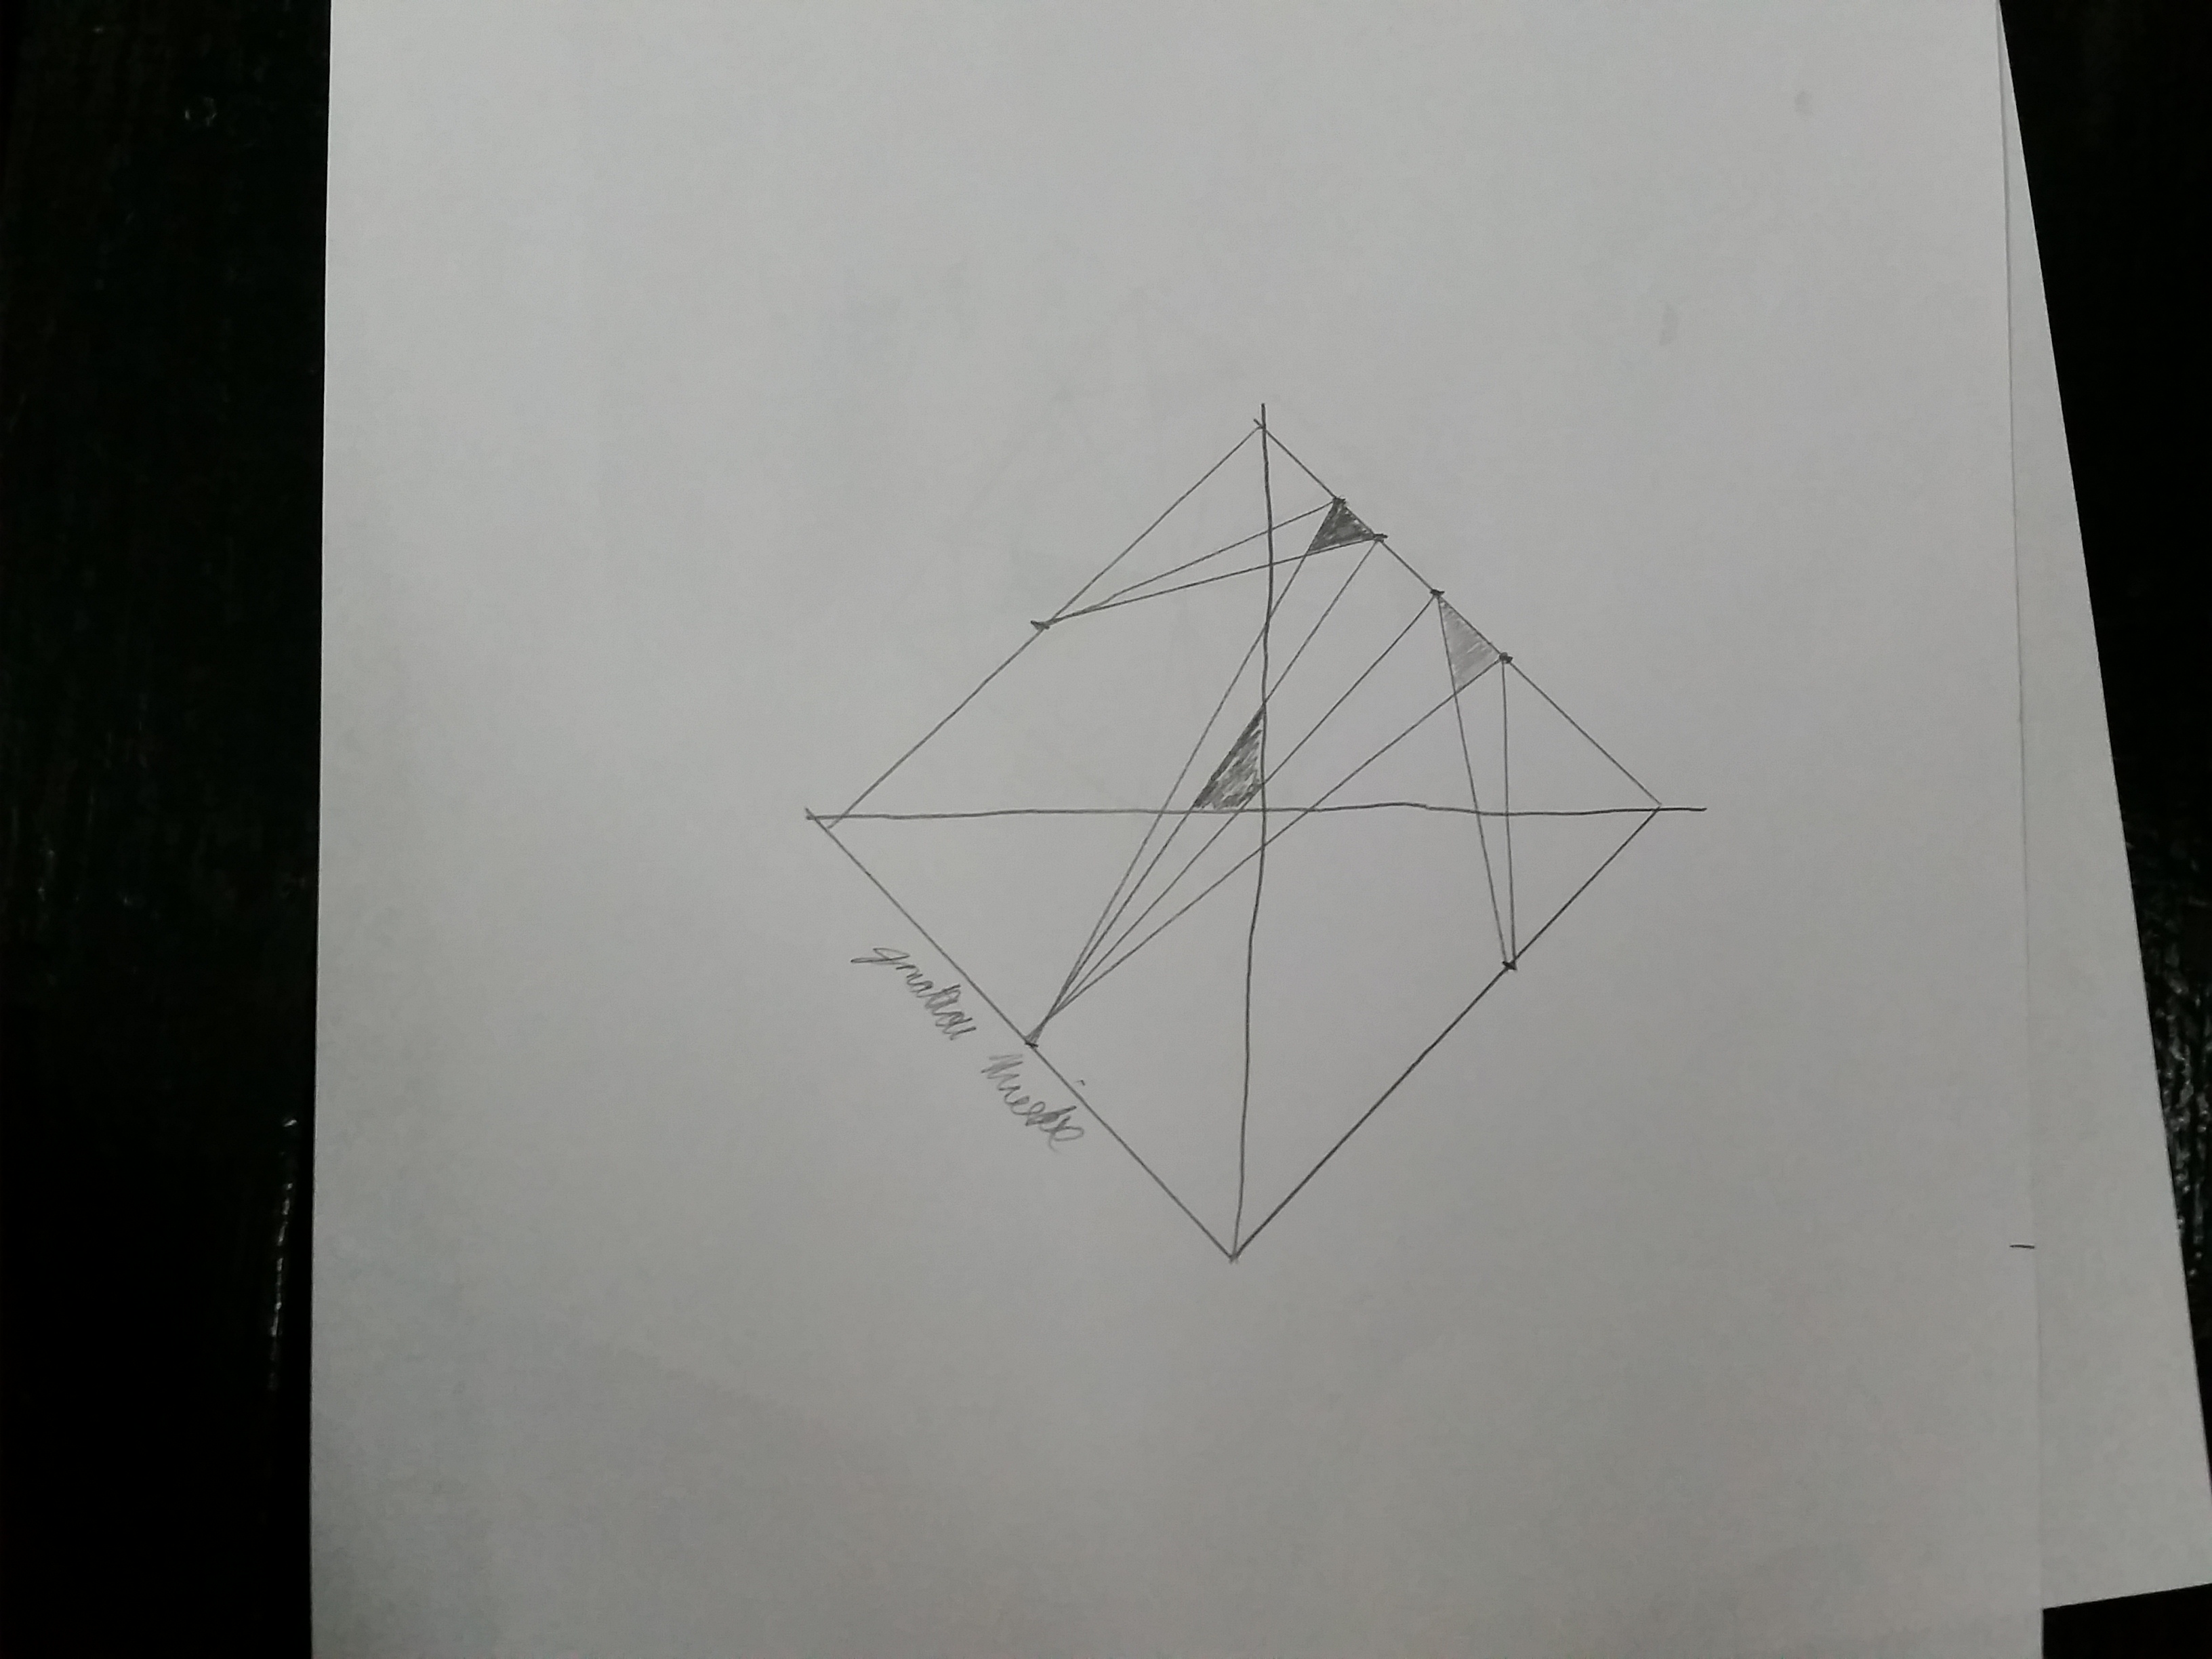
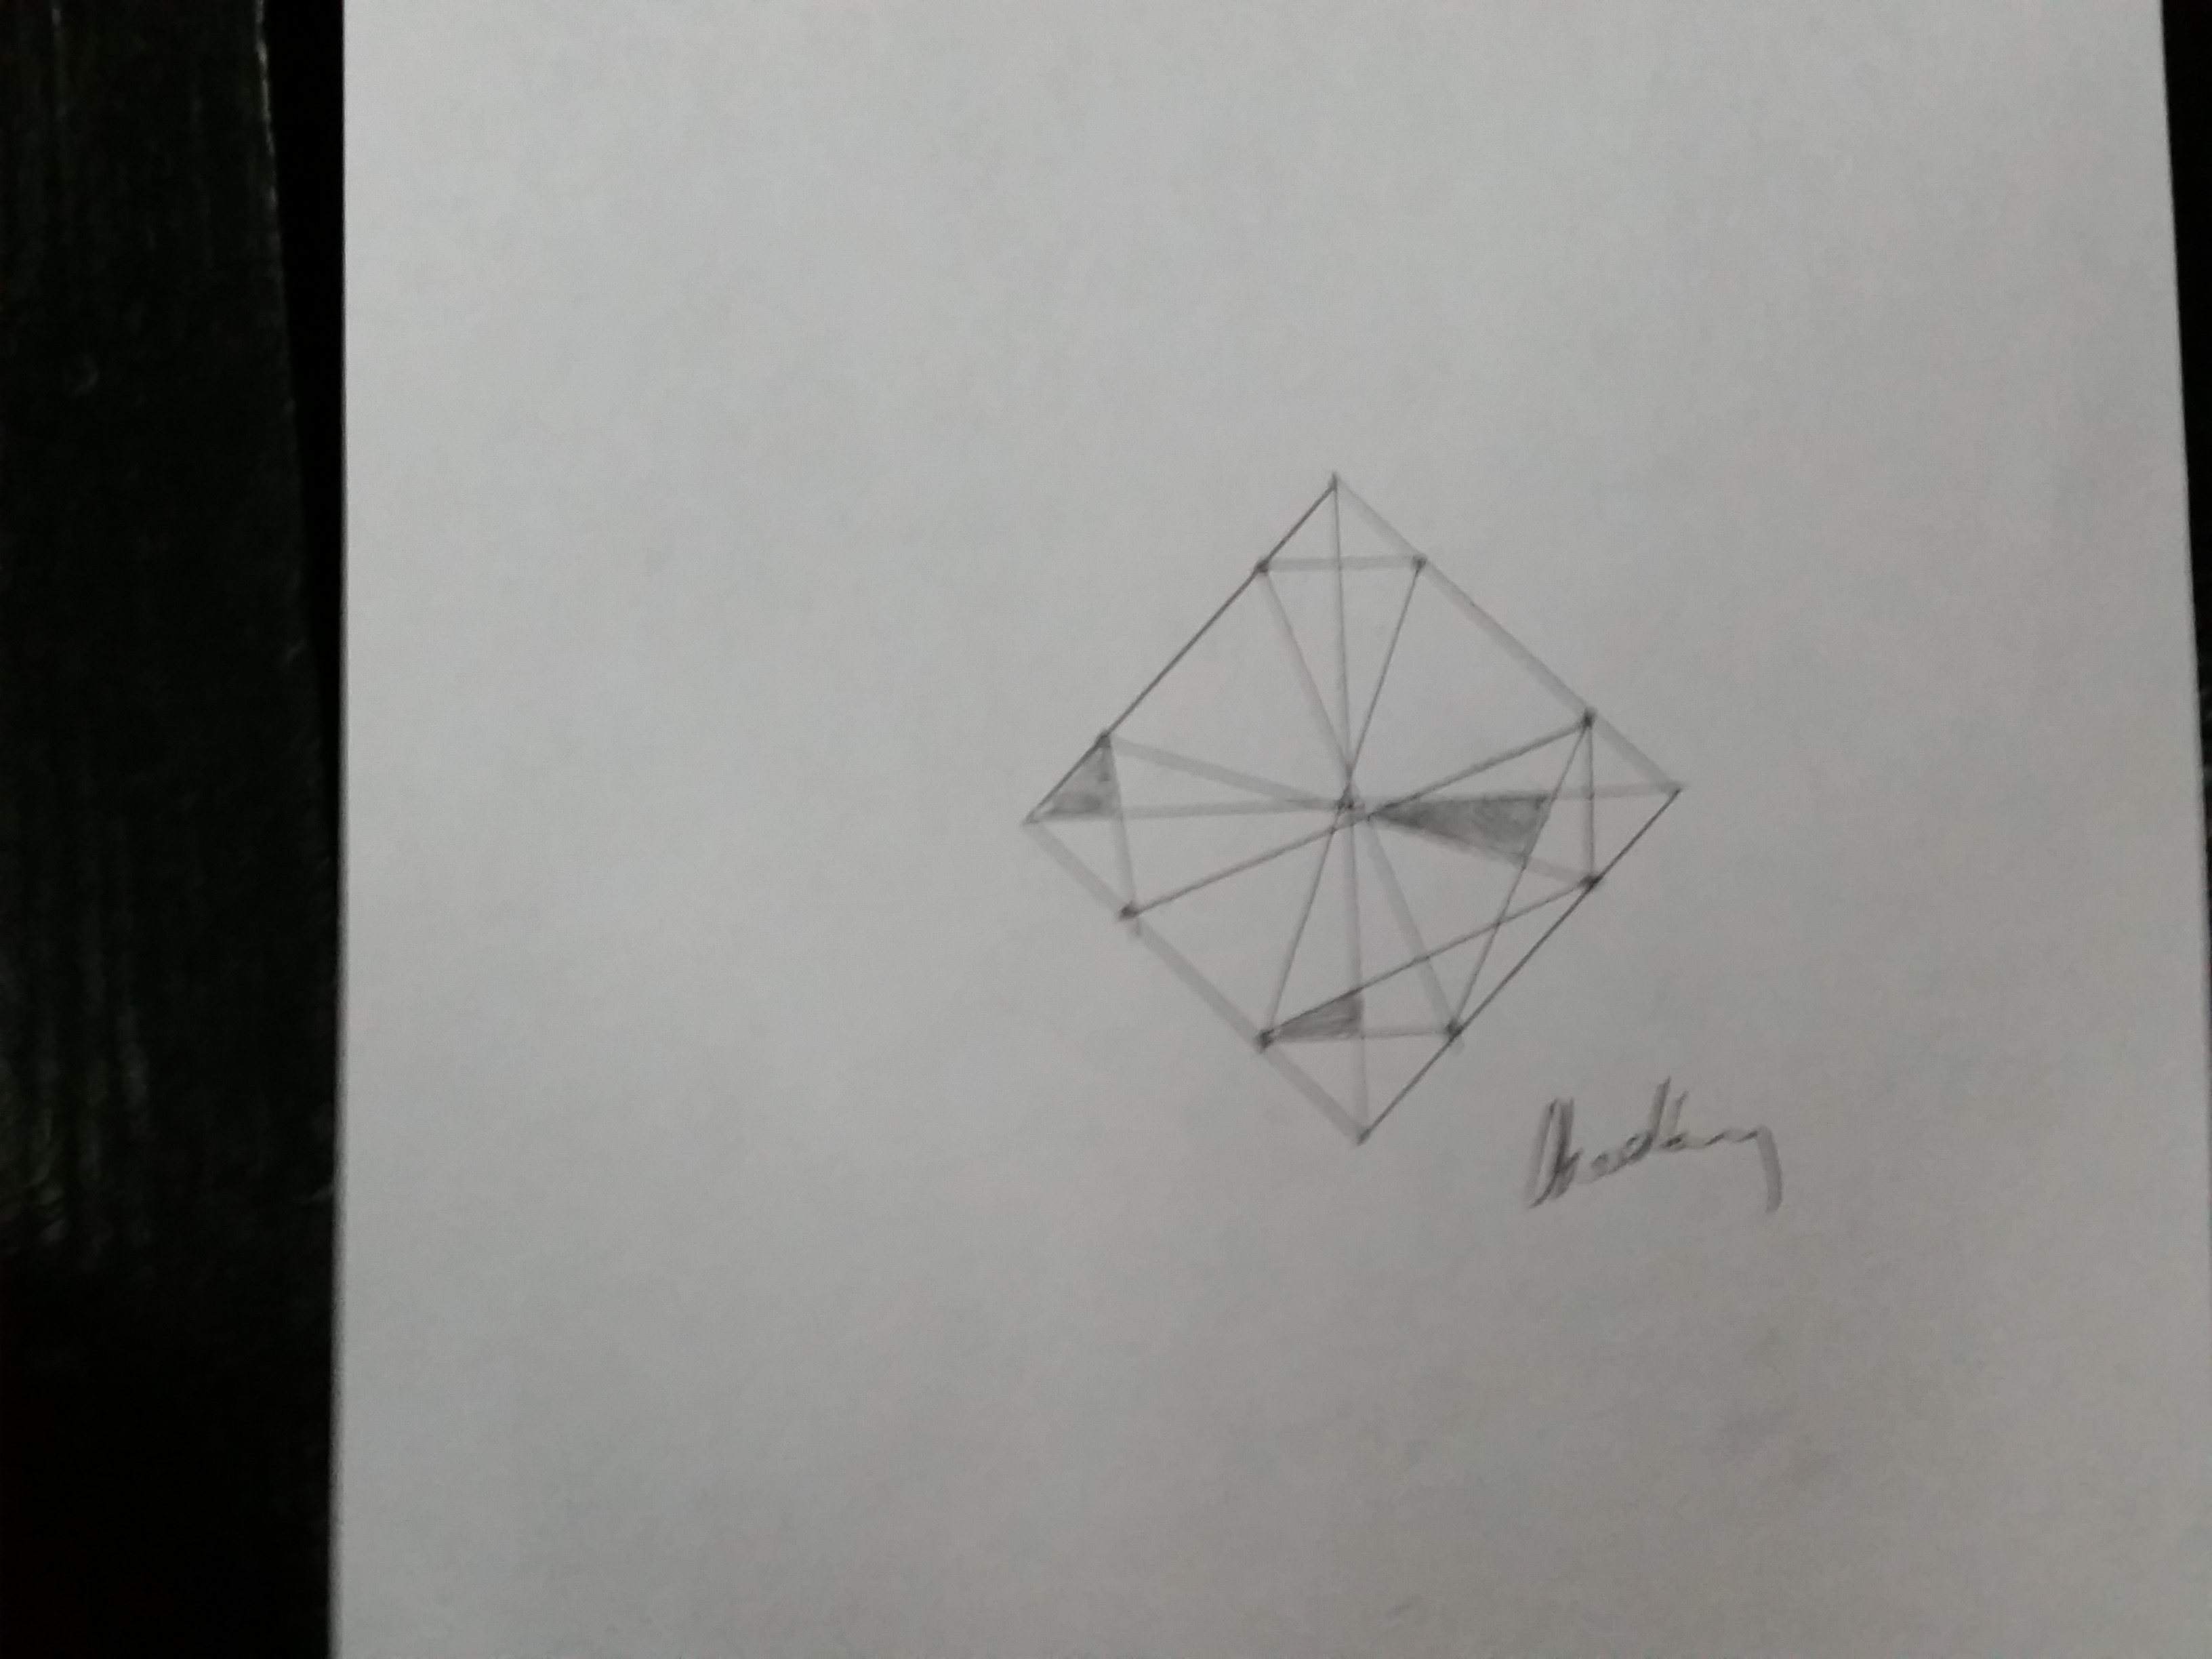
Draw two equal length lines perpendicular to each other where the midpoint of both lines are shared. Connect the endpoints to make a square. Pick a number from 5 to 10; we’ll now call that N. Draw N points on the edges of the square, so that there is at least one point on each edge. While any point has less than 2 connected lines where the square’s edges are not counted, draw a line from one point to another of the N points. Shade in 3 non-adjacent areas which aren’t crossed by a line in the figure. Sign your name.
I had planned for shapes that more resembled stars when I created my instructions. In retrospect I should have made more constraining rules.
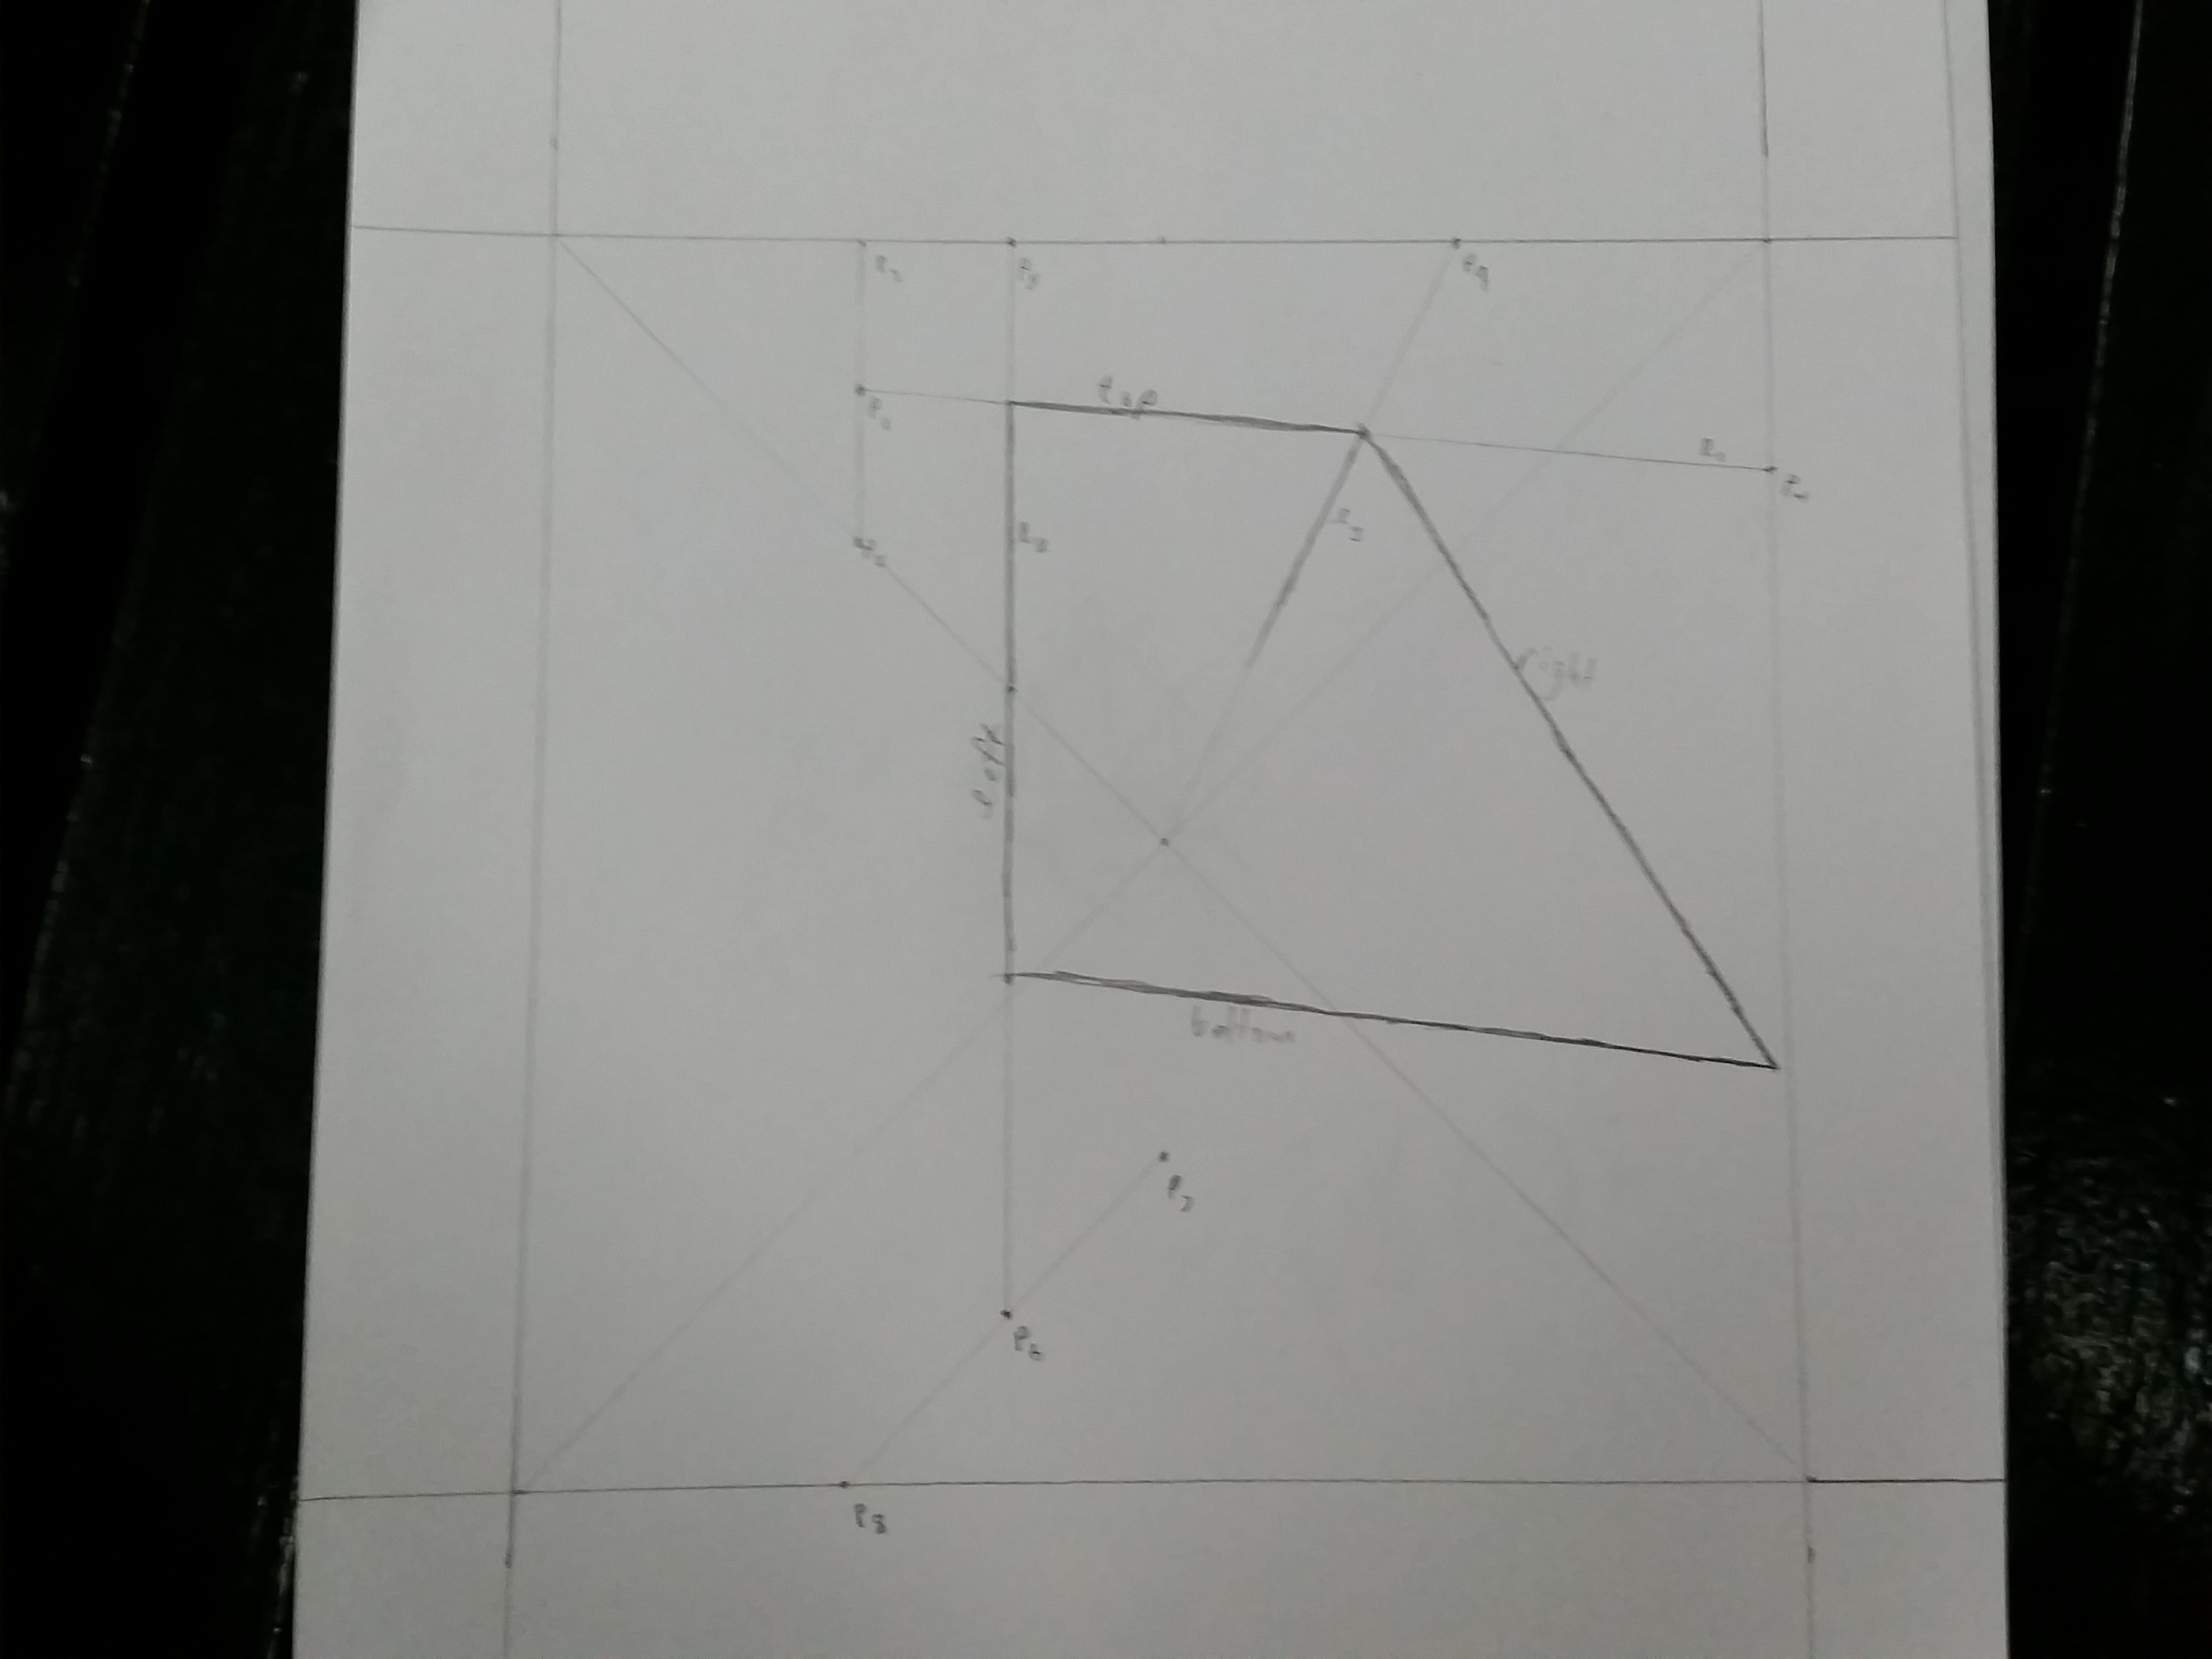
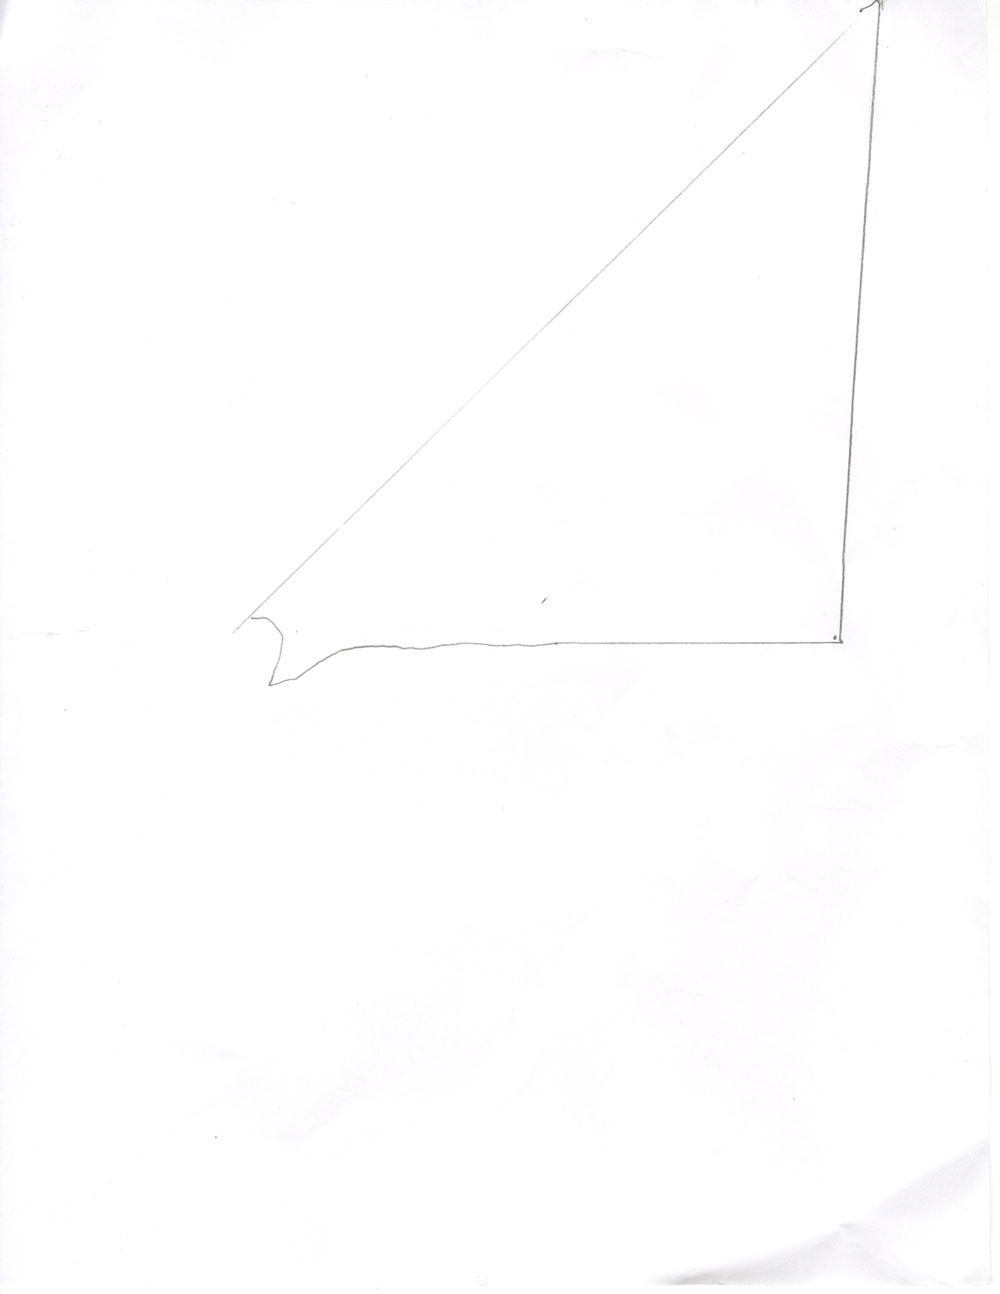
While creating my solution to Lewitt’s instructions I found that the instructions seemed to leave the drawing of the actual trapezoid open-ended. The size of the left and bottom have lengths defined relative to the top, but the perpendicular sides of the trapezoid are not defined. It is not known which side is located between the crossing of the first line with the second two. The trapezoid is also not defined to be an isosceles trapezoid. This leaves a large number and variation of solutions that should satisfy the instructions. It is possible that I misread somewhere along the line, but I feel I was fairly careful.

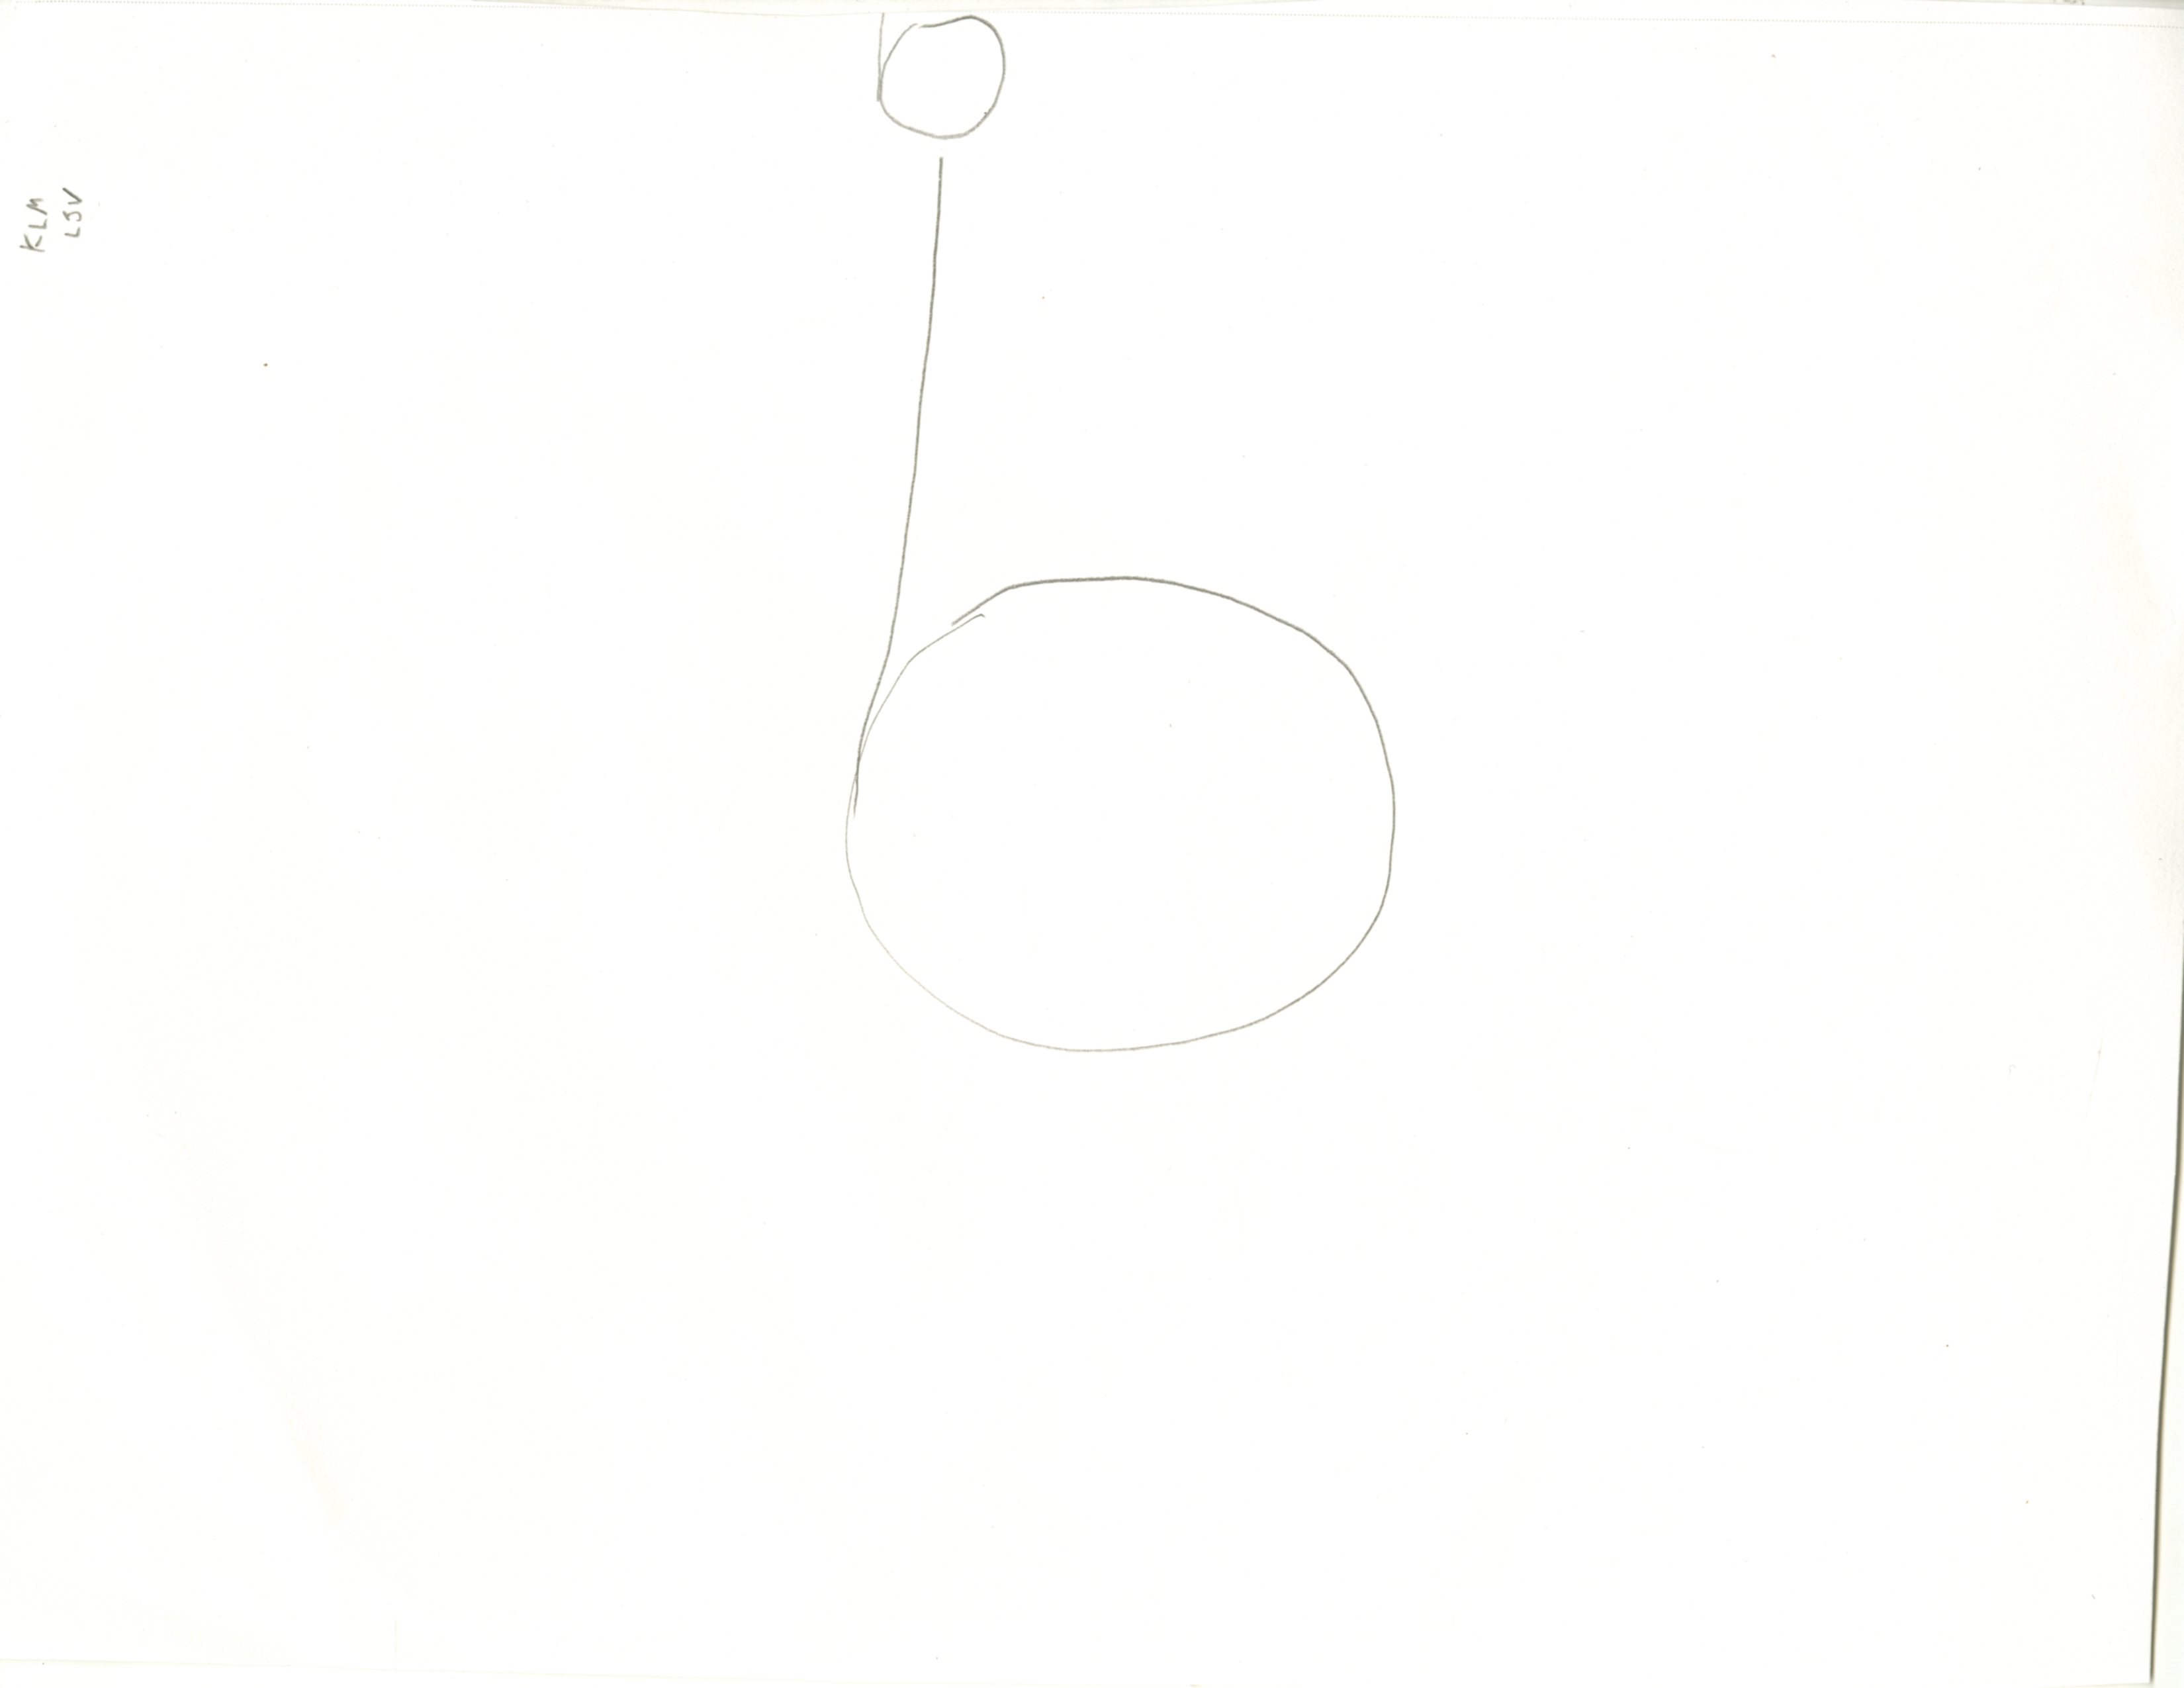
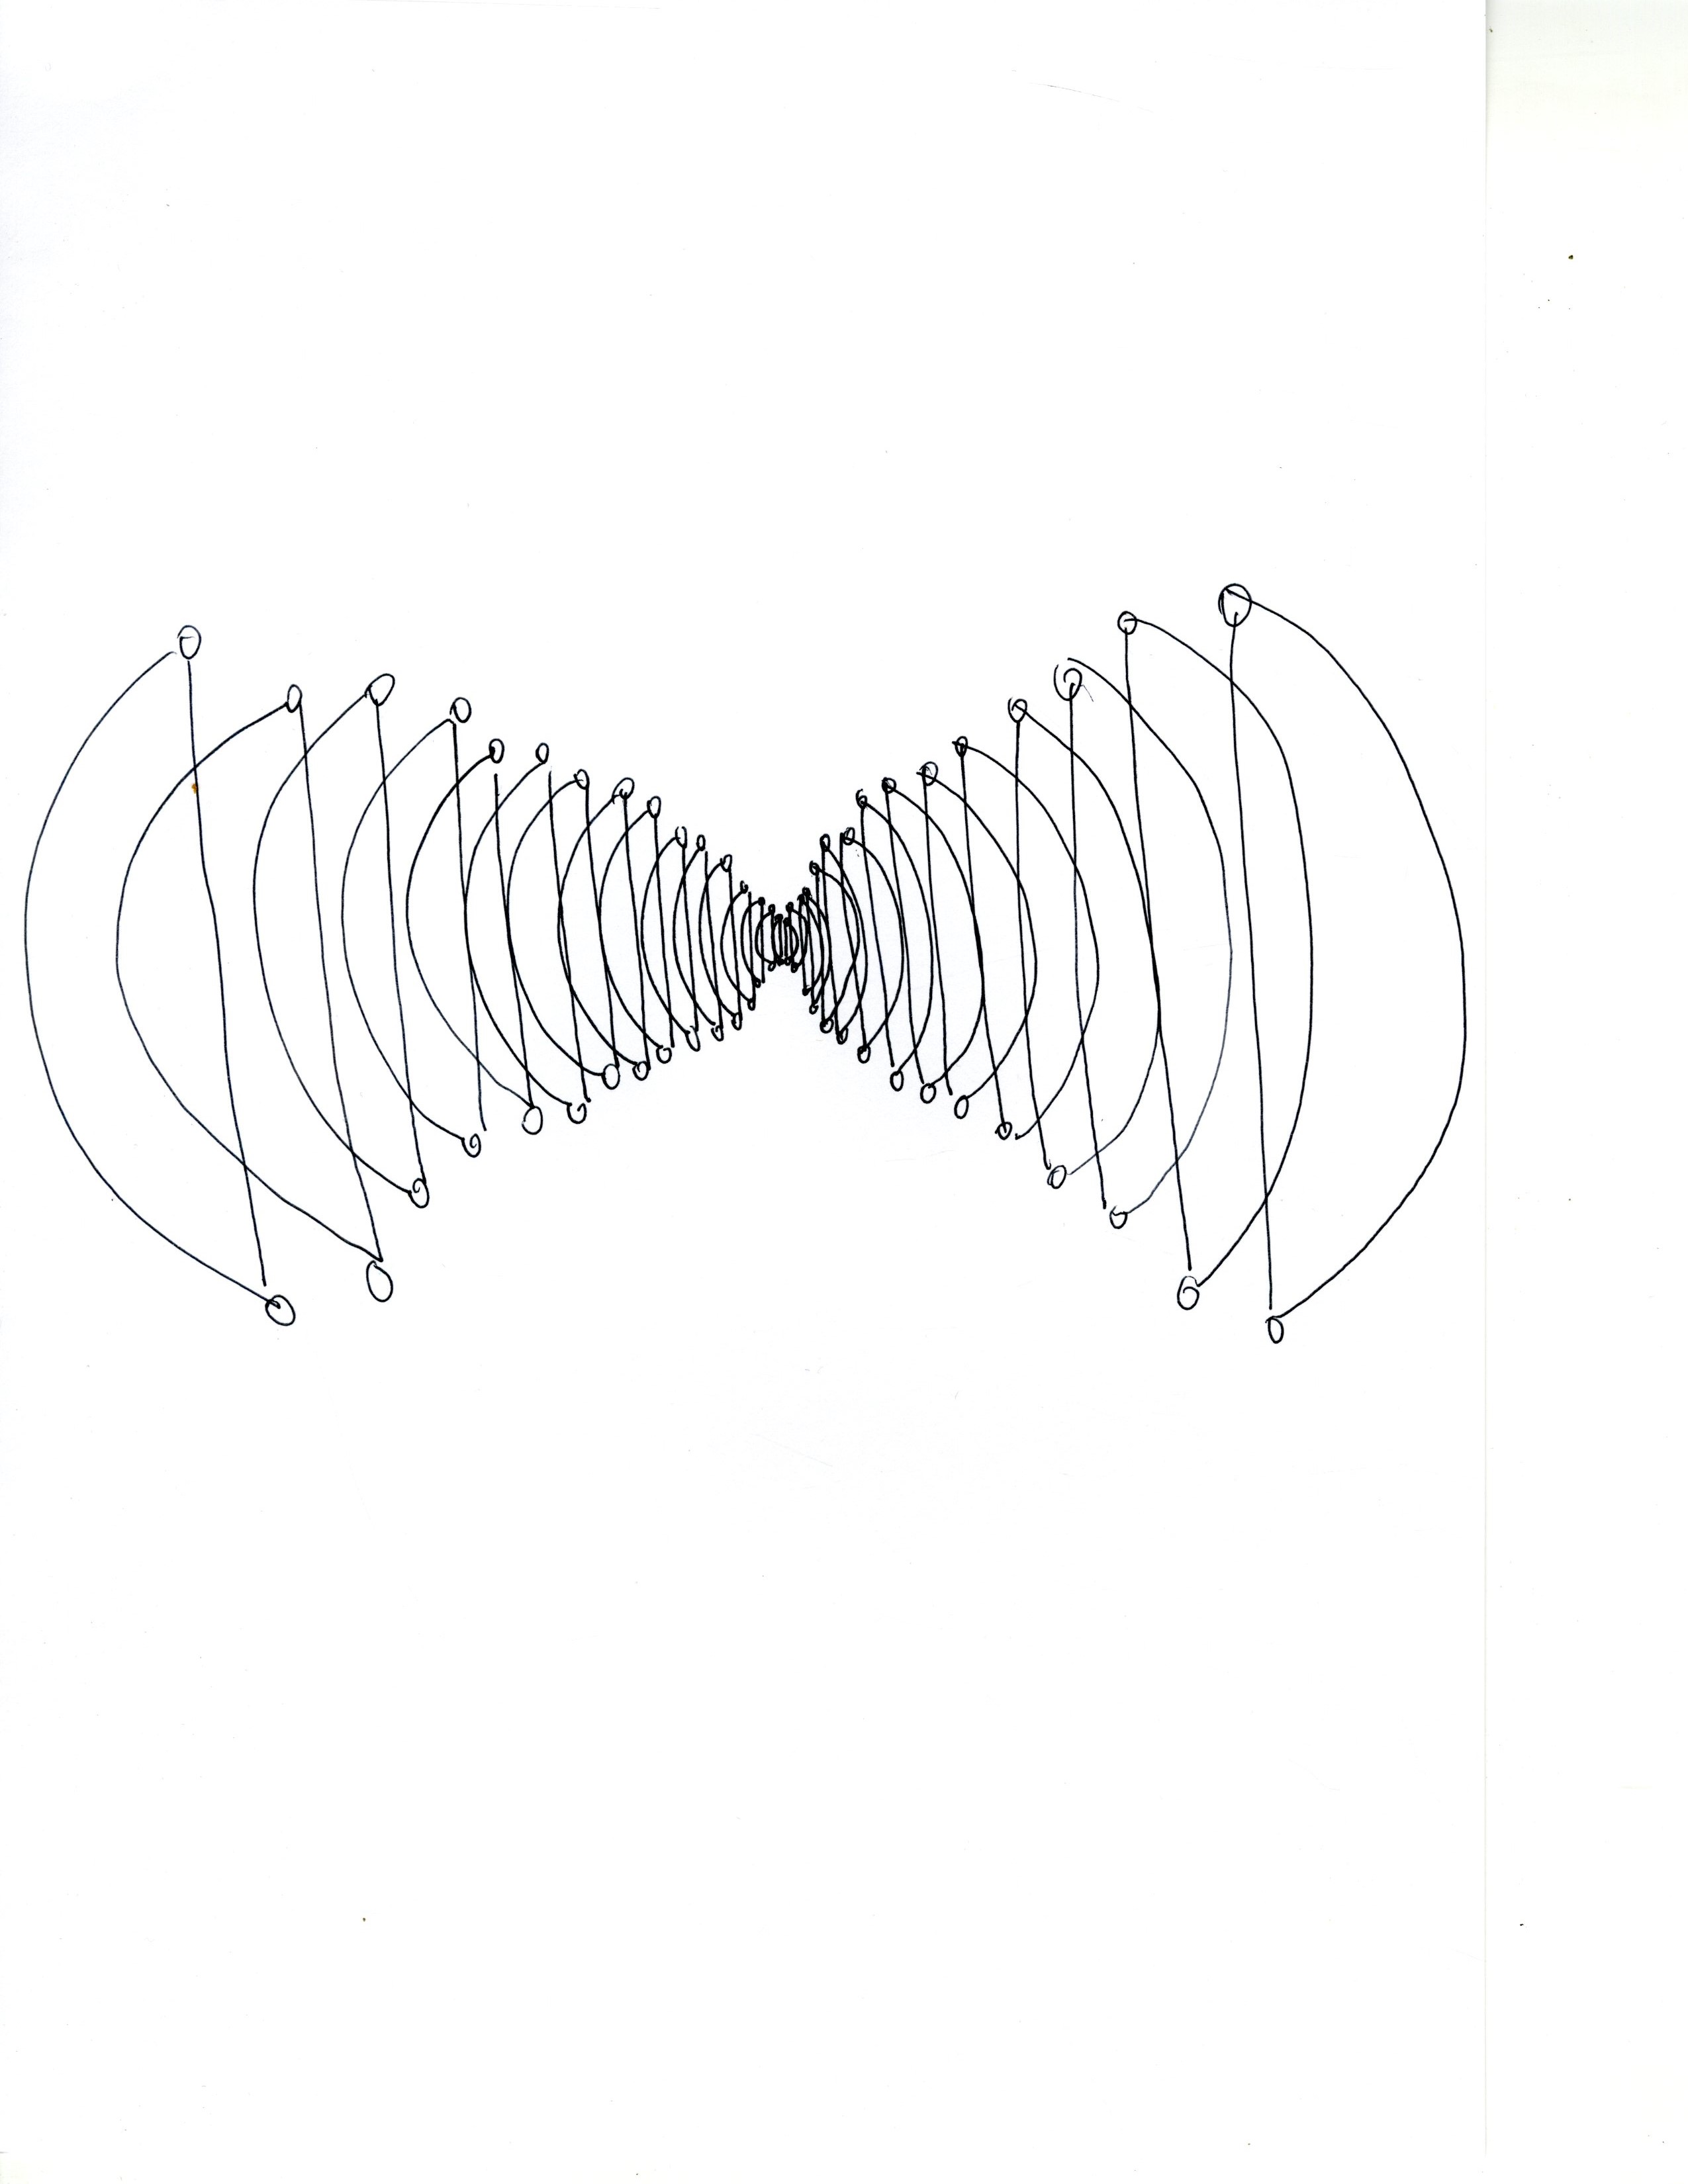
1. draw a tiny closed half circle, going vertically, in the center of the paper.
at the top of the vertical line where the circle halves, draw a very tiny circle, as well with the bottom end of the line.
2. draw the other half of this circle, mirroring the previous half. leave a space in between the halves. they must not touch.
3. repeat these steps, creating larger half circles that overlap the previous ones, with the tiny circles increasing in size too. the halves must continue to mirror one another, and the halves still cannot touch. the halves must overlap the previous halves no more than a 4th of the previous halves.
Kasem
Sam
David
–
I think I would need to tinker with the element of the overlapping, since not everyone followed the idea of that remaining consistent. However, this was my element of ambiguity, which allowed various results to form. I enjoyed watching the participants follow the instructions and make it their own, composing it carefully and adding their own element to the guidelines.
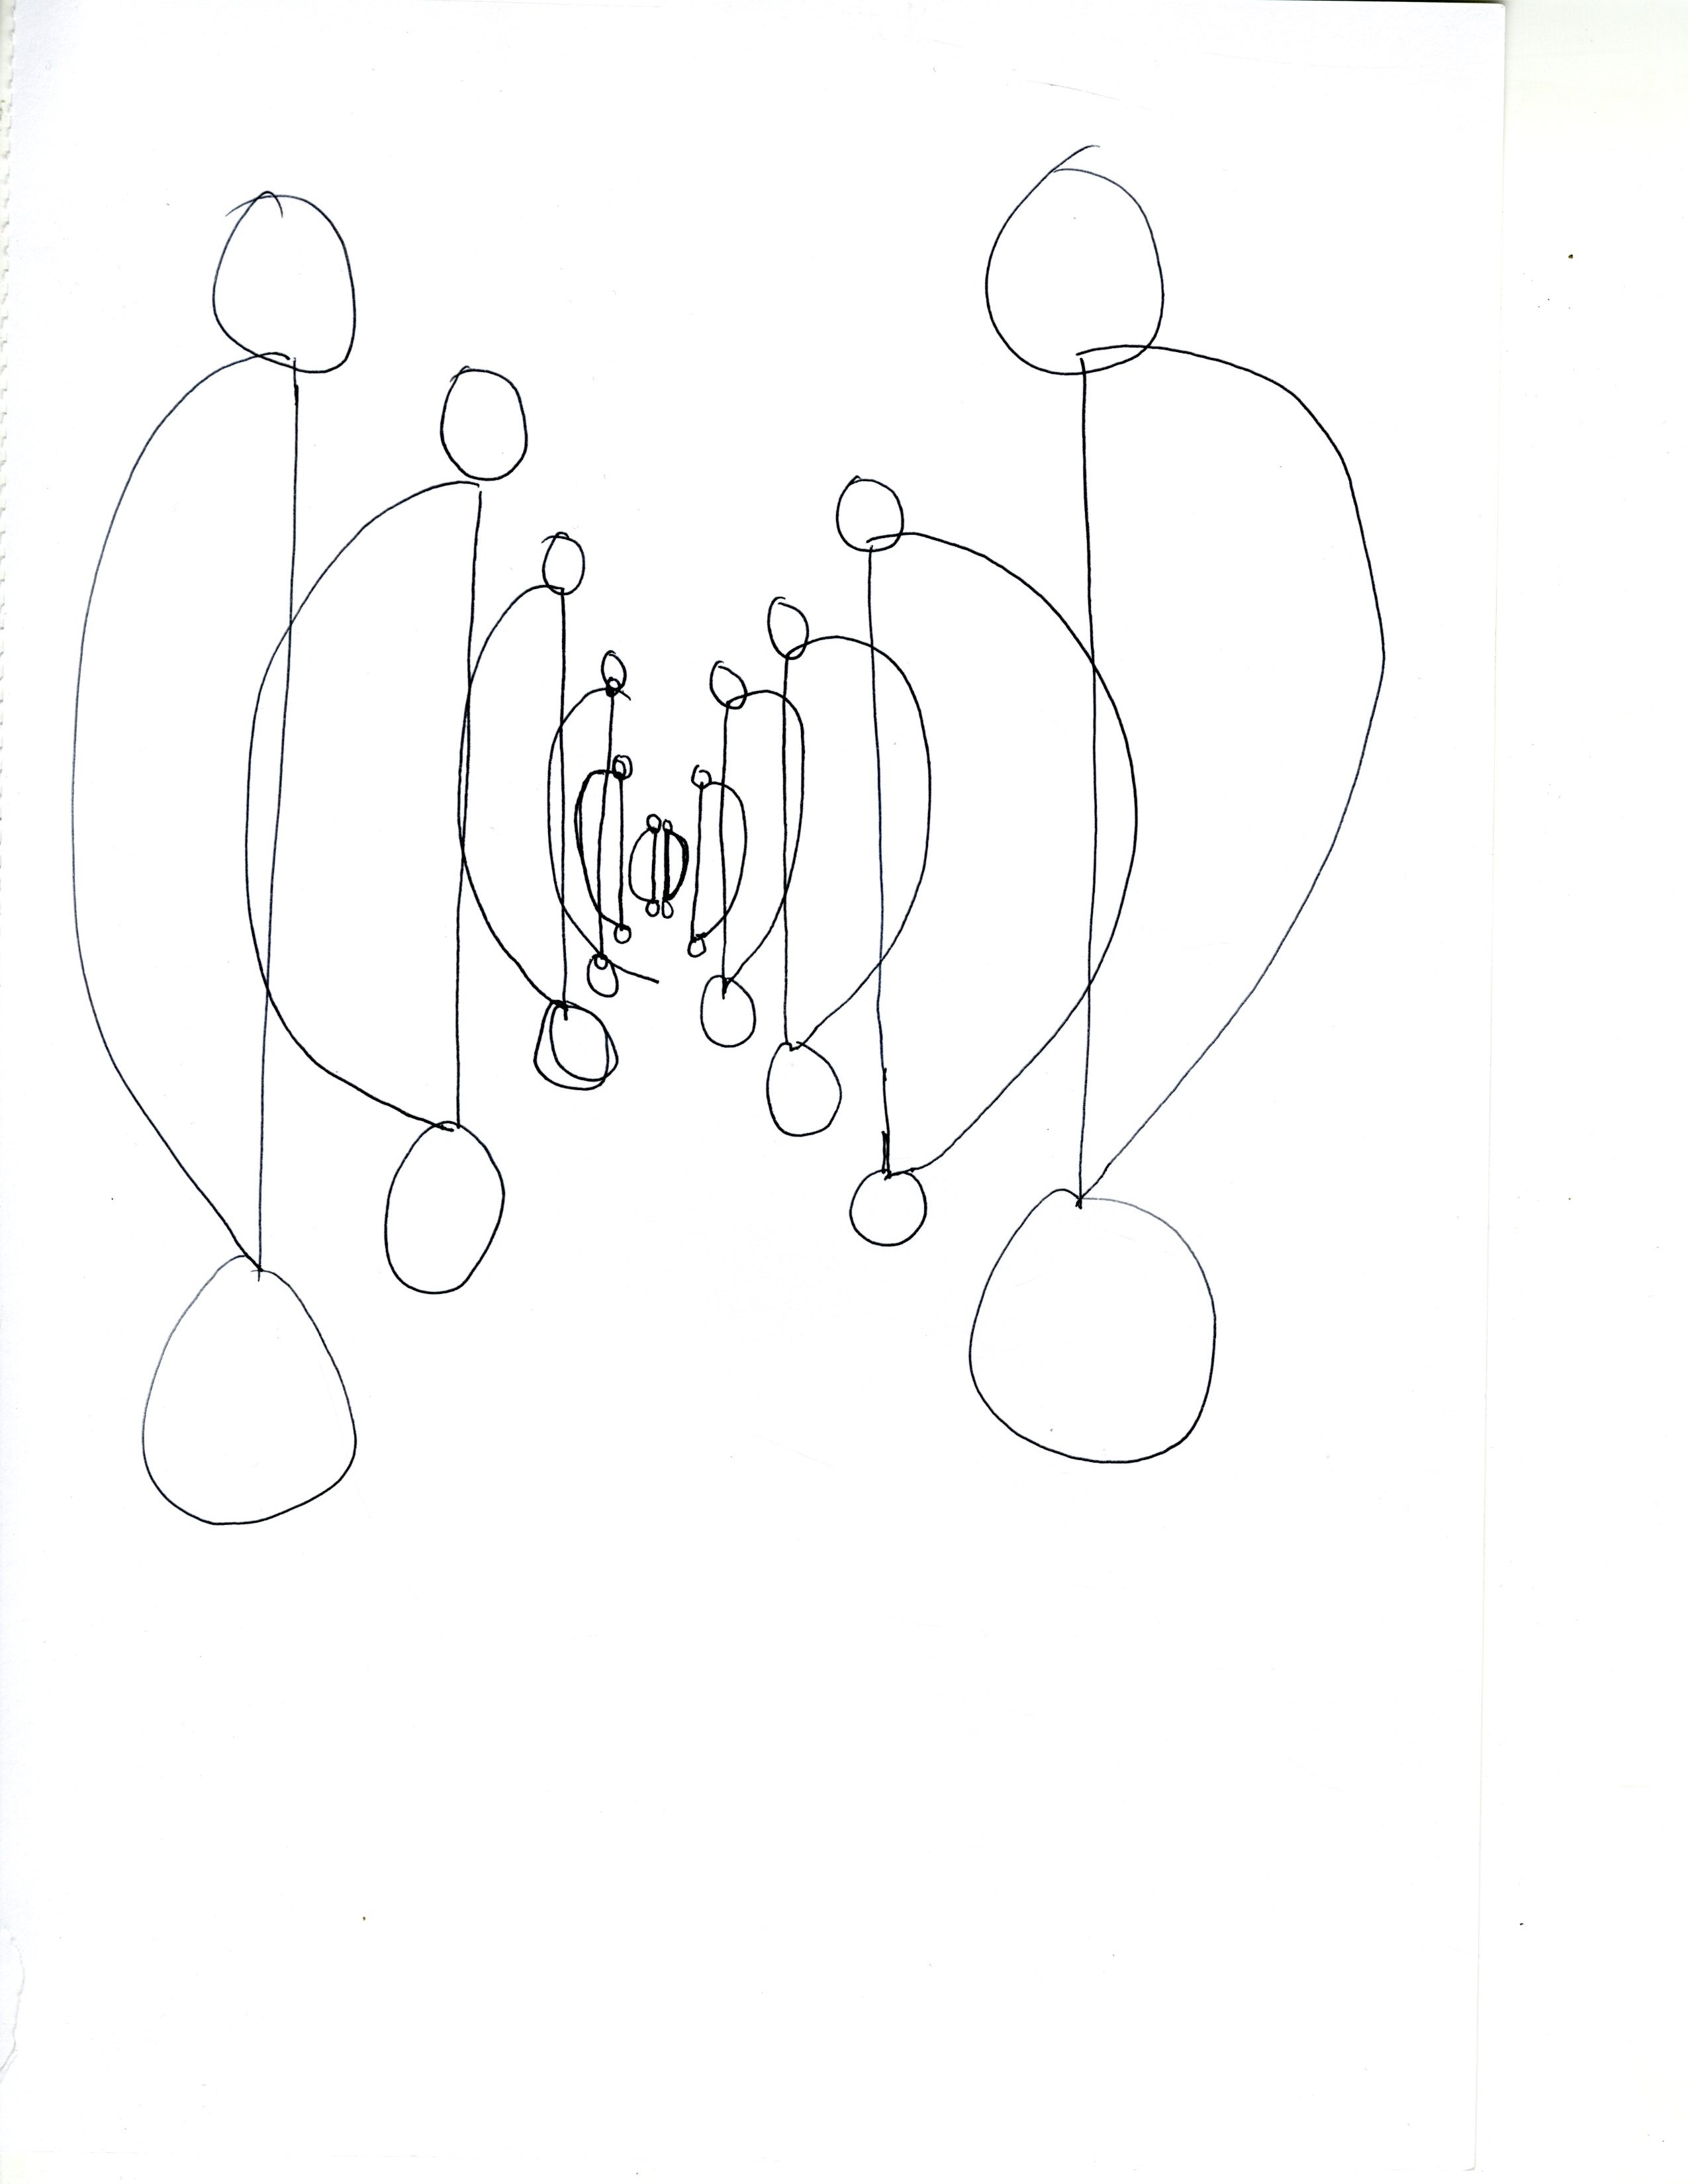
I gave my three “executors” the following instructions with the intent to both emulate Lewitt in some way and frustrate the hell out of my participants.
A five sided, partially curved shape, with an upper left side 3 times as large as the upper right side. Place pencil on paper. Never allow the pencil to come off the paper. The upper left side begins from a point halfway a point halfway between the midpoint of the midpoint of the top side of the square and the upper right corner of the square and the center of the square to the midpoint of a line drawn from the midpoint of the left side to the center of the square. The upper right connects to the upper left side and is drawn to a point halfway between the midpoint of a line drawn from the midpoint of the right side of the square and the center of the square. A third side is drawn down from the last connecting point until it intersects a line drawn between the midpoint of the right side and the center. Placing your thumb on the bottom left point of the shape, draw a curved line around your thumb and connect. Stop here or at broken pencil.
Here were the three results:
A pretty decent try. The participant got very frustrated and disregarded the “no lifting” rule.

This one was a great attempt. The participant did get a bit overwhelmed but quelled their frustration and followed all rules of the drawing.

This participant, after staring at the instructions for ten minutes, became so frustrated they drew a small circle in the upper right hand corner. Disregarding every rule on the page.
Here was the original “approximation”:
In hindsight, I believe that my instructions were formulated fine. They did achieve the goal of making at least a few of the participants frustrated. I did not expect the frustration to be enough to completely stop one of them in their tracks however. I would like to see a number of these Lewitt style drawings done with the “no lifting” rule and see if it produces any faint-lined results which are aesthetically pleasing.
I’d like to think that these drawings should exist only in word form, and not to be executed. This way, they are forced to be imagined and for the most part, fail as well due to the complexity of the instructions, and this dynamic appeals to me: describing an impossibly-imagined drawing.
I think for the most part, this is very much like code, where I would play the part of a faulty computer. It was frustrating to follow, and even more frustrating to think about, and it makes me wonder if Lewitt drew the pictures beforehand, or wrote out a set of instructions and let someone else figure them out.
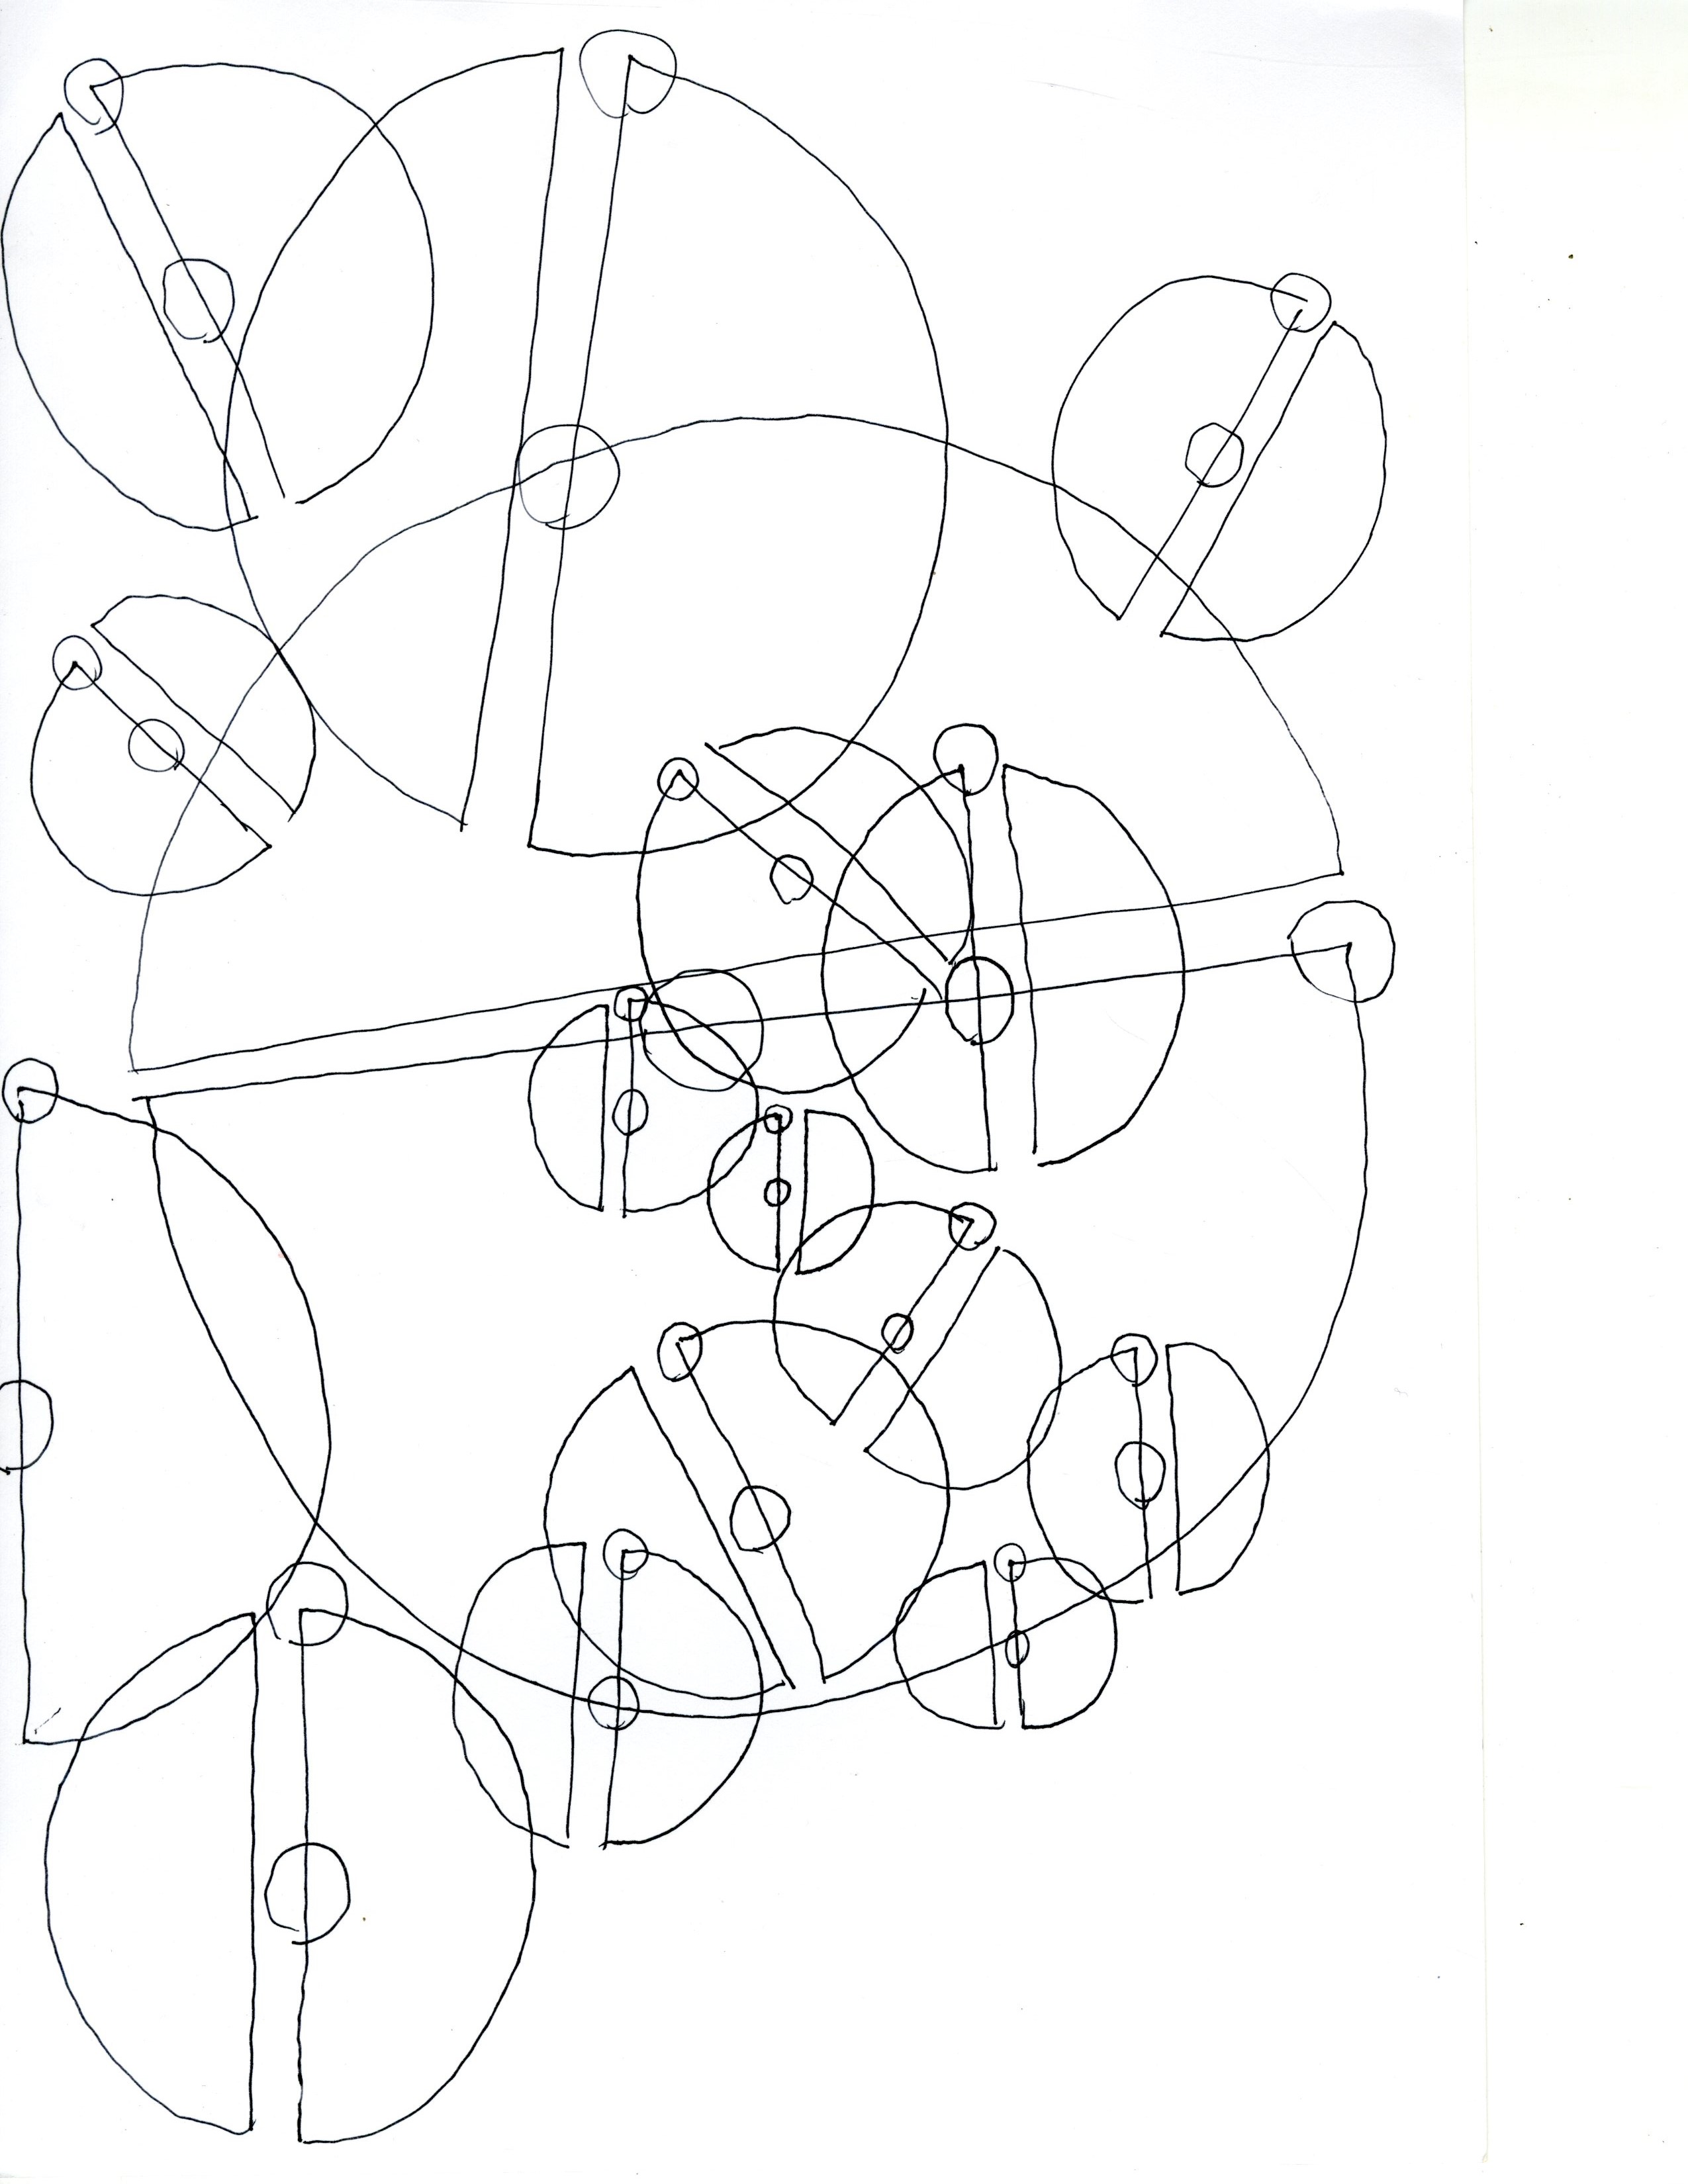
My instructional drawing is meant to generate a fractal-like web that connects a set of orbs. It’s inspired by physics simulations, chaos theory, and infinite loops.
The steps are as follows:
1) Imagine the solar system containing the following classical celestial bodies:
2) Begin a simulation in your head of this system. The initial starting point should be a state in which all planets are aligned on the same axis.
3) Run the simulation. Try your best to imitate the intricacies of planetary physics.
4) Stop the simulation after a few hundred rotations of the Earth around the sun.
5) Draw the planets from your simulation in their final positions in a top-down view. Planets should be drawn as circles.
6) Connect the earth to all planets and the sun with a line. Connect Jupiter to all planets except earth.
7) If there are any intersections of these lines, this is the location of a MYSTERY PLANET. Draw them as filled-in circles.
8) Connect the MYSTERY PLANETS to planets that are not already connected to any other MYSTERY PLANETS.
9) Repeat step 7 until no lines can be made, or until there are too many lines to see.
Here are the results:
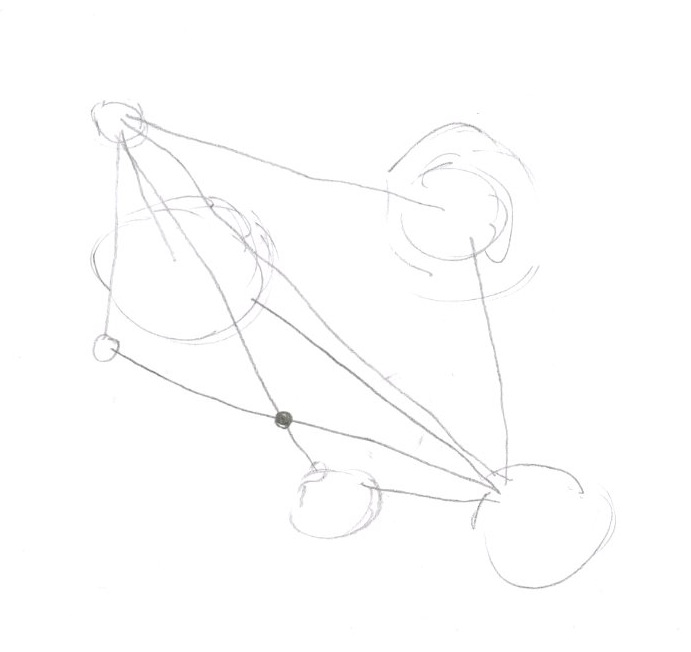

I should have been more specific as to what the planets were supposed to look like – the sun has to be much bigger than the planets, and the lines should have been straighter (I should have required a ruler). Also, depending on where your planets finally ended up, there might not be very many intersections of the lines connecting them, making the “program” end too early and not running enough iterations to make the final image interesting enough. This is what I had in mind for what the drawings were supposed to be (reminiscent of the style of the Pioneer Plaque and the Voyager Golden Record):
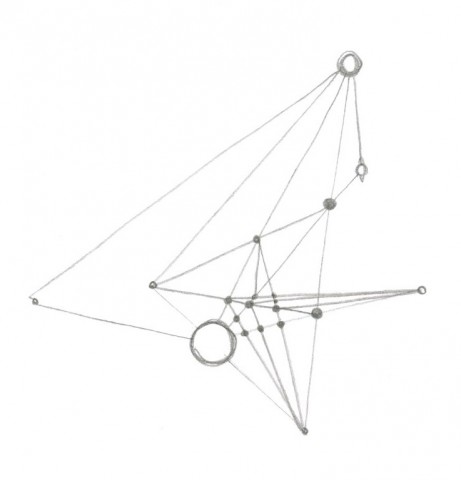
I guess the drawings were a bit successful – the executors of the drawings found it difficult to keep track of the positions of the planets in their heads. This acted as a sort of random number generator and ensures that a never before seen drawing will be generated. Also, I was hoping that someone would run into an infinite loop somehow, but it turns out that infinite loops are impossible unless MYSTERY PLANETS can be connected to other MYSTERY PLANETS.
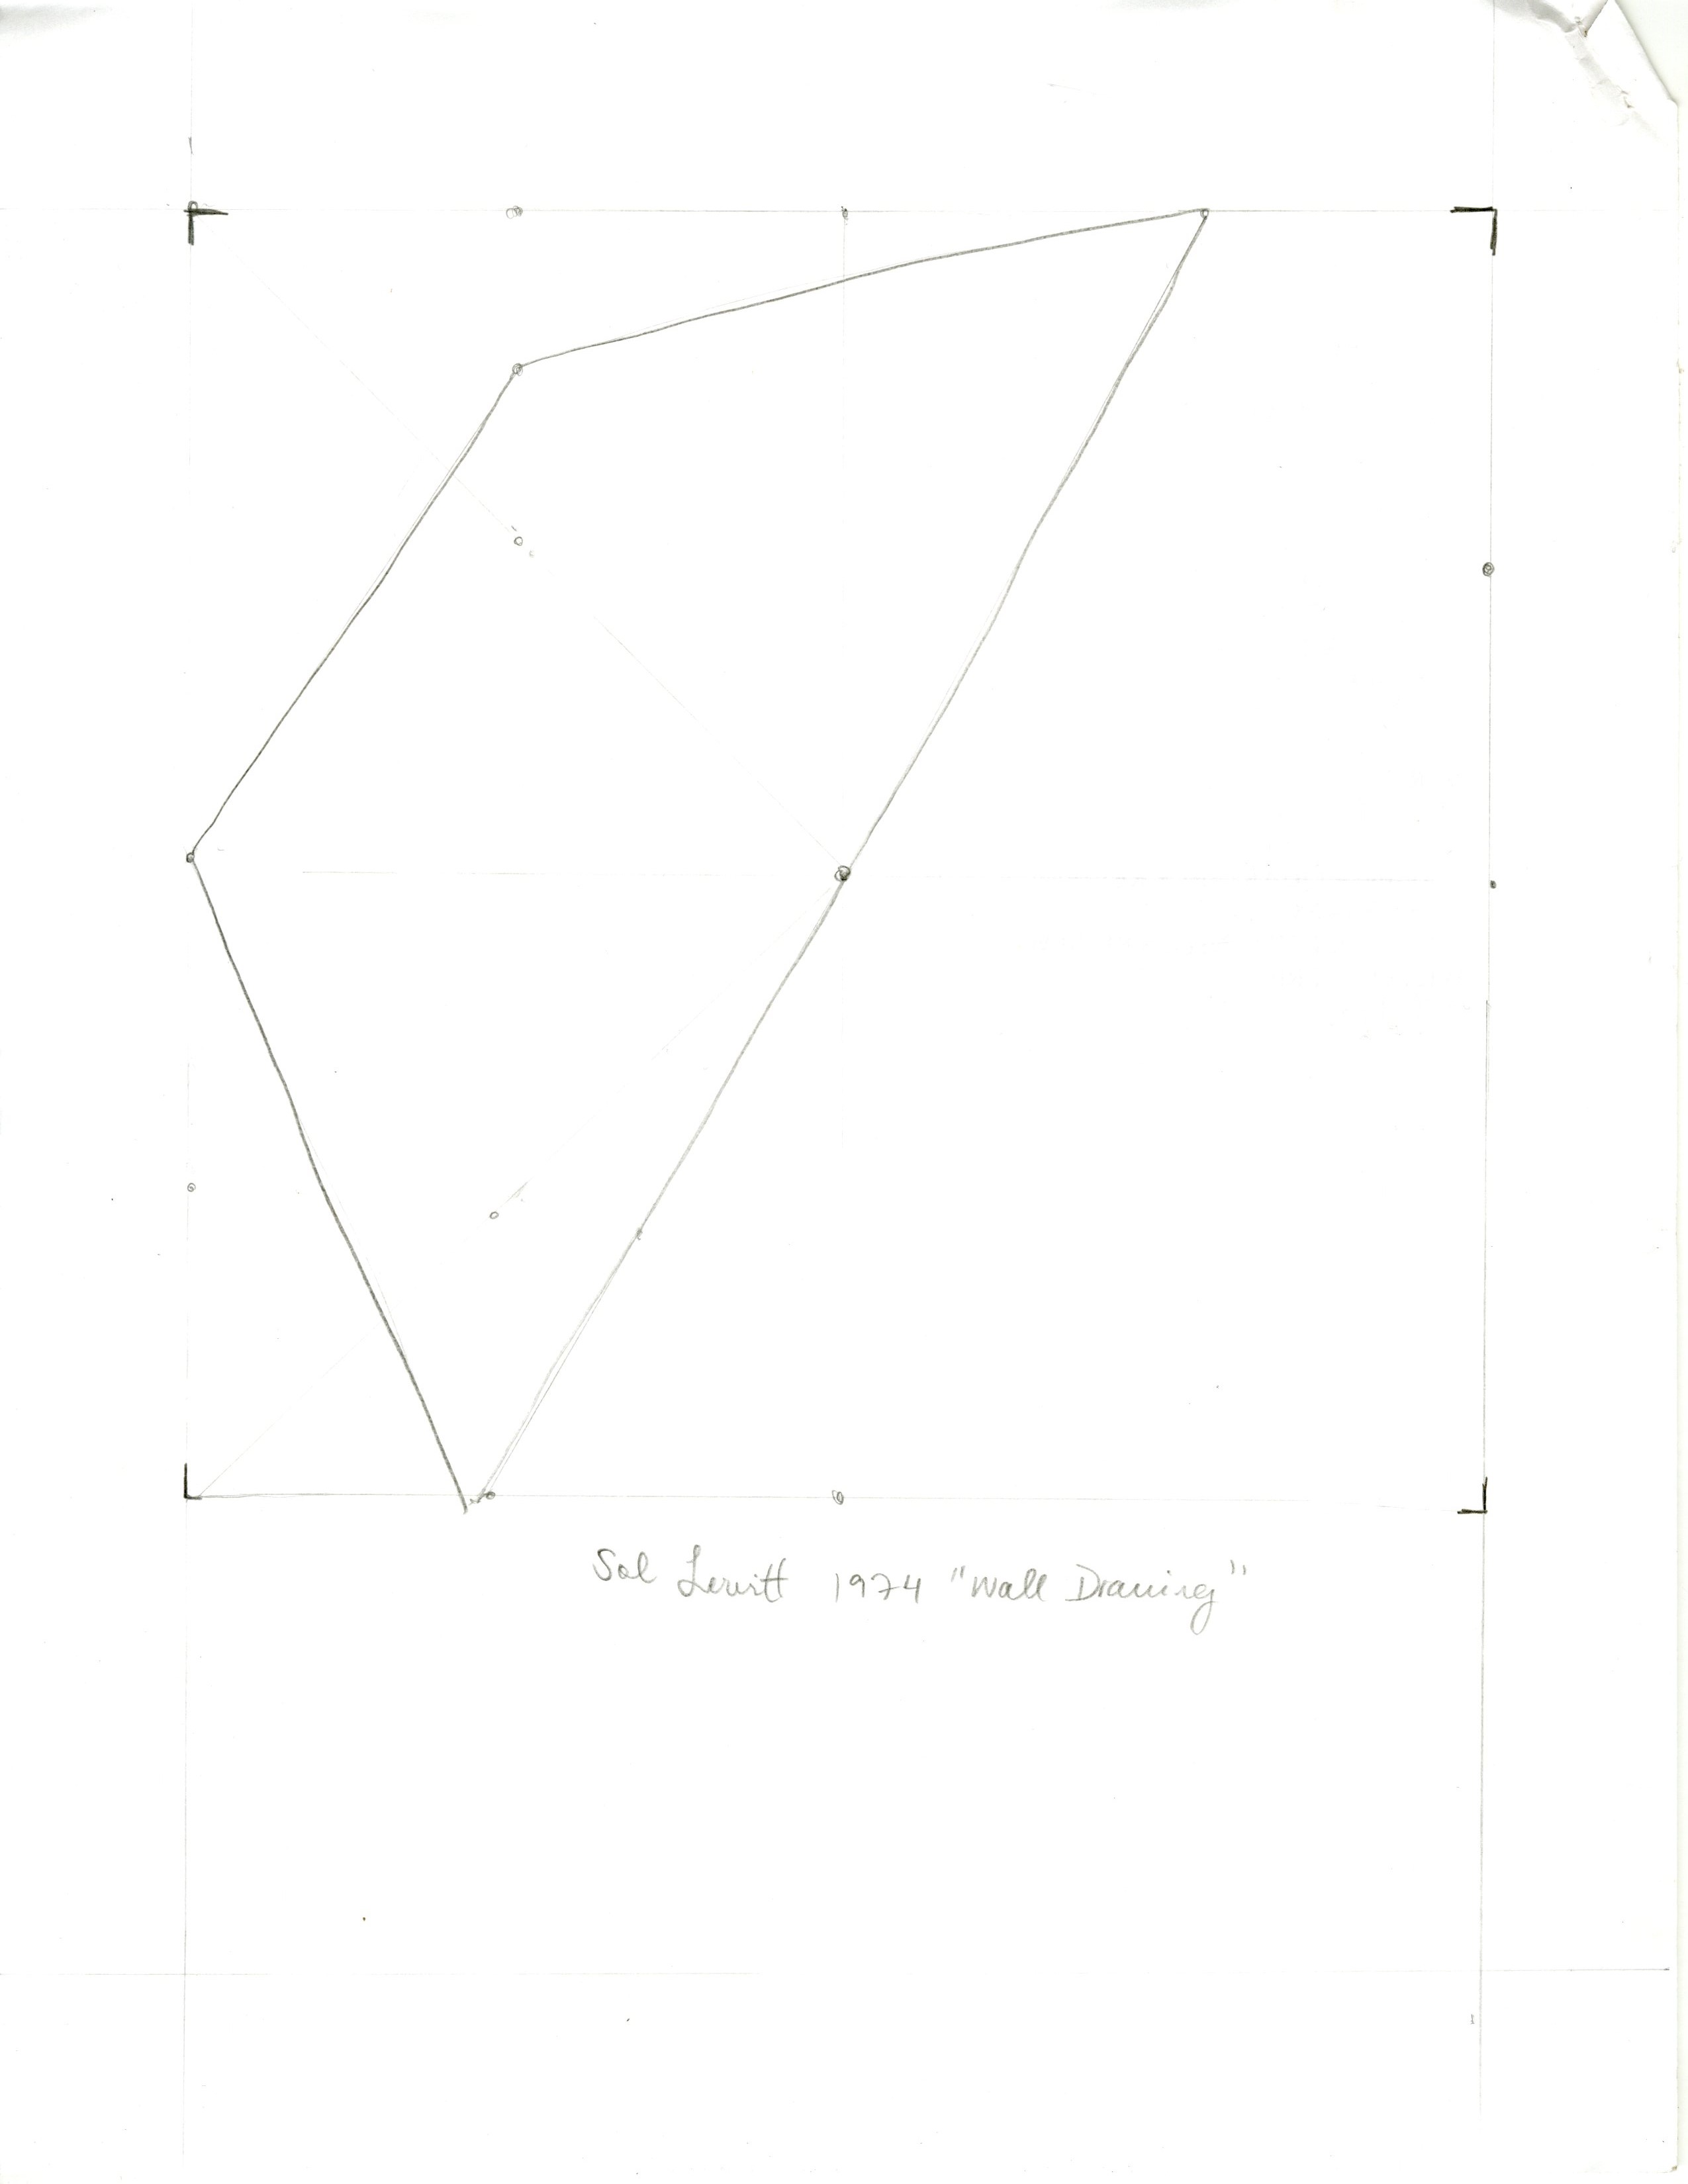
After teasing the raw list of instructions out all of Lewitt’s ambiguous description, I began using a technique similar to Melanie’s from last semester’s blog to organize the steps. Each object (line or point) described in the shape is identified by the line number it lies on. Each object can have “child” objects of which the location of the “parent” object is dependent on. By using this method, the executor can start by drawing the top-level child objects and work their way down.
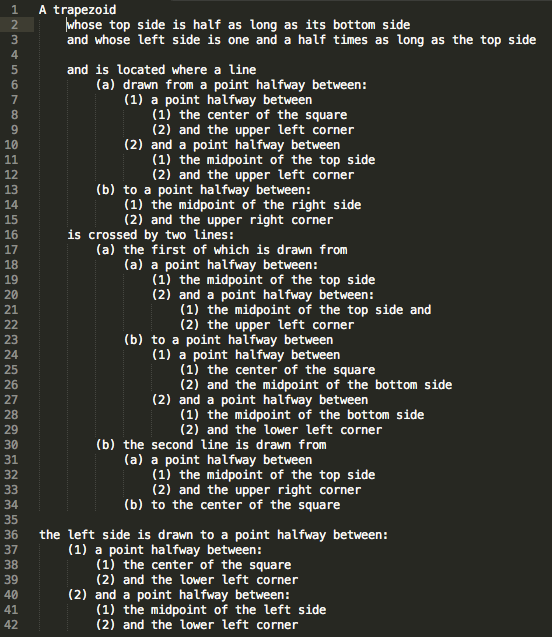
This technique seemed to work, but the structure was a bit strange – I was able to parse and and execute the instructions like code, but it felt as if I was working backwards through some weird nested functions. Machines are good at executing code structured in this way, but I think that humans are better at following instructions that are more intuitive and graphical. The structure I came up with to make it easier to draw Lewitt’s shape is basically a reversed version of Melanie’s method read right to left, starting from the most basic points and eventually converging into the lines and sides that describe the trapezoid.
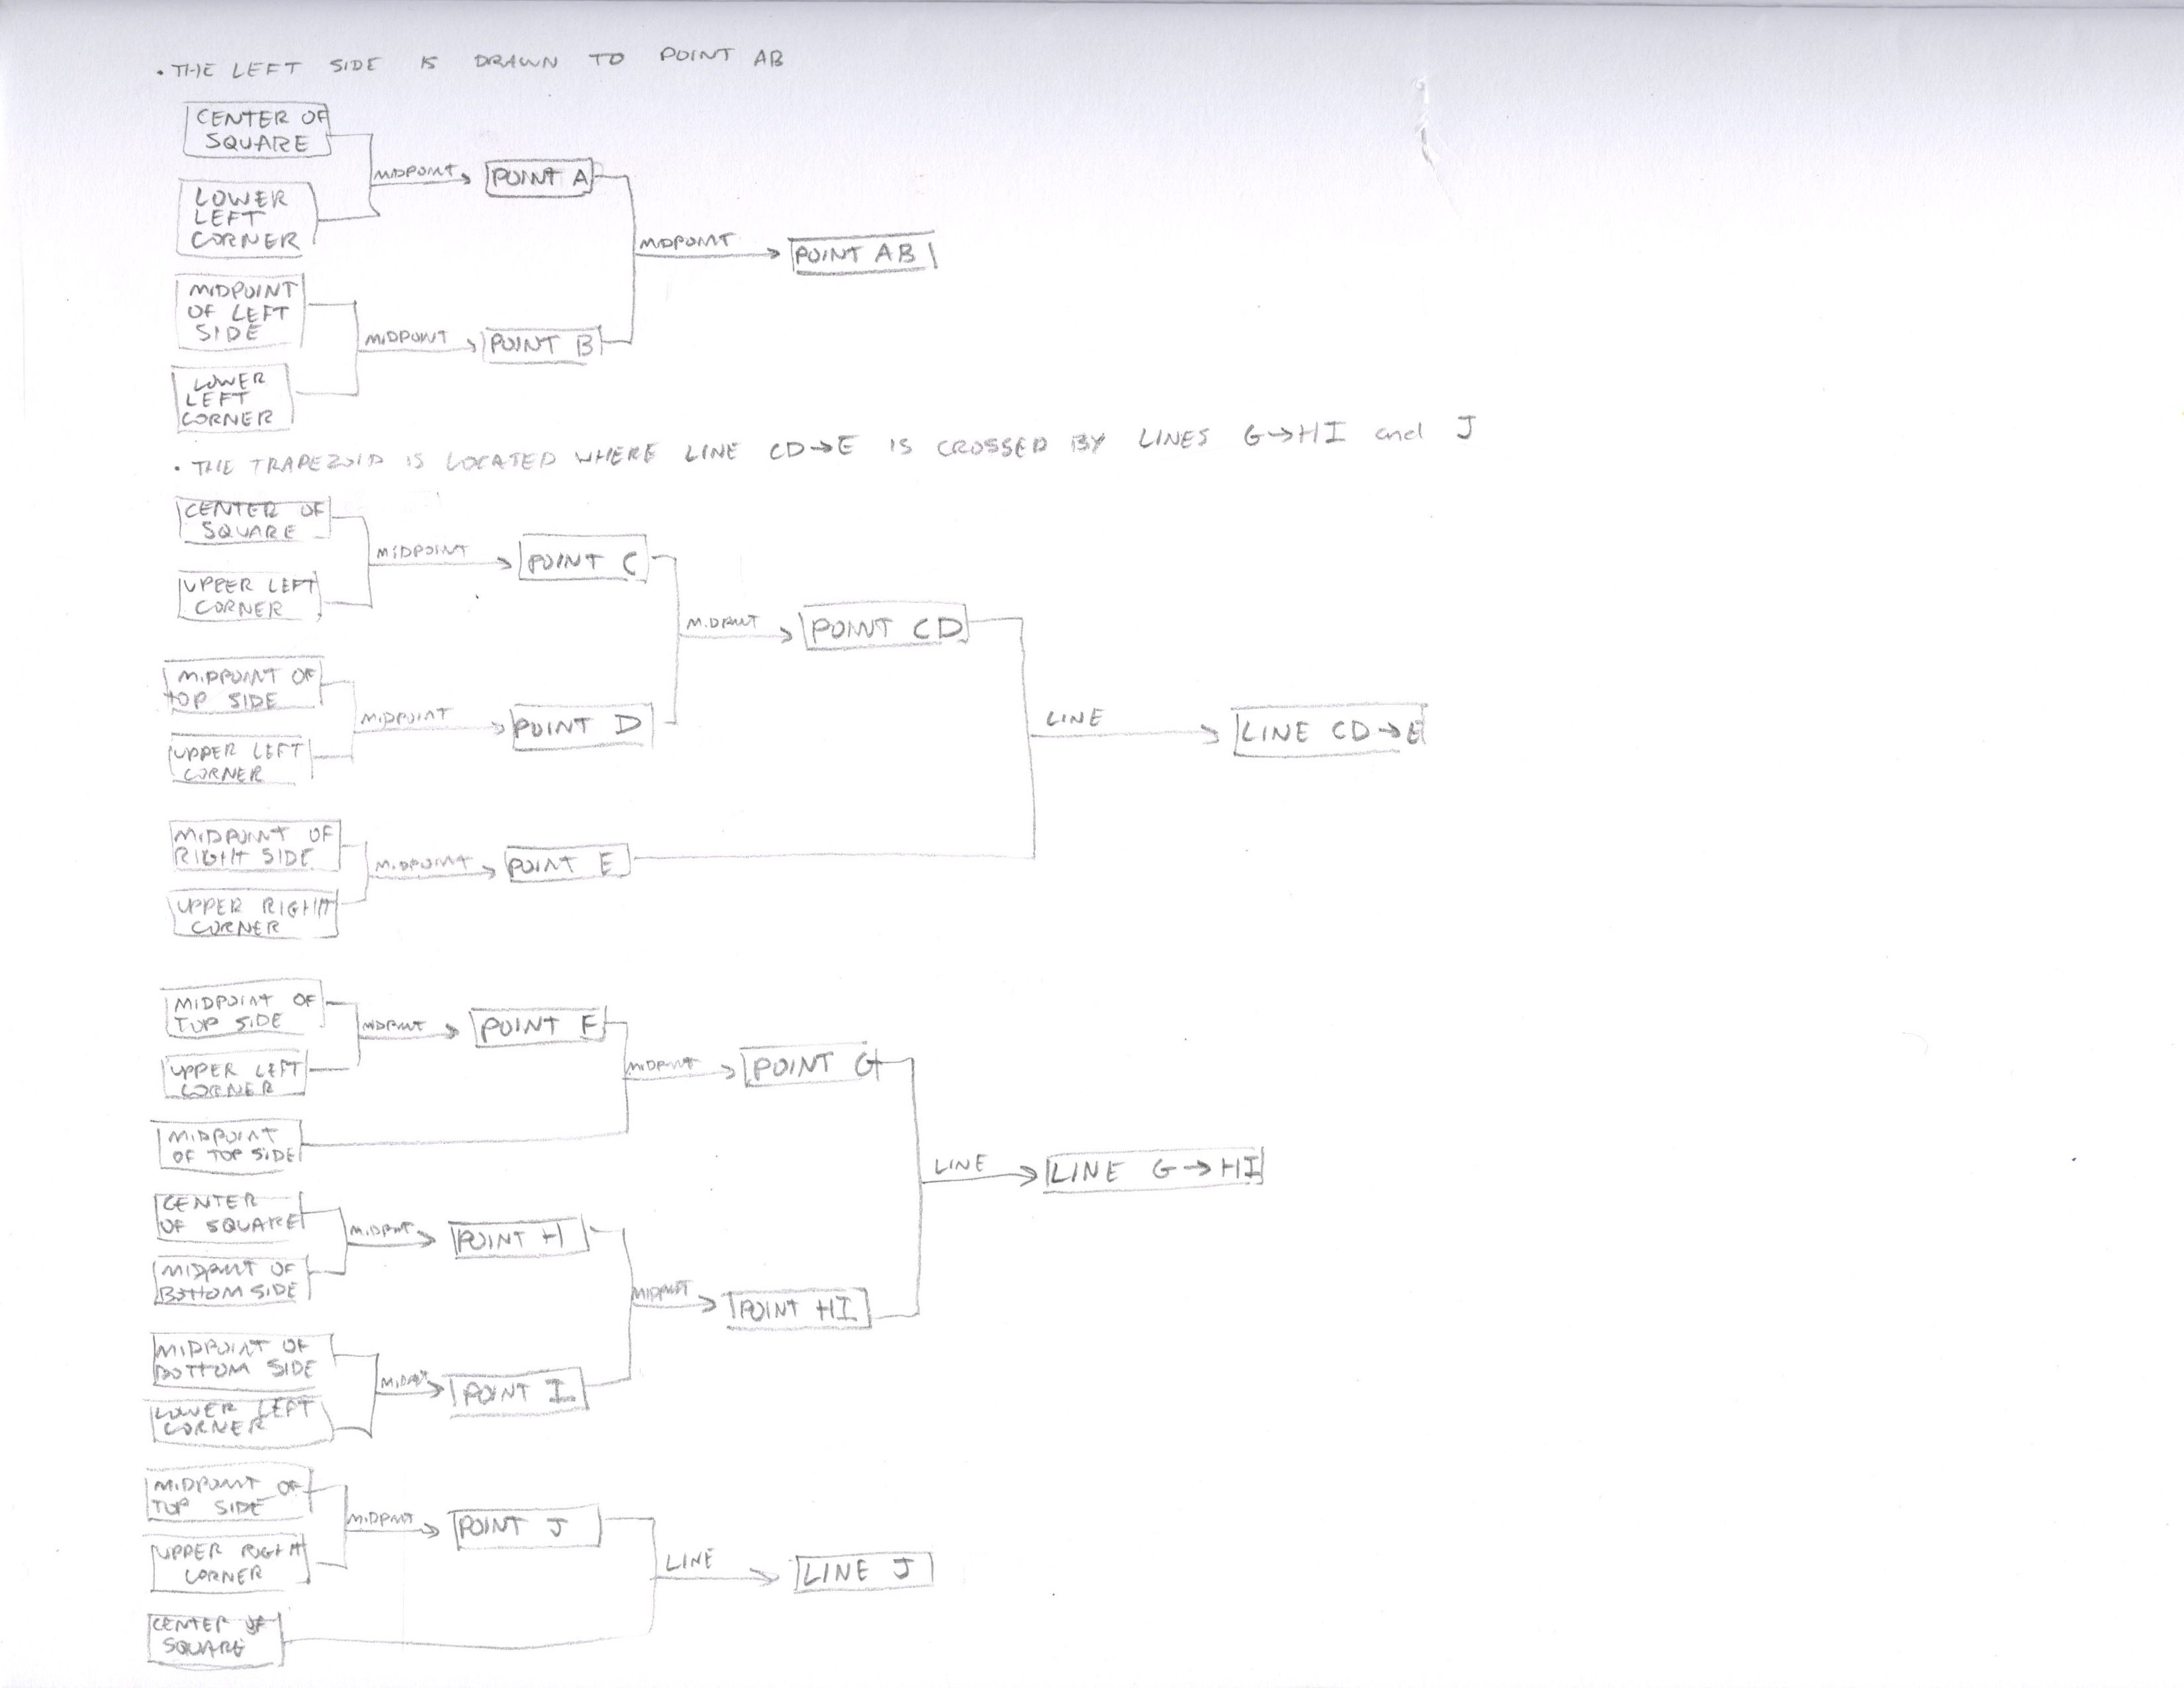
This is the shape I ended up with:

The Recipe: When mail is received by a certain Gmail account, tweet the title of the email.
The Gmail account: The email address is submitted to the mailing lists of ad websites to receive spam.
The Twitter account: The account of a 34-year-old businessman obsessed with best offers, limited time events, and consumer surveys in which his opinion is highly valued.
Meet Fred Bogo here!
This was my attempt at using If This Then That in order to create an interesting character that exists on the internet and whose personality is generated by random input from the web. The API is the perfect medium to explore this idea because it enables the users to gather data from many places and feed it into a simple program. This process is described by Jim Campbell’s formula, which may be interpreted as a critique of computer art (suggesting art made with computers is formulaic or predictable). However, once the chaos of the real world is injected into the program, beautiful and unexpected things can happen.