IFTTT – art and the API

Jer Thorp’s article was interesting to read for me since he seemed to encompass all that I normally feel about APIs in the first few sentences; API seems to be something so complex and mind boggling that it seems as if I would never be able to program one. Of course, like he said I had never really took the time to understand APIs. However, after reading the article, I feel more confident that I can program a simple API and even more confident to begin learning about more things rather than feeling intimidated. On another note, the formula for computer arts reminds me greatly of Camille Utterback’s Lecture last year. At the beginning her art such as text rain was unique, interesting and although it relied on an interaction between the audience, it did not need just one interaction to activate the project. instead Text Rain inspired its audience to dance, play, wave sheets, and move in order to interact with the project, not just activate it. In comparison, her later work such as Active Ecosystem, made for an airport seemed to more firmly follow the ‘formula for computer arts’ and therefore became less unique and interesting.

The IFTTT account seems to me as if it would be useful especially seeing some of the recipes others have made such as texting you the weather. A recipe I have created is connected to my wordpress account which hosts my blog and my gmail account. It emails me any new posts that have been posted onto my site including posts that I have made or any comments that have been posted. Since I rarely check my blog beyond posting latest work, I feel that this will be useful. the exact quote is: “If there is any new post on my blog then email me the post”
esrever

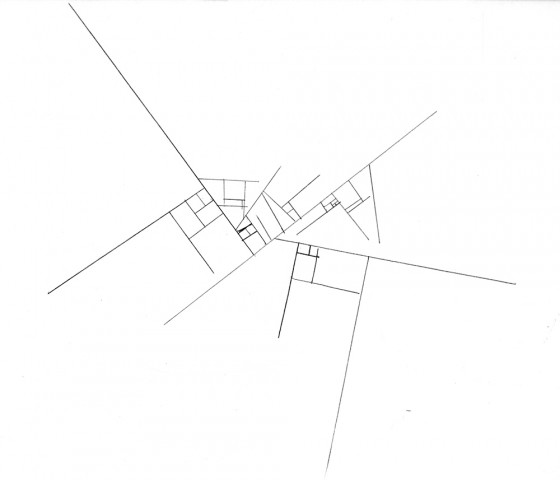
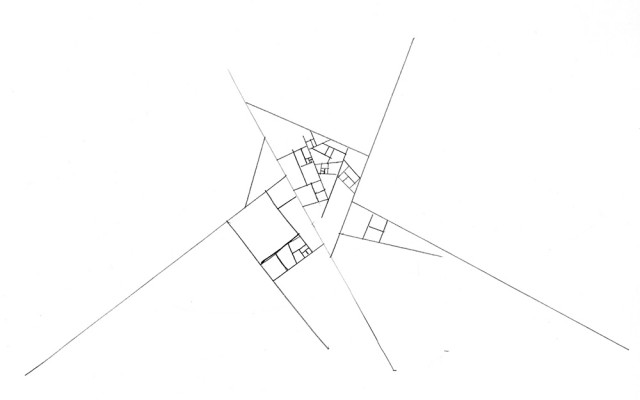
  1. PERMANENT RULE: lines must never cross each other, but they may touch.
  2. Draw a line of any length and angle.
  3. Draw non-parallel lines of any length and angle branching off the line from #2 (or the perpendicular line, if #3 is reached from #5).
  4. Draw a line perpendicular to one of the lines. This new line should be of smaller length.
  5. You can skip this step, or repeat #3 on that perpendicular line.
  6. Keep drawing perpendicular lines to the previous line* from #4 (if you skipped #5) or #5 until a rectangle is made with a side made from that line*.
  7. Repeat #4 and #3 as much as you want in that rectangle.
  8. Repeat #3-7.
  9. If there are empty spaces you want to fill, repeat #2-7 until satisfied in other areas.

img009 img010(a more diligent person would recurse even more)

Tree Rings

PROCESSDRAWING copy

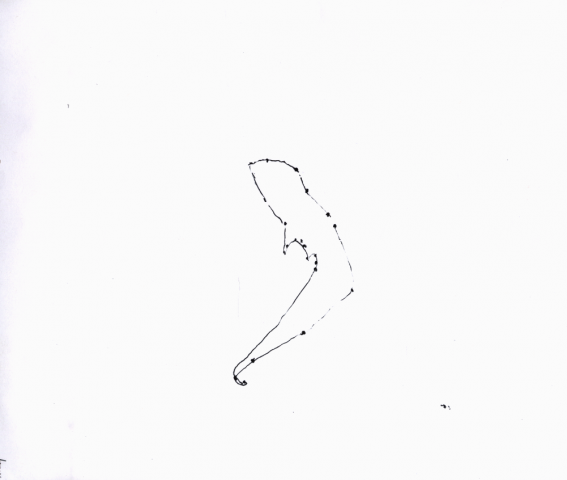
My instructions create a scenario in which the participant must defer bodily control to a process. I put particular emphasis on eye movements and blinking. In the context of Tree Rings, the participant’s line of sight and blinking speed are signals that control point position and point generation respectively. Ideally, the piece fosters a sense of closing in as the “bounded region” approaches a single point.

drawing1high

This result revealed a serious hole in the logic of my instructions. Namely, that it’s possible to stare at any fixed point to satisfy the end condition. In the above case, the participant stared at some fixed point after only one iteration.

drawing2high drawing3high


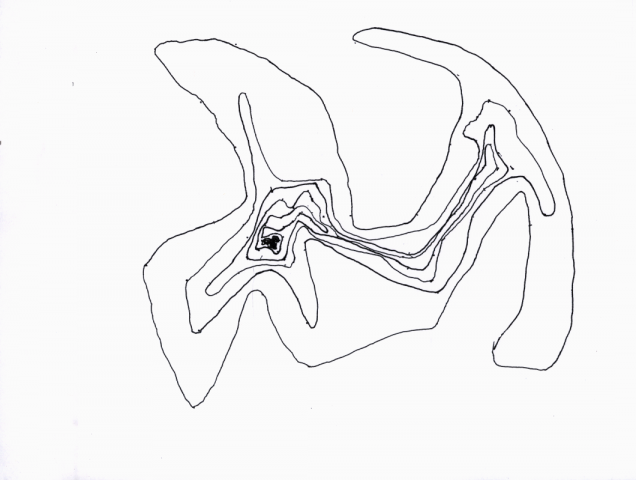
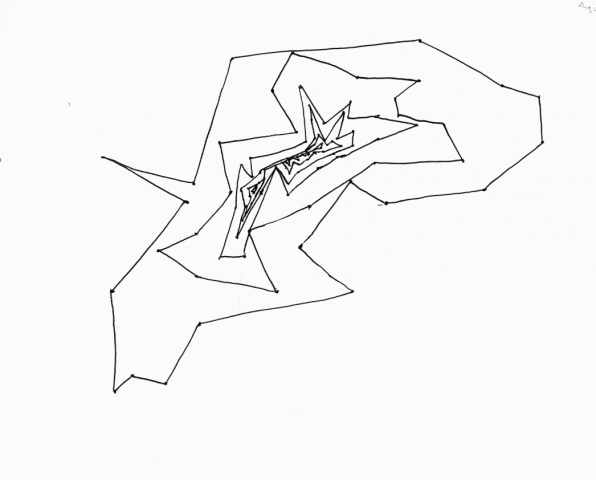
These last two examples illustrate the ambiguity (delicious, I hope) of the instruction “connect each point.” One participant opted to connect the points with curvilinear lines, resulting in flowing, topographic contours, while the other connected the points with straight lines, resulting in more jagged contours.

I made an effort to avoid instructions that would generate arbitrary doodles. However, there are aspects of the drawings that are arbitrary, just as there are aspects that resemble doodles. I don’t think that these qualities are bad in themselves. In fact, it seems like the most interesting processes anticipate and account for randomness and choice.


my head still hurts

img007

This experience was pretty awful. I’m really bad at following both spoken and written directions and have a difficult time parsing meaning in really long sentences. I actually made a first attempt and failed miserably at it because I couldn’t focus past the third line. So I scrapped it when the third line refused to make even the tiniest bit of sense, and started anew. Maryyann and Ralph gave me some pointers about missing “between”‘s and extra “to”‘s, so that was immensely helpful (those are the ones that gave me the most headaches). I ended up writing sort of a pseudo-code in the text editor Sublime Text, which aided me greatly.

So, this is code, but not the code we’re familiar with. The code we’re familiar with has syntax. It has indentations and logical structure. Sol Lewitt’s instruction does not, yet it is code because the instruction is what happens when style rules are broken at every given point. It is completely unintelligible unless you deconstruct the entire paragraph, or rather, the entire program. That’s the case for humans; for machines, it makes no difference if a line is indented or spaced out for readability. I recall a lesson in a CS class: we write code for humans to read.

I remember now why I don’t write code in a single line even though it’s possible to do so in certain languages: because of the horrors like Sol Lewitt.

“Wall Drawing” by Sol Lewitt

lewitthigh

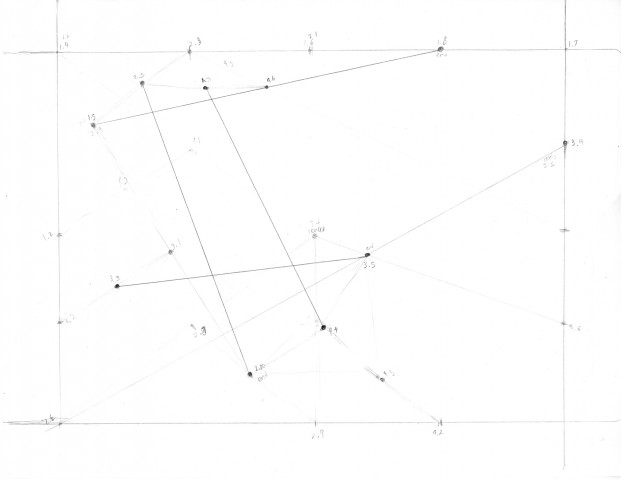
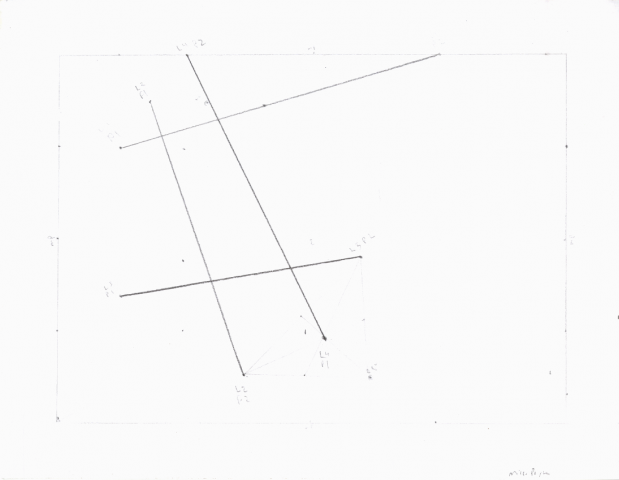
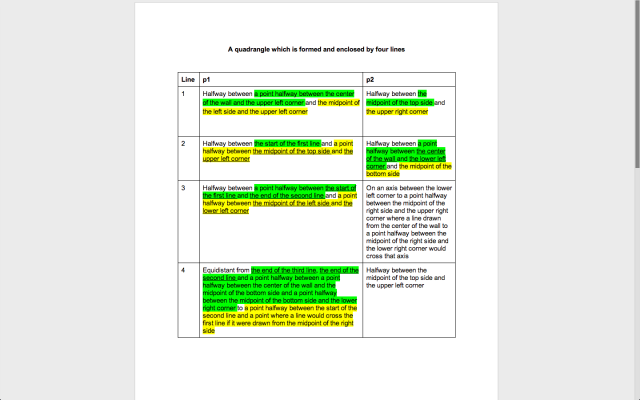
On first reading the Sol Lewitt’s “Wall Drawing”, I felt totally overwhelmed. Although it was clear to me that the instructions were precise, I found them excruciating to parse mainly because of the nested structures littered throughout the text. To remedy this difficulty, I broke the text down by isolating the instructions for each point (the instructions for any two points were separated by the word “to”). I then transferred these instructions to a table, and organized them by line number (1, 2, 3, or 4) and by point number (p1, p2). Within a given instruction, I found instances of nested points (halfway between a point halfway between) and color coded them for readability.

Screen Shot 2013-09-02 at 2.31.08 PM

I eventually generated a quadrangle from the instructions, but was not satisfied by the results. Particularly, I was unsettled by the ambiguity of this instruction:

A point where a line would cross the first line if it were drawn from the midpoint of the right side

This instruction, I found, allowed for an infinite number of points along a certain line. To be sure, Lewitt might have intentionally embedded ambiguity to allow for variation and an element of interpretation. And yet, this particular instruction stood in stark contrast to the specificity of the other instructions, all of which referred to a single point.


Instuctional Drawing Reversed

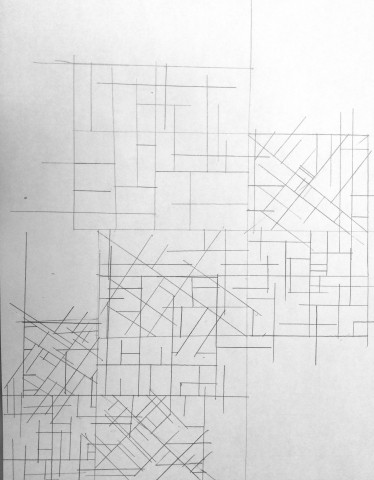
Instructions:

  1. Use a ruler for steps 1-8
  2. Draw a large X on one corner of your paper. So that it is made up of four 90 degrees angles
  3. Look at one 90 degrees angle. Draw another 90 degrees angle opposite of it so that it forms a rectangle with four 90 degrees angles but different lengths.
  4. Inside this rectangle draw another X formed with four 90 degrees angles. The middle of the X should NOT be the middle of the square. Likewise, the ends of the X do not need to meet the corners of the rectangle.
  5.  Using this X, draw a series of lines that are perpendicular to the lines used to form the X or perpendicular to the square around it. These lines can be long and lead off the square or be short and stay in the square.  Make sure you draw at least 25 lines in each square.
  6. Repeat steps 3-5 until the whole X that was originally drawn is covered
  7. Now repeat steps 2-6 so that another large X appears on your page. You are welcome to go over your previous X
  8. Repeat step seven as much as you want.

IMG_1125


Sol Lewitt

Sol Lewitts’s work was a challenge to execute because of the language he used in order to express it. The language itself is not advanced but is instead presented in a complex set of rules where it is hard to see where the instructions for one line begin and where it ends. It calls for a very focused endeavor by the participant to take each of his lines and execute it word for word. In a ways, this may mimic programming since a machine is built just for that, however, even a program would have a problem with the punctuation and confusion in Lewitt’s work. In this way, it seems to be something that only a tenacious human can work out and put together. The piece was hard enough that I began having to restart my work since it looked nothing like the quadrangle Lewitt’s promised at the beginning of his instructions.

IMG_1126

Lewitt

my Sol Lewitt piece.

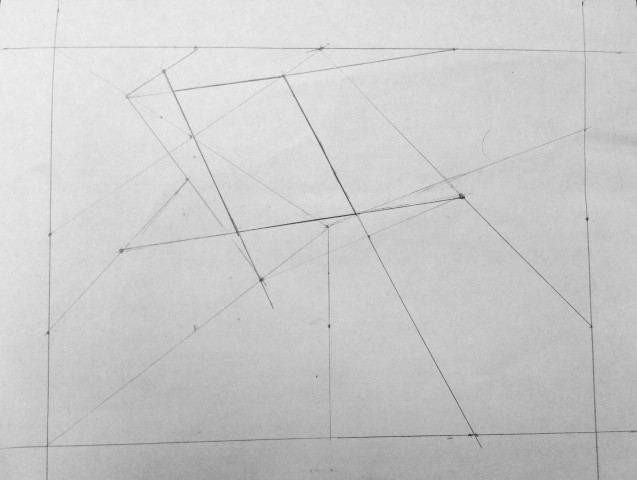
I actually found myself enjoying the work–untangling Lewitt’s instructions was fun, like solving a puzzle. I was lucky enough to have a ruler with me while working on this, so I found myself doing a lot of measuring to get precise halfway points. I initially set up a framework for myself by dividing the drawing space into equal quadrants, which made figuring out some of the points referenced a lot easier. I also threw the instructions into Photoshop and found myself hiding parts of the instructions I wasn’t working on and highlighting different smaller tasks within each instruction.

I really enjoyed this piece and would love to experience and construct more instruction-based work. It’s very much like programming an extremely advanced computer, intentionally leaving points of ambiguity or technical absurdity (the equidistant instruction comes to mind) seemed to produce delightful variations on each work as people worked to come up with ways to correct the original text.

Instructional Drawing

Orient the paper vertically. Draw a circle. Draw a curved line extending from the circle, curving away, that ends in a smaller circle. Repeat as space allows, moving from circle to circle.
 photo EMS2InstructionalDrawingECE_zpsc9e61fea.jpg
 photo EMS2InstructionalDrawingChem_zps453042fd.jpg
 photo EMS2InstructionalDrawingDesign_zps50913601.jpgMy attempt:
 photo EMSInstructionalDrawingMe_zps55c8e15c.jpg


The results of this drawing were very surprising. I asked an ECE major, a Chemistry major, and a Design major to complete the exercise. I found it amusing that the Designer’s approach came the closest to my own. In retrospect, my instructions lack specific size limitations on the circles and lines. While this leads to a wide range of possible outcomes, I’d like to see if the result drawings became more similar if more concrete instructions were given. Also, I think next time I’ll work with time limits. Interestingly, some attempts took much long than others, the longest being around 4 minutes. I’d like to see if injecting a long period of time into the instructions, for example if the participant was given an hour, would change the intensity or detail level within the work, or if it would cause the participant to give up.

Drawing in Reverse

Draw a straight line from the edge of the paper to a point within without reaching the edge of the paper. Draw a line perpendicular to the first, beginning at a point on the first line that is the length of your right thumbnail inwards along the line. From the end of this line draw a line parallel to the first, stopping at the end of the first line. Draw a line perpendicular to connect the lines. Draw lines partitioning the form into thirds. Draw lines partitioning those thirds into thirds. Draw partitions in the final three thirds, dividing those spaces into thirds. Repeat as space allows. Repeat these actions three times.
 photo EMS2Reverse1_zps0320a70c.jpg
 photo Ems2Reverse2_zps17a78ad1.jpg