Category: Assignment-02-Reverse

The formula is probably simpler than it looks

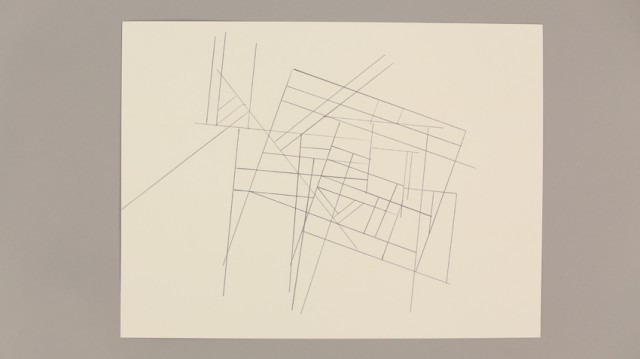
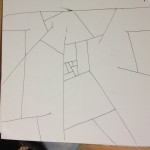
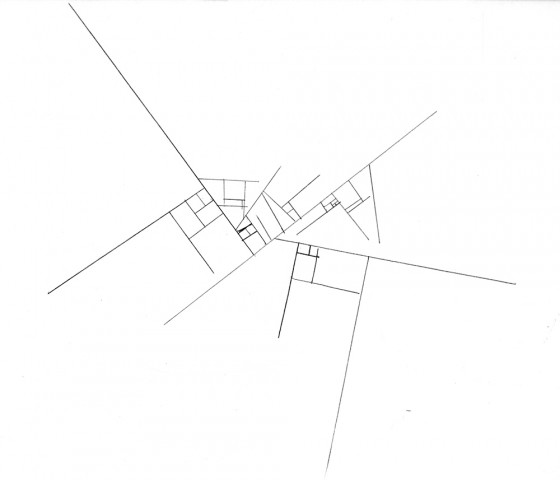
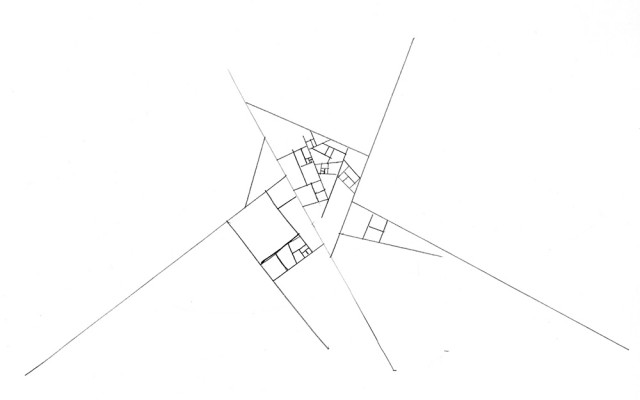
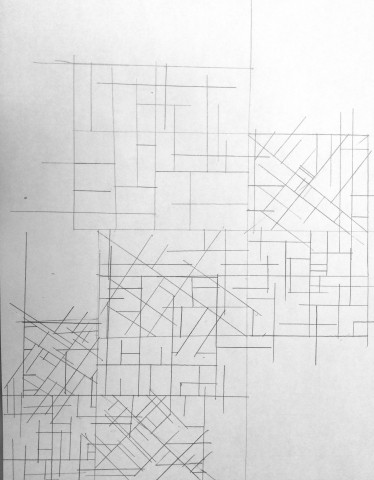
All lines drawn never intersect—only touch.

  1. Draw any number of straight lines at any angle to any length.
  2. From any point on those lines draw new straight lines perpendicular to the initial lines, continuing until the new line touches another line
  3. Repeat step 2 for each new generation of lines, keeping in mind to continue the line…
    1. Until it touches another line
      OR
    2. Until it reaches a point where it is perpendicular to a line from the generation before the previous one.
  4. Stop the process when you are satisfied with the composition

    [image scan pending]

Decoding drawing

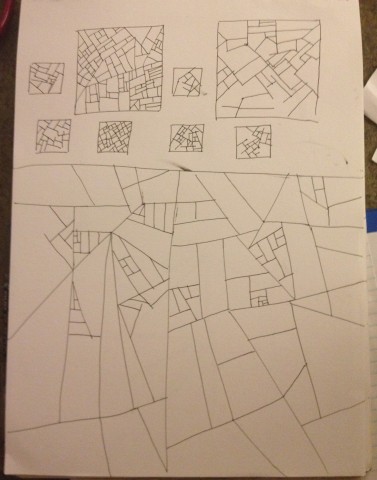
To find out which rules create this piece of art the first step is to view the picture analytically, then to word or set up  the rules and finally to test the rules and iterate them.

//1 draw randomly three lines on a piece of paper, these lines should’t be parallel or a lead.

//2 repeat drawing randomly leads from all existing lines, the lines are not longer than the longest of the lines.

IMG_0655

Reverse Arts-Engineering

ems2-yah004

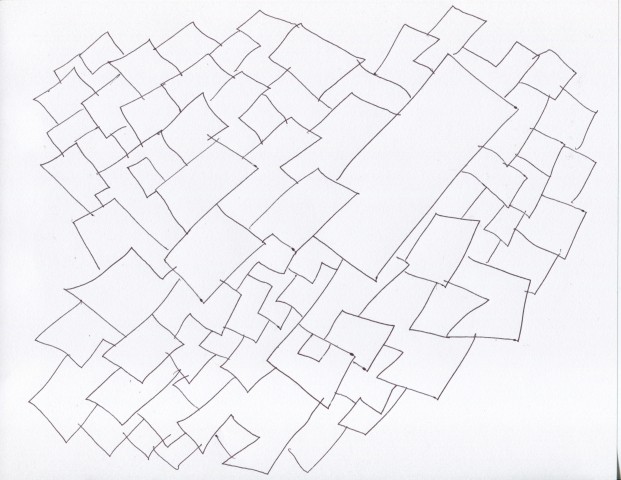
draw several straight lines onto the paper.

repeat:
1. draw lines off of existing straight lines forming an angle between 45 and 90 degrees.
2. if two lines are parallel, connect them with each other.

do not let any of the lines intersect.

end.

Instructional Drawing in Reverse

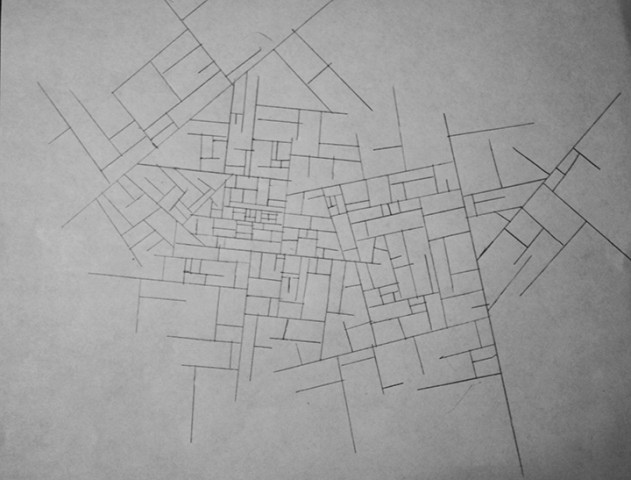
0. The drawing should make you think of layout of a city (or multiple separate cities).
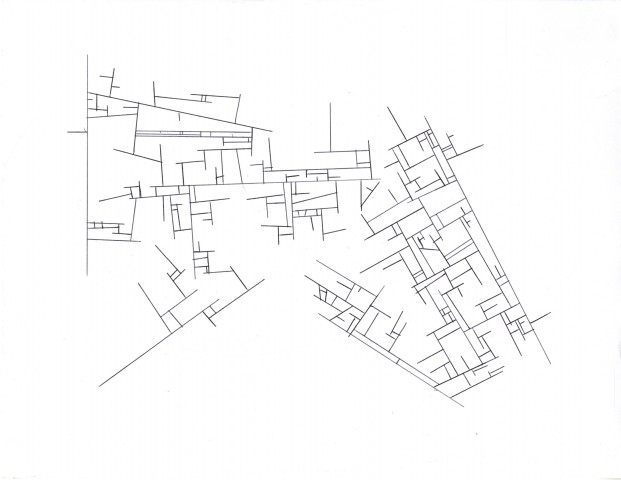
1. Draw 5 non-intersecting, non-parallel lines of various lengths on the paper.
2. For each of the 5 lines, on either side of the line, draw any number of perpendicular line segments of varying lengths starting from the line, such that these line segments do not cross any existing line segments (lines may touch).
3. Pick any existing line segment. Draw any number of perpendicular line segments extending from it such that the new segments do not cross any existing line.
4. Repeat step 3 to see enclosed shapes (mostly boxes) start to form. Stop when you are satisfied with the clusters of shapes.2013-09-03 10.18.45


Reverse Engineering Computational Drawing

Instructions

  1. Pick 3 random points.
  2. Draw lines toward the edges of the paper from those points.
  3. For each initial line, draw a line which branches off of the initial line which is perpendicular to it, that is going toward another initial line’s start point. End the line when it collides with another line or before then.
  4. Repeat step 3, branching off the lines you draw and the initial lines.
  5. Stop branching in an area when you form a shape with a very small area (e.g., smaller than the tip of a Crayola crayon.)

Photo Sep 02, 10 34 55 PMPhoto Sep 02, 10 35 47 PM

Photo Sep 02, 11 58 32 PM


Adam-Assignment-02-Reverse


  1. Lines may never cross
  2. The sum length of the lines making up a polygon must not be longer than half the width of the page
  3. Draw a polygon consisting of 3-6sides
  4. Repeat

Scan

Reverse

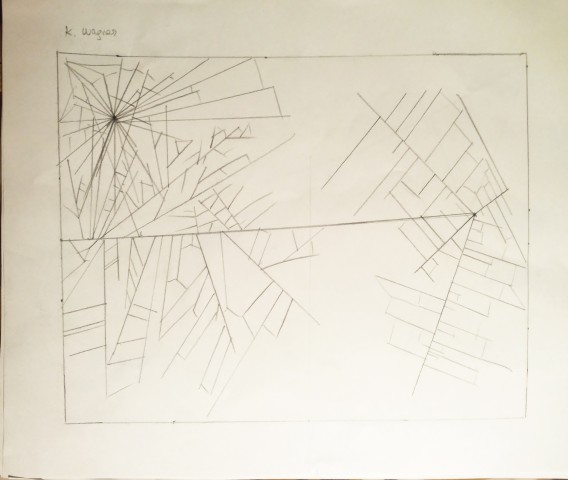
“First, mark a point midway between the midpoint of the center of the page and the midpoint of the right hand side of the page. Second, draw four lines of different lengths protruding from this same point. Then draw lines coming from these lines until you tire of drawing lines. Third, draw a line reaching from the midpoint between the upper left hand corner and the lower left hand corner to the first point you drew. Continue to draw lines protruding from this line. Now draw lines protruding from these lines. Fourth, mark a third point in the upper-left hand region of the page. Draw lines protruding from this dot for three minutes. Fifth, ensure that the majority of lines on the page are enclosed into boxes, with closed sides. No two boxes next to each other should be exactly the same size. Additional lines may be drawn to enforce this.”

NB: After drawing this, I realized there is no way it would ever return either of the sample algorithms. Mostly because of: (a) the line drawn connecting the midpoint of the left hand side and the first point drawn does not exist on one of the samples and (b) the lines coming from point c are not radial in nature. However, the possibilities continue to be endless in nature.

Here was my try at executing my own algorithm:
Reverse Kristina

Ralph-Assignment-02-Reverse

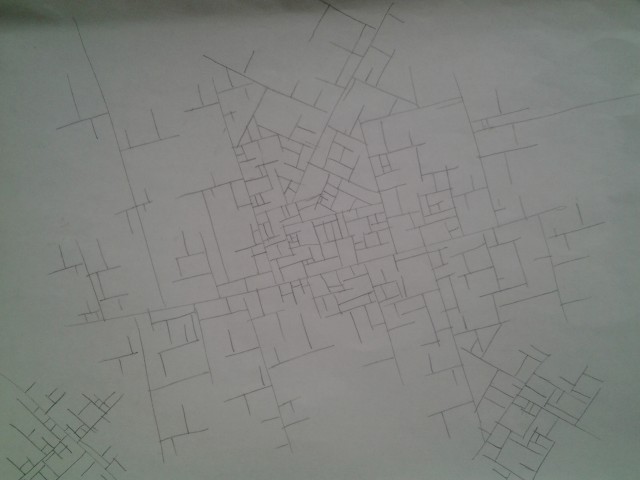
1. Scatter several straight lines of any length at any angle throughout a blank piece of paper.

2. Choose any line and draw a straight line approximately perpendicular to it. The new line should start from the other line and terminate before or when it reaches another line.

3. Repeat step 2 until an interesting composition arises.

ralph

esrever

  1. PERMANENT RULE: lines must never cross each other, but they may touch.
  2. Draw a line of any length and angle.
  3. Draw non-parallel lines of any length and angle branching off the line from #2 (or the perpendicular line, if #3 is reached from #5).
  4. Draw a line perpendicular to one of the lines. This new line should be of smaller length.
  5. You can skip this step, or repeat #3 on that perpendicular line.
  6. Keep drawing perpendicular lines to the previous line* from #4 (if you skipped #5) or #5 until a rectangle is made with a side made from that line*.
  7. Repeat #4 and #3 as much as you want in that rectangle.
  8. Repeat #3-7.
  9. If there are empty spaces you want to fill, repeat #2-7 until satisfied in other areas.

img009 img010(a more diligent person would recurse even more)

Instuctional Drawing Reversed

Instructions:

  1. Use a ruler for steps 1-8
  2. Draw a large X on one corner of your paper. So that it is made up of four 90 degrees angles
  3. Look at one 90 degrees angle. Draw another 90 degrees angle opposite of it so that it forms a rectangle with four 90 degrees angles but different lengths.
  4. Inside this rectangle draw another X formed with four 90 degrees angles. The middle of the X should NOT be the middle of the square. Likewise, the ends of the X do not need to meet the corners of the rectangle.
  5.  Using this X, draw a series of lines that are perpendicular to the lines used to form the X or perpendicular to the square around it. These lines can be long and lead off the square or be short and stay in the square.  Make sure you draw at least 25 lines in each square.
  6. Repeat steps 3-5 until the whole X that was originally drawn is covered
  7. Now repeat steps 2-6 so that another large X appears on your page. You are welcome to go over your previous X
  8. Repeat step seven as much as you want.

IMG_1125