Category: Assignment-02-Instructional

Name Butterfly(?)

DEF FIRST NAME BUTTERFLY

You will be generating a design using your first name.

Please use UPPERCASE LETTERS throughout the process

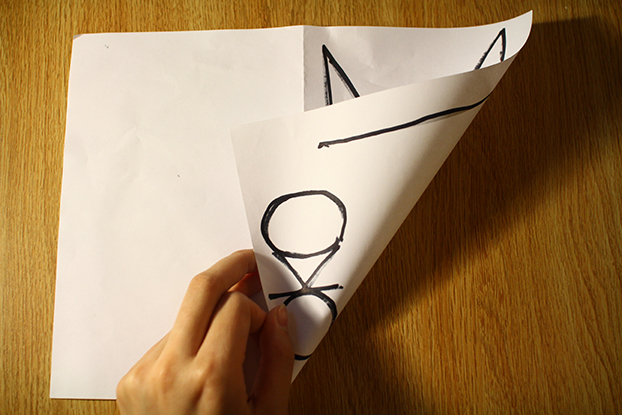
  1. Fold the paper in half, and position it so that the opening of the fold is on the right, with the spine of the fold on the left.
  2. Write the first letter of your name so that it takes up the entire half-page leaving a half-inch margin on the top, bottom and right sides of the page.
  3. Write the next letter of your name within a space created by the form of the previous letter.
    • Extend the ends of the next letter so that it touches the lines of the previous letter
    • Make sure the next letter is centered within the space it occupies
  4. Repeat step 3 for each letter of your first name until you are done
  5. Flip the folded paper over and mirror the design. Place it over a lightbox or some sort of flat light source so that your design can be more easily traced.
  6. Unfold. Your design is complete

END

———————————————-
I got the idea for this set of instructions while trying to brainstorm my personal brand, paying around with typeforms and their placement. I decided to tie my major of communication design with my love for generative art based upon input of a user’s personal information–in this case, their first name.

I struggled a lot with finding that balance between defining what I would have liked to see with allowing for some sort of variation. In my original instructions I actually included a diagram to make sure that my intentions were clear. However, I realized that this could be restricting. So I tried both set of instructions.blahaha
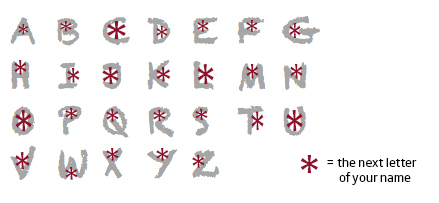
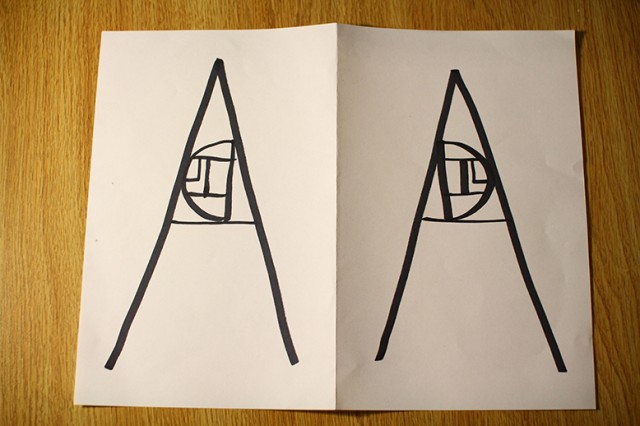
WITH DIAGRAM:
IMG_9113 IMG_9114


WITHOUT DIAGRAM:
IMG_9115 IMG_9117

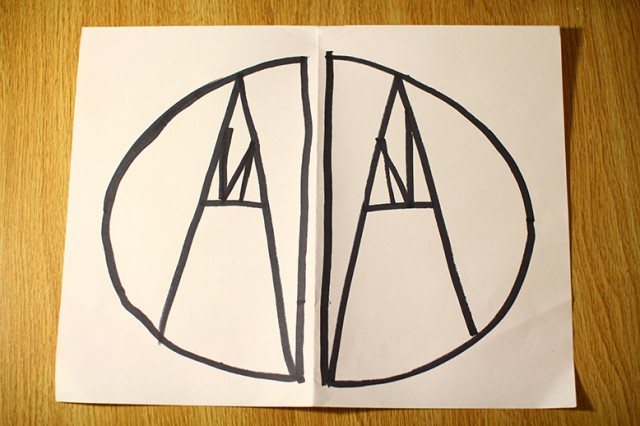
Between the two sets of instructions, the output was generally the same. However, it was interesting to see that even though the diagram was meant to facilitate a better understanding , my participants still struggled with figuring out the placement of letters. This could be due to one of the flaws in my algorithm, which is its lack of accounting for long names. The design was limited in the sense that it would only show 4-6 letters at most because of size limitations. This left many of my longer-named participants nervous as opposed to those who shorter names who seemed to enjoy the exercise more, seeing the merits in it as “a way of creating personal logos”. When the instructions worked as intended they produced results pretty close to what I was aiming for. However there were a couple instances where some misinterpretations of language happened, such as this instance:
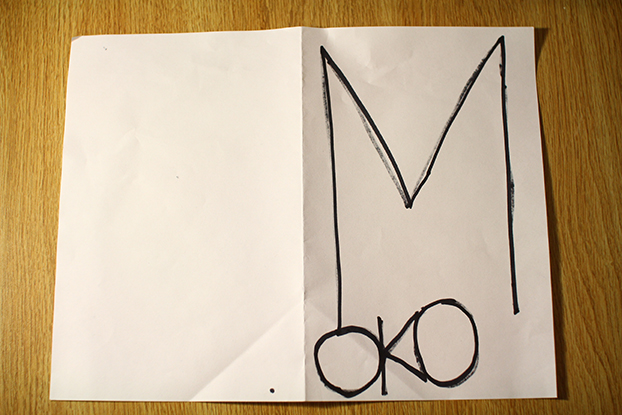
IMG_9119 IMG_9120

I’d like to try out this exercise again sometime, but perhaps with some tweaks to the way the instructions are laid out, greater standardization of the sharpies used (no shifting between fine point and chisel tip), or perhaps just doing this on the computer to get really accurate.
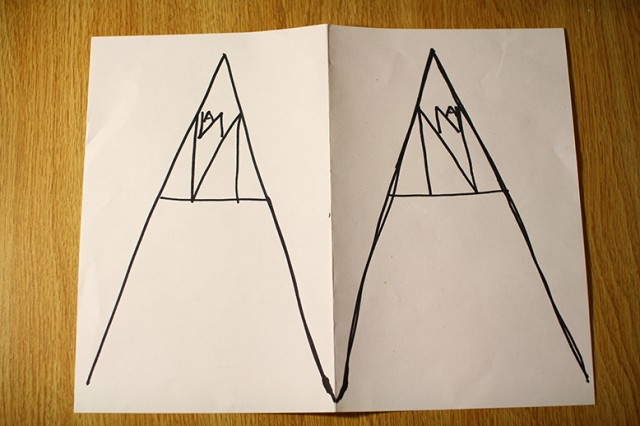
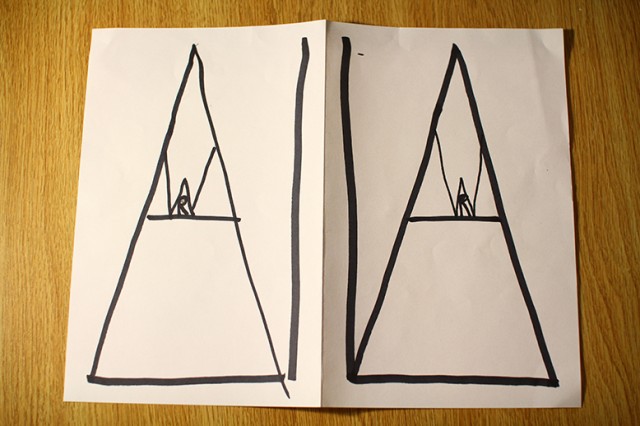
I thought it would be simple

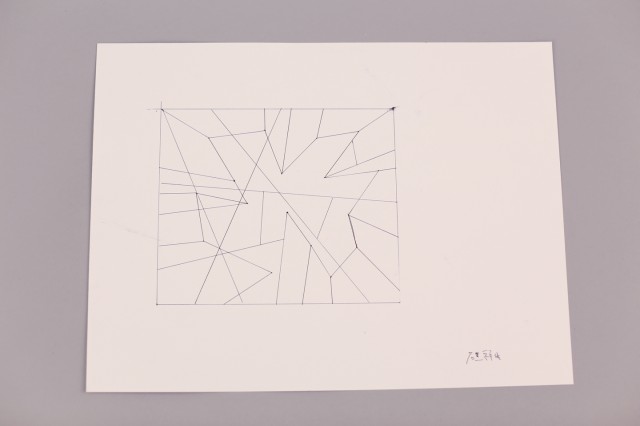
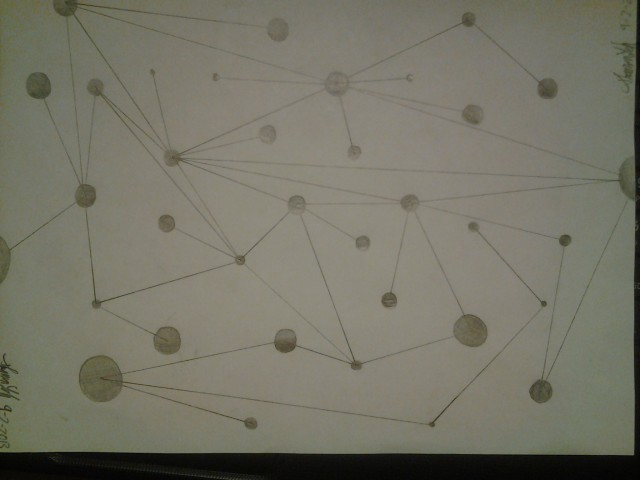
Instructions: Hello_  take paper_ and a pencil_ orientation paper=_ landscape_ draw rectangle which is_ width>1/2 paper height>1/2 paper_ randomly draw 17_ nodes in the rectangle_ choose one node_ connect all nodes from this_ node without stopping to draw_ draw lines from all nodes to the borders_ of the rectangle randomly_ draw as many lines as you want_ sign your drawing on_ the right bottom of paper

IMG_0656

IMG_0661

The breaking point of the instruction was where does one command start and end. Because all instructions were not visible at once it was interesting who reads further. This was the point where the drawings differ.

Conclusion: My code was not clear and distinct enough. And I thought my code would be super simple but it wasn’t, the people read maybe the instructions twice or three times.

Fun fact: Everybody was afraid to mess the drawing up…

IMG_0681 IMG_0682 IMG_0683 IMG_0684

Instructional drawing

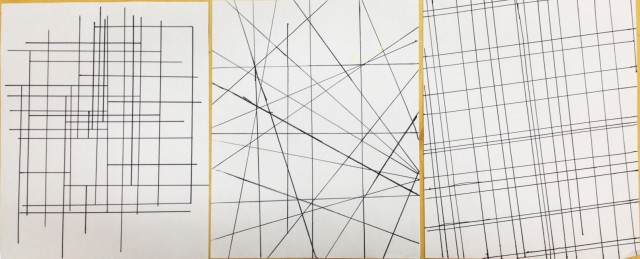
Although I did expect a variant in the art that was produced from this assignment, I did not feel as if the participants themselves would be as surprised as they were about the piece. My participants all created the piece believing that their method of following instructions was what everyone else used. Afterwards, when I showed them the pieces that others created, many of them were surprised that the instructions had produced such a variant and were especially surprised to see that there were different ways to understand the instructions. In retrospect, I felt as if I should have made the instructions more challenging or detailed however I can also appreciate the simplicity of the instructions since the participants were enjoying themselves as they took the instructions to new lengths.

Instructions:

  1. Hello.
  2. Acquire a tool with a straight edge. The tool does not matter, just the edge.
  3. Now that you have your tool, draw a line across your page using the straight edge of your tool.
  4. Once again using the straight edge of your tool, draw a line directly perpendicular to the previous line. Using a protractor to measure the angle of this line is not required. Just eyeball it.
  5. Now repeat step 4.
  6. Repeat step 5.
  7. Repeat step 6.
  8. Look at the clock or any other device that can allow you access to a clock. Memorize the time. Repeat steps 4-7 until 5 or more minutes have passed.
  9. Using the edge of your tool carefully draw one final line through your drawing that ends roughly an inch away from the border of the page.

photo

Instructional Drawing

1. Draw 36 small circles randomly scattered on the paper. Fill in the circles.
2. Pick 2 random circles such that neither is connected. Draw a path between them such that
– the path does not cross any existing paths nor circles
– the path consists of only connected line segments
– the path consists of fewest number of line segments possible
3. Repeat step 2 until there are no unconnected circles left.

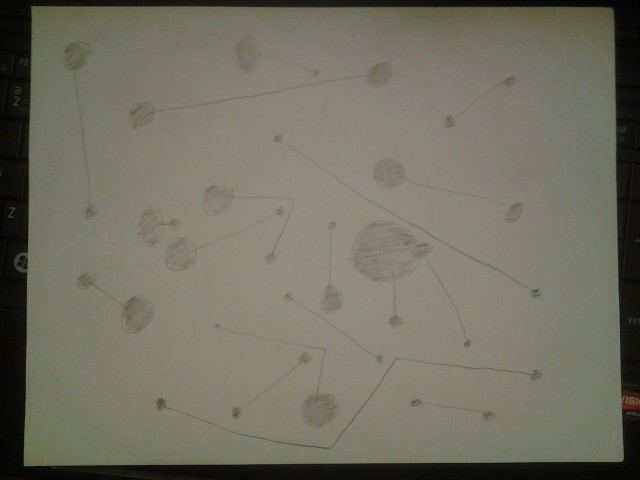
Here are the 3 results:

2013-09-03 00.16.22 2013-09-03 00.17.24 2013-09-03 00.17.49

I should have specified that the circles don’t overlap. The circles should also be paired up to be connected to each other and not any other circles. I considered describing the circles as “lone nodes” (for my fellow comp sci majors) in step 2, but decided against it last minute. Now I think I should have included that part after all. The pairs of circles should be chosen at random, but it seems like they all mostly chose the pairs to be close-by circles to draw straight lines with.

The 3 samples ended up looking like constellations, which was unintended, but pretty cool. I found it amusing how they all put in effort to make each circle interesting (note those 3-D shading).

My initial draft (with fewer circles), was inspired by circuit boards, in case you’re curious.

2013-09-03 00.18.24

Instructional Drawing

Preface

My instructional drawing task emphasizes these two points of the Conditional Design Manifesto.

The process is the product.

Input should come from our external and complex environment: nature, society and its human interactions.

Instructions

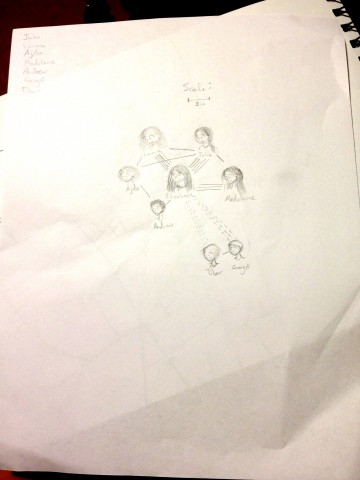
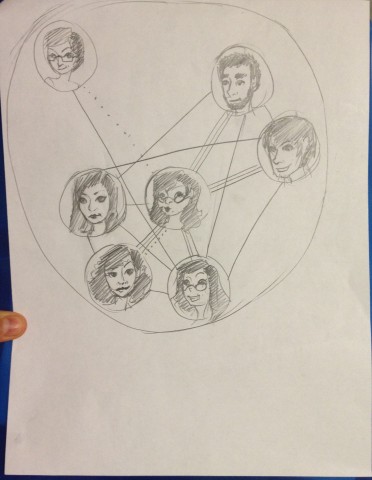
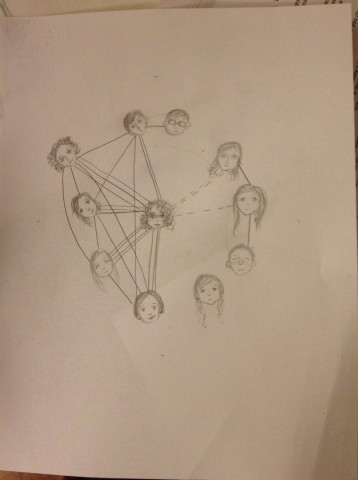
  1. Write down a list of your closest friends. Keep it under 10 people.
  2. Draw a self portrait in the middle of the page. Keep it small and simple—not much bigger than your thumbnail.
  3. You’re going to draw each friend’s thumbnail portrait so they form a circle around you. Try to place friends who know each other adjacent to each other. Keep this in mind as you follow the next set of instructions for each friend.
  4. If the friend lives within walking distance, draw them about 1 inch away frm you. If they live within driving distance, draw them 2 inches away. If they live within plane-flying distance, draw them 3 inches away.
  5. Draw lines between friends that know each other.
  6. If you’ve seen them in person in the past week, draw a line between you and them. If you’ve seen them multiple times, draw several lines.
  7. If you’ve digitally communicated with them in the past week, draw a dotted line between you and them. If you’ve communicated multiple tiems, draw multiple dotted lines.

Output

e-edit

Photo Sep 02, 10 58 23 PM

Photo Sep 02, 11 42 08 PM

l-edit


Evaluation

My intention for this drawing task was to get people to reflect on their relationships with close friends and how they maintain those relationships. Based on casual feedback from classmates who did this task, it did achieve that.

People got confused by the sequence of instructions (especially regarding the spacing of friends in a circle around the drawer). The other piece that I should have emphasized was that the drawings were intended to be simple (I was expecting more stick-figure type drawings), and that people could have erased the names of friends to protect privacy.

The drawings that the instructions generated were interesting in a conceptual sense, but I think I could try to tinker with the instructions to make the drawings more aesthetically appealing.

Adam-Assignment-02-Instructional

Screen Shot 2013-09-02 at 10.15.30 PMScan Scan 4 Scan 5

Scan 6


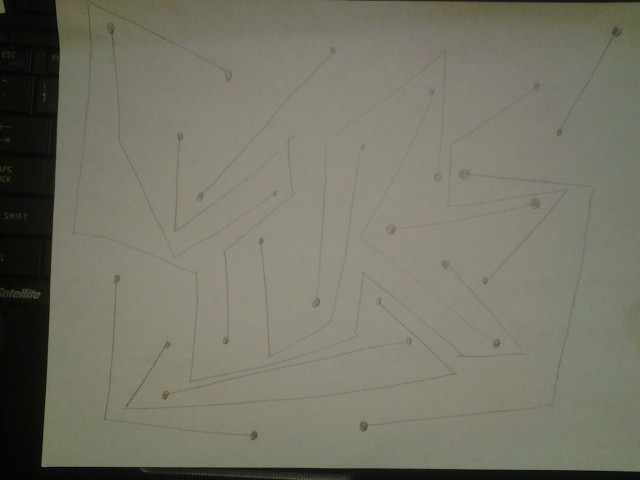
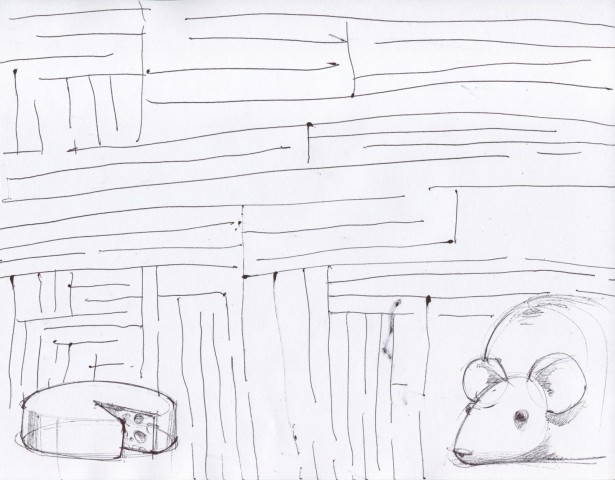
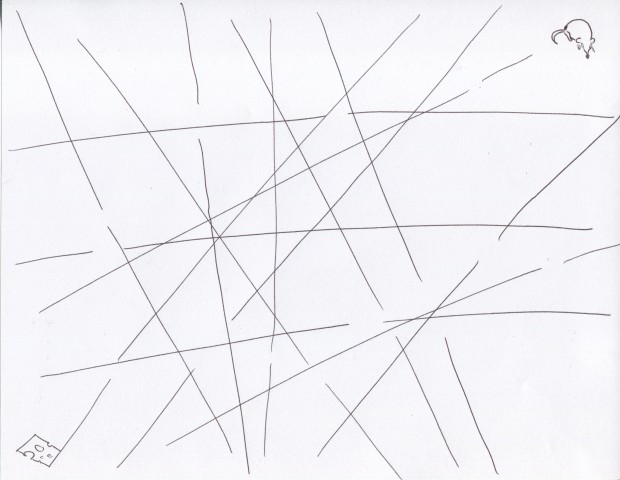
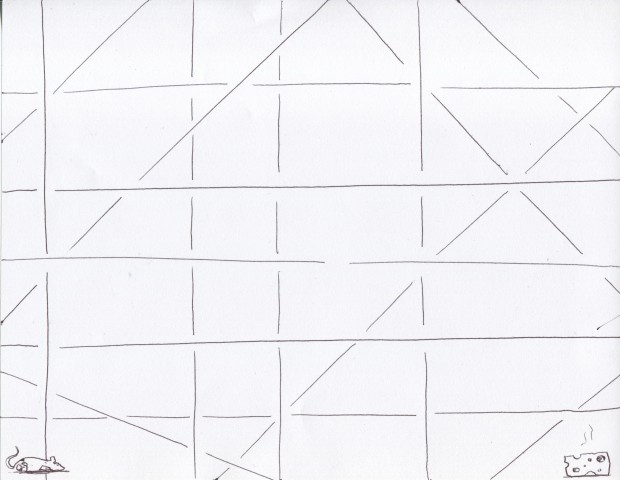
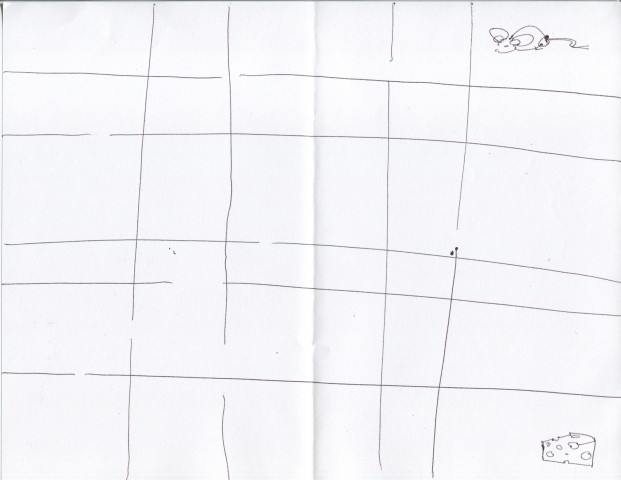
two out of four of my test subject misinterpreted my instructions and actually drew what I had intended them to draw – a maze.

I made the mistake of not defining the condition that would make them stop drawing a line when that line was about to intersect a line that had been previously drawn.

Surprisingly only one exclaimed that I had got them to draw a maze while they were still in the process of drawing. The others only made the realisation after finishing and looking back at their work.  The subject who made the realisation actually exclaimed “hah, now the mouse can’t get the cheese” – he purposely blocked off the cheese. The environment and interpretation of my intentions in giving them the task affected the image that he drew.

I think that this might be an interesting starting point for and idea to try on Mechanical Turk – getting people to generate mazes which other people then solve.

Instructional

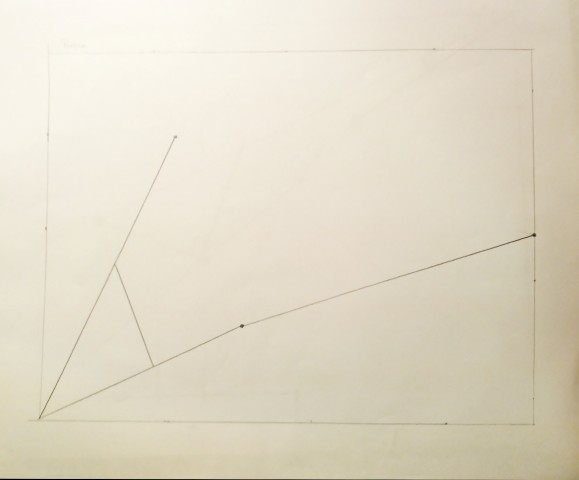
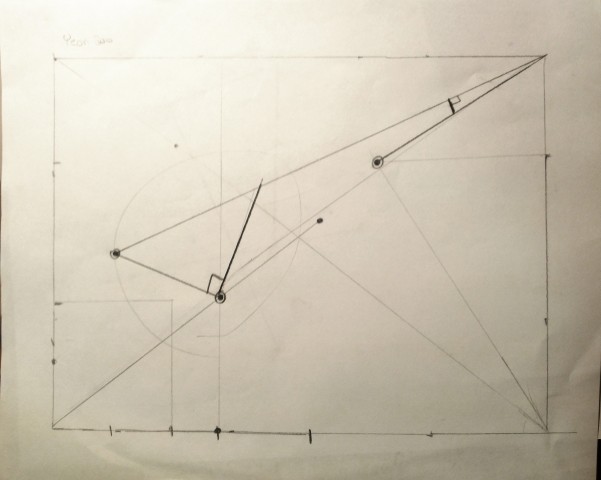
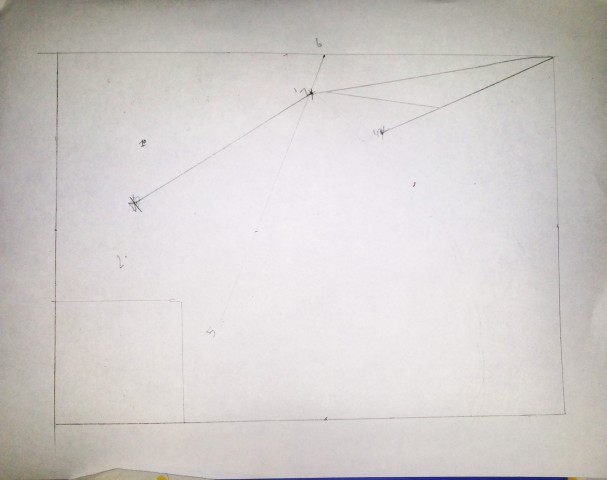
“First, mark three dots on your page: the first dot should be halfway between the midpoint between the upper left hand corner and the midpoint between the center of the page and the midpoint of the left hand side and the bottom left hand corner of square with sides each a third of the length of the short side of the page. The second should be two thumbs up from the bottom right hand corner of the page at an angle of sixty degrees. The third should be along the radius produced by your fingertips when your wrist is placed on the bottom left hand corner of the page, where a line drawn where the first point halfway between the midpoint of the bottom side and the midpoint of the midpoint of the bottom side and the second point is the midpoint of the upper side crosses the radius. Next, join the first point and the third point. Then join the third point and the upper right hand corner, and the upper right hand corner and the second point. Draw a line which forms a triangle with height of 5cm between these two lines.”

The following are the three results other people obtained “compiling” by “code”. One thing that surprised me was that all two of my roomates decided to make the triangle a right-angled triangle, where one side is 5cm tall rather than making an isosceles triangle with overall height of 5 cm, which was what I would have done automatically. Second, all three asked me for a protractor in the middle. (I do not have one.) I had intended for the angle to be more of an indication than a precise measurement. Finally, I had intended for the triangle to show up in very near the center of the image, but slightly off to the side and slightly upwards in a “rule of thirds” fashion. This… did not come through. (I suppose using units like “thumb” and “radius of fingertips” did not help this.) Next time I will have to try to make composition a stronger element, and perhaps deviate somewhat from LeWitt and create a more artistic formula like those shown in the video.

Instructional Pragnatrial3

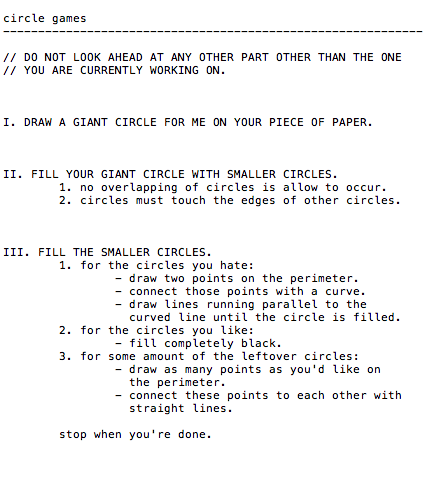
Circle Games [Instructional Drawing]

Screen Shot 2013-09-02 at 4.50.41 PM

I originally intended to use arbitrary numbers picked by the artist at the beginning of the instructions, but felt that referring back to the numbers was too complicated. Were I to rewrite my instructions, I’d have them generate variables at the beginning as I originally intended.


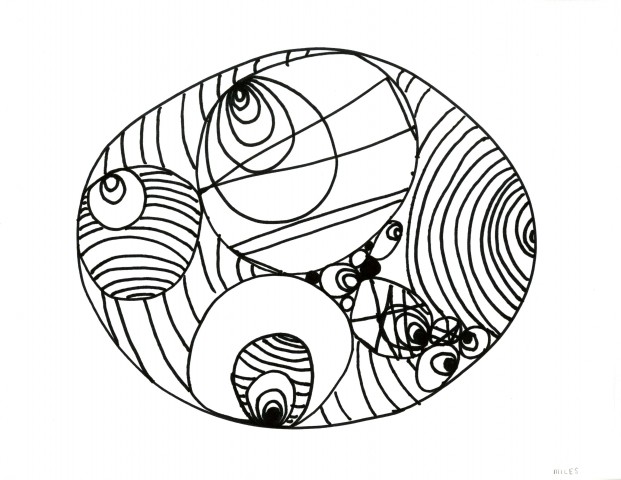
ems2-instr-003I was a bit worried when I received my first drawing. I had intended for circle packing to occur within one, larger circle, but this person clearly did not interpret the instructions that way!

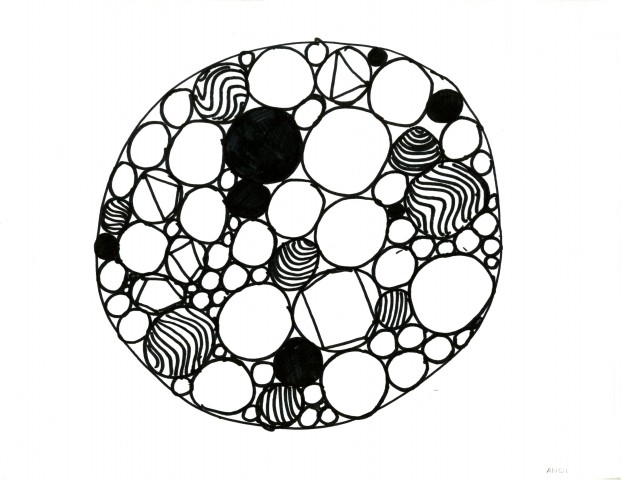
ems2-instr-002This was most in line with what I had envisioned a completed drawing to be. I was intrigued by the fact that this artist decided to created shapes as opposed to nets with the straight lined option.

ems2-instr-001


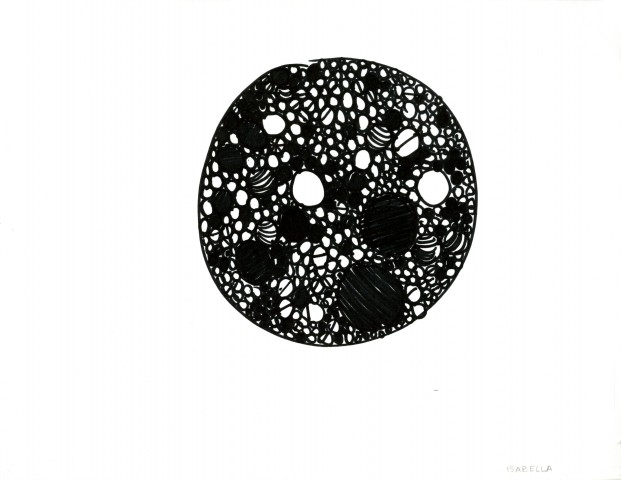
I felt bad for this artist, she spent a long time creating very small circles, only to find that she had to fill them in! Preventing the artists from seeing the future steps led to more interesting circle packing shapes, of which I’m pleased with. Overall the instructions created three very different pieces, while still maintaining a common aesthetic.


Tree Rings

PROCESSDRAWING copy

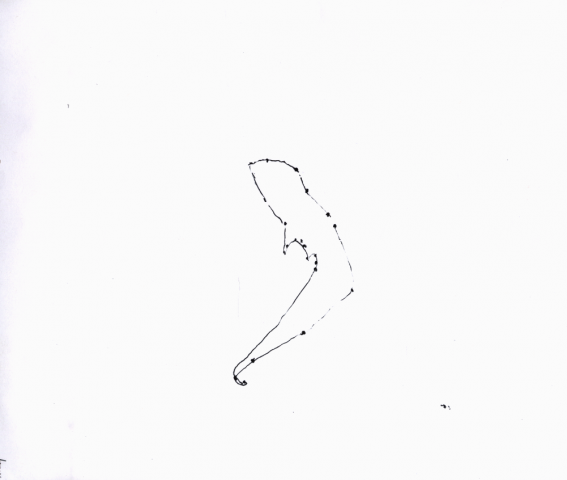
My instructions create a scenario in which the participant must defer bodily control to a process. I put particular emphasis on eye movements and blinking. In the context of Tree Rings, the participant’s line of sight and blinking speed are signals that control point position and point generation respectively. Ideally, the piece fosters a sense of closing in as the “bounded region” approaches a single point.

drawing1high

This result revealed a serious hole in the logic of my instructions. Namely, that it’s possible to stare at any fixed point to satisfy the end condition. In the above case, the participant stared at some fixed point after only one iteration.

drawing2high drawing3high


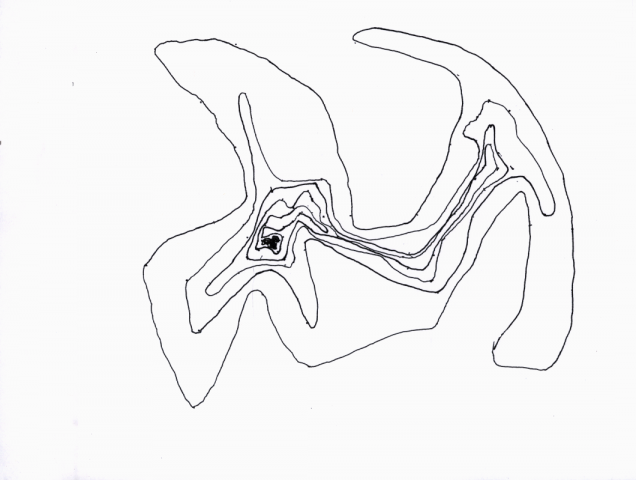
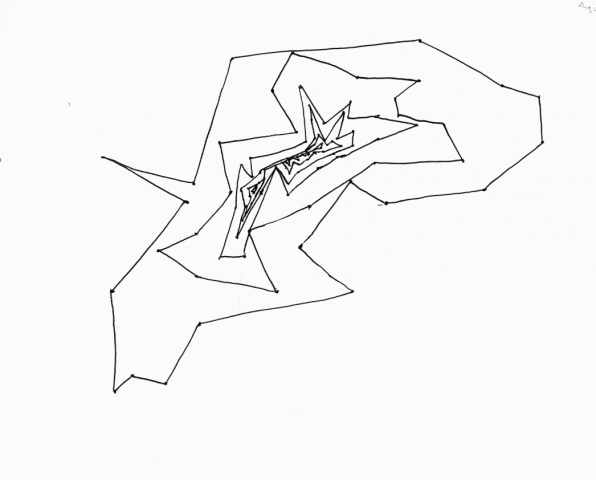
These last two examples illustrate the ambiguity (delicious, I hope) of the instruction “connect each point.” One participant opted to connect the points with curvilinear lines, resulting in flowing, topographic contours, while the other connected the points with straight lines, resulting in more jagged contours.

I made an effort to avoid instructions that would generate arbitrary doodles. However, there are aspects of the drawings that are arbitrary, just as there are aspects that resemble doodles. I don’t think that these qualities are bad in themselves. In fact, it seems like the most interesting processes anticipate and account for randomness and choice.


Instructional Drawing

Orient the paper vertically. Draw a circle. Draw a curved line extending from the circle, curving away, that ends in a smaller circle. Repeat as space allows, moving from circle to circle.
 photo EMS2InstructionalDrawingECE_zpsc9e61fea.jpg
 photo EMS2InstructionalDrawingChem_zps453042fd.jpg
 photo EMS2InstructionalDrawingDesign_zps50913601.jpgMy attempt:
 photo EMSInstructionalDrawingMe_zps55c8e15c.jpg


The results of this drawing were very surprising. I asked an ECE major, a Chemistry major, and a Design major to complete the exercise. I found it amusing that the Designer’s approach came the closest to my own. In retrospect, my instructions lack specific size limitations on the circles and lines. While this leads to a wide range of possible outcomes, I’d like to see if the result drawings became more similar if more concrete instructions were given. Also, I think next time I’ll work with time limits. Interestingly, some attempts took much long than others, the longest being around 4 minutes. I’d like to see if injecting a long period of time into the instructions, for example if the participant was given an hour, would change the intensity or detail level within the work, or if it would cause the participant to give up.