Project 4: Final Days…

by Ben Gotow @ 3:16 am 25 April 2011

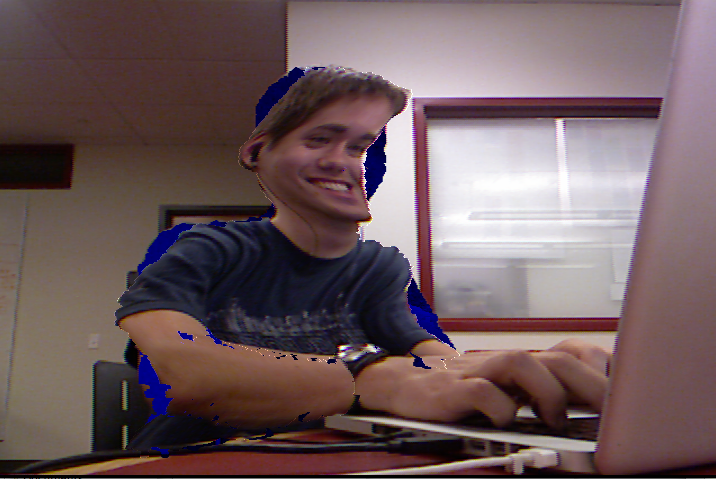
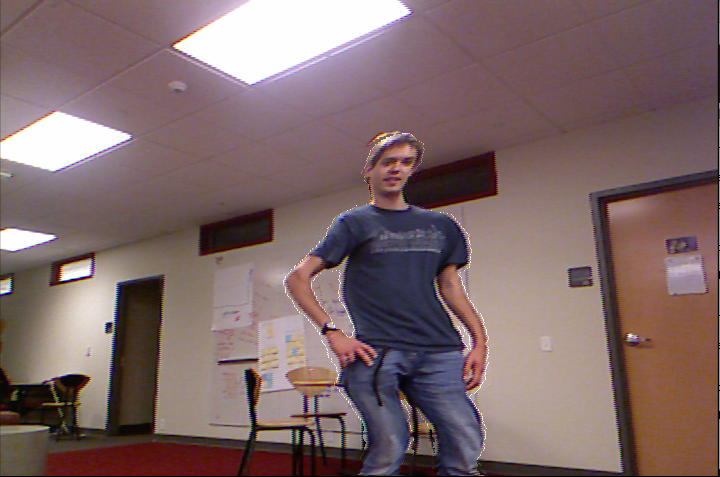
For the last couple weeks, I’ve been working on a kinect hack that performs body detection and extracts individuals from the scene, distorts them using GLSL shaders, and pastes them back into the scene using OpenGL multitexturing. The concept is relatively straightforward. Blob detection on the depth image determines the pixels that are part of each individual. The color pixels within the body are copied into a texture, and the non-interesting parts of the image are copied into a second background texture. Since distortions are applied to bodies in the scene, the holes in the background image need to be filled. To accomplish this, the most distant pixel at each point is cached from frame to frame and substituted in when body blobs are cut out.

It’s proved difficult to pull out the bodies in color. Because the depth camera and the color camera in the Kinect do not align perfectly, using a depth image blob as a mask for color image does not work. On my Kinect, the mask region was off by more than 15 pixels, and color pixels flagged as belonging to a blob might actually be part of the background.

To fix this, Max Hawkins pointed me in the direction of a Cinder project which used OpenNI to correct the perspective of the color image to match the depth image. Somehow, that impressive feat of computer imaging is accomplished with these five lines of code:


// Align depth and image generators
printf("Trying to set alt. viewpoint");
if( g_DepthGenerator.IsCapabilitySupported(XN_CAPABILITY_ALTERNATIVE_VIEW_POINT) )
{
printf("Setting alt. viewpoint");
g_DepthGenerator.GetAlternativeViewPointCap().ResetViewPoint();
if( g_ImageGenerator ) g_DepthGenerator.GetAlternativeViewPointCap().SetViewPoint( g_ImageGenerator );
}

I hadn’t used Cinder before, and I decided to migrate the project to Cinder since it seemed to be a much more natural environment to use GLSL shaders in. Unfortunately, the Kinect OpenNI drivers in Cinder seemed to be crap compared to the ones in OpenFrameworks, et. al. The console often reported that the “depth buffer size was incorrect” and that the “depth frame is invalid”. Onscreen, the image from the camera flashed and occasionally frames appeared misaligned or half missing.

I continued fighting with Cinder until last night, when at 10PM I found this video in an online forum:

This video is intriguing, because it shows the real-time detection and unique identification of multiple people with no configuration. AKA it’s hot shit. It turns out, the video is made with PrimeSense, the technology used for hand / gesture / person detection on the XBox.

I downloaded PrimeSense and compiled the samples. Behavior in the above video achieved. The scene analysis code is incredibly fast and highly robust. It kills the blob detection code I wrote performance-wise, and doesn’t require that people’s legs intersect with the bottom of the frame (the technique I was using assumed the nearest blob intersecting the bottom of the frame was the user.)

I re-implemented the project on top of the PrimeSense sample in C++. I migrated the depth+color alignment code over from Cinder and built a background cache and rebuilt the display on top of a GLSL shader. Since I was just using Cinder to wrap OpenGL shaders, I decided it wasn’t worth linking it in to the sample code. It’s 8 source files, it compiles on the command line. It was ungodly fast. I was in love.

Rather than apply an effect to all the individuals in the scene, I decided it was more interesting to distort one. Since the PrimeSense library assigns each blob a unique identifier, this was an easy task. The video below shows the progress so far. Unfortunately, it doesn’t show off the frame rate, which is a cool 30 or 40fps.

My next step is to try to improve the edge of the extracted blob and create more interesting shaders that blur someone in the scene or convert them to “8-bit”. Stay tuned!
Caitlin Boyle && Asa Foster :: We Be Monsters Thoughts & Updates

by Caitlin Boyle @ 10:08 am 30 March 2011

We Be Monsters :: A Prezi

Mark Shuster – Project 4 – Looking Outwards

by mshuster @ 6:06 am

Incoming…

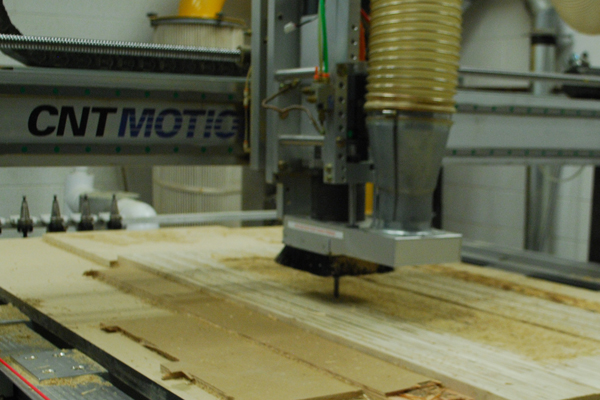
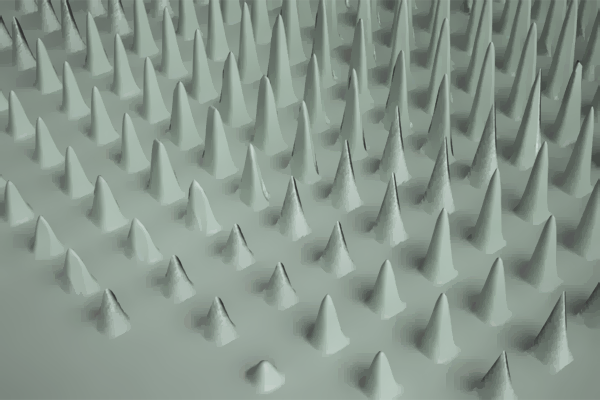
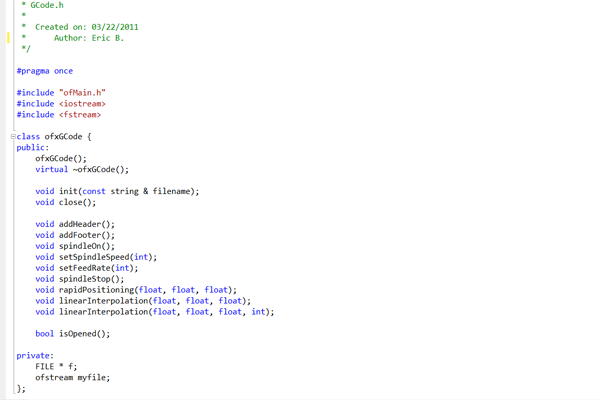
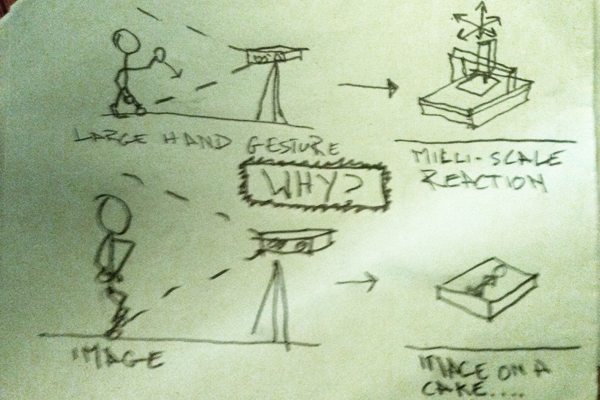
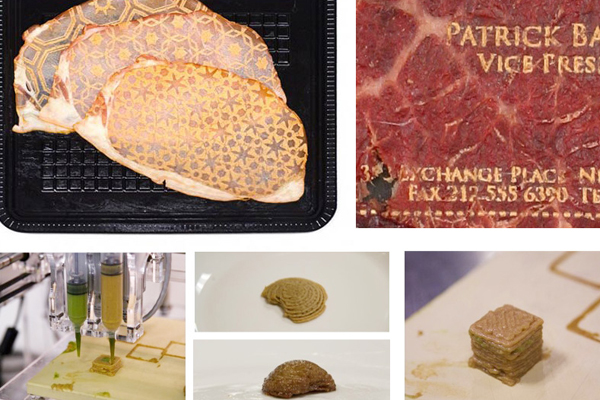
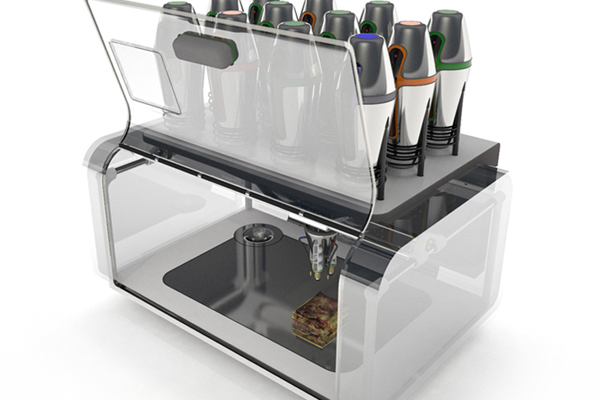
Eric Brockmeyer – CNC Gastronomy Update

by eric.brockmeyer @ 12:55 am

INSPIRATION

DESIGN IDEA

TECHNICAL HURDLES

SKETCH

IDEAS

micro presentation

by Chong Han Chua @ 11:30 pm 29 March 2011

Ben Gotow-Five slides for final project

by Ben Gotow @ 10:43 pm

Project 4 – Algorithimic Seashells

by Max Hawkins @ 6:18 am 28 March 2011

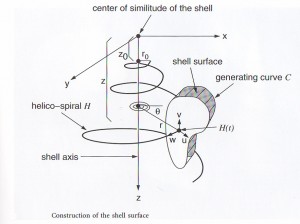
In this project, I explored the mathematical equations that describe seashells. After reading Hans Meinhardt’s excellent book The Algorithmic Beauty of Sea Shells I discovered that relatively simple equations can be used to describe almost every natural shell.

r=aebθ

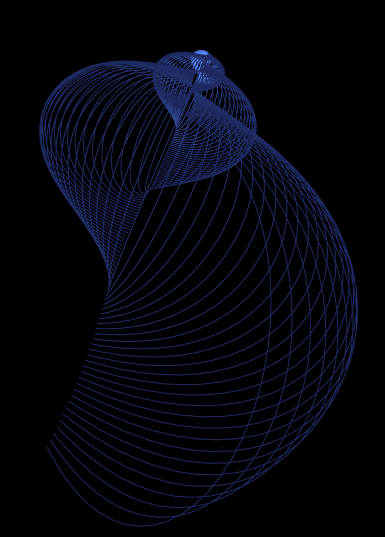
By revolving a curve (usually a semicircle) around this helicospiral, a curve can be generated that describes almost any natural shell.

I used Cinder to generate a polygon mesh approximating the curve. This gave me an opportunity to experiment with OpenGL vertex buffer objects and Cinder’s VBOMesh class.

At this point, I assumed getting lighting and texturing working would be relatively simple. However, it turns out that knowing how OpenGL works is quite different from knowing how to make something with it. The final results were quite humbling:

Perhaps the most interesting thing about the model is its ability to generate plausible (though unnatural) forms. Many of the forms created have no analog in nature, but seem like they could.

In future iterations of this project, I plan to conquer proper OpenGL lighting and possibly more advanced techniques such as ambient occlusion and shadow mapping. In addition, I would like to texture the shells with reaction diffusion patterns which was the original focus of my project.

Meg Richards – Project 4

by Meg Richards @ 7:29 pm 23 March 2011

Embarrassing Placeholder

Alex Wolfe | Project 4 | Flocking Bling

by Alex Wolfe @ 7:15 pm

I began this project with the idea of creating generative jewelry. A generative system easily wraps up the problem of how to make a visually cohesive “collection” while still leaving a lot of the decisions up to the user. I also love making trinkets and things for myself, so there you go.

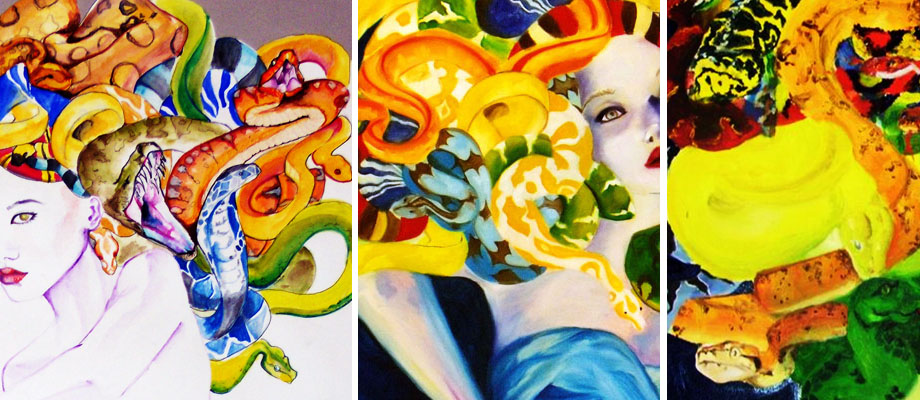
My immediate inclination when starting this was snakes. Being one of the few images that I’ve obsessively painted over and over (I think I did my first medusa drawing way back freshman year high school, and yes, finally being over the [terrifying] cusp of actual adulthood, this now qualifies as way back ), I grown a sort of fascination with the form. Contrary to the Raiders of the Lost Ark stereotype, snakes can be ridiculously beautiful, and move in the most lithe/graceful fashions. Painting the medusas, I also like the idea of them being tangled up in and around each other and various parts of the human body, and thought it would be awesome to create a simulate that, and then freeze them in order to create 3D printable jewelry

three medusas, including the horrible one from high school

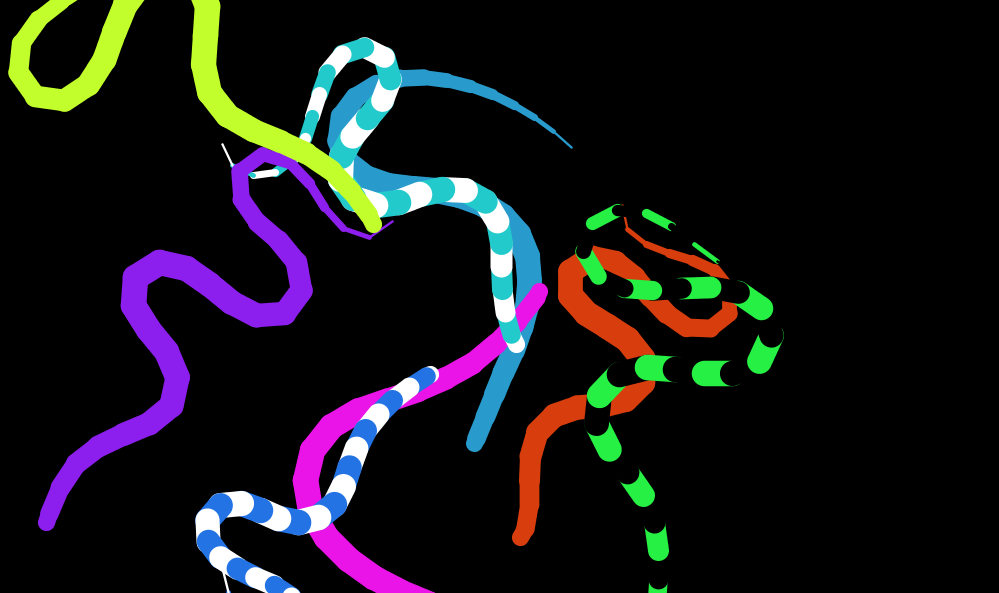
I quickly drafted a Processing sketch to simulate snake movement, playing around with having randomized/user controlled variables that drastically altered the behavior of each “snake”. Okay cool, easy enough.
(I can’t get this to embed for some reason, but you can play around with the app here. Its actually very entertaining)


snakesnakesnake

I then ran into this post on the barbarian blog talking about how then went about making an absolutely gorgeous snake simulation in 3D (which I hadn’t quite figured out how to do yet). So I was like no sweat, VBOs, texture mapping, magnetic repulsion?? I’ve totally got three more days for this project, it is going to be AWESOME.

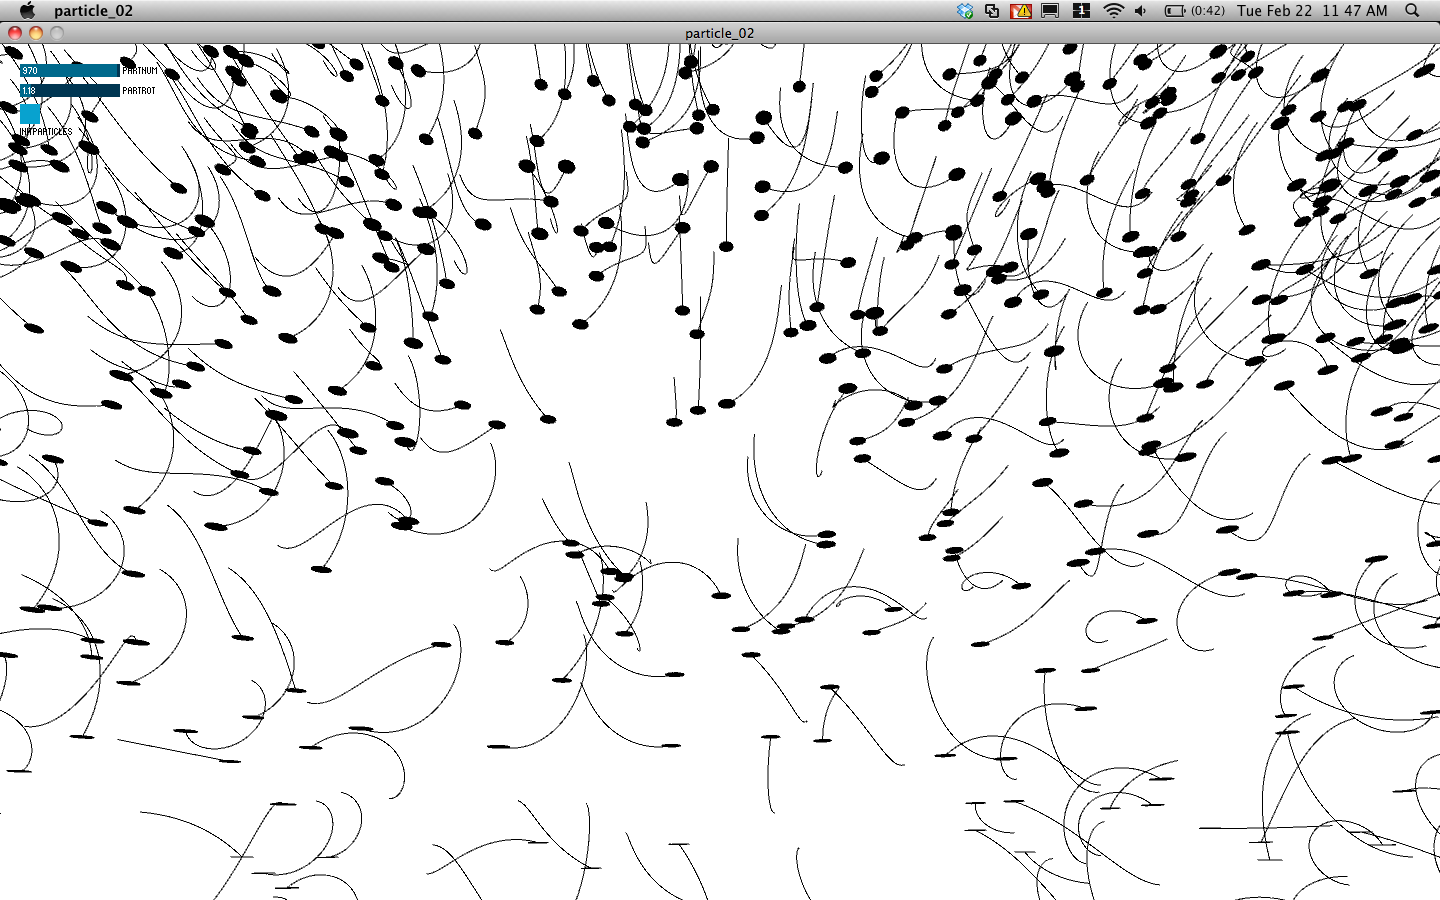
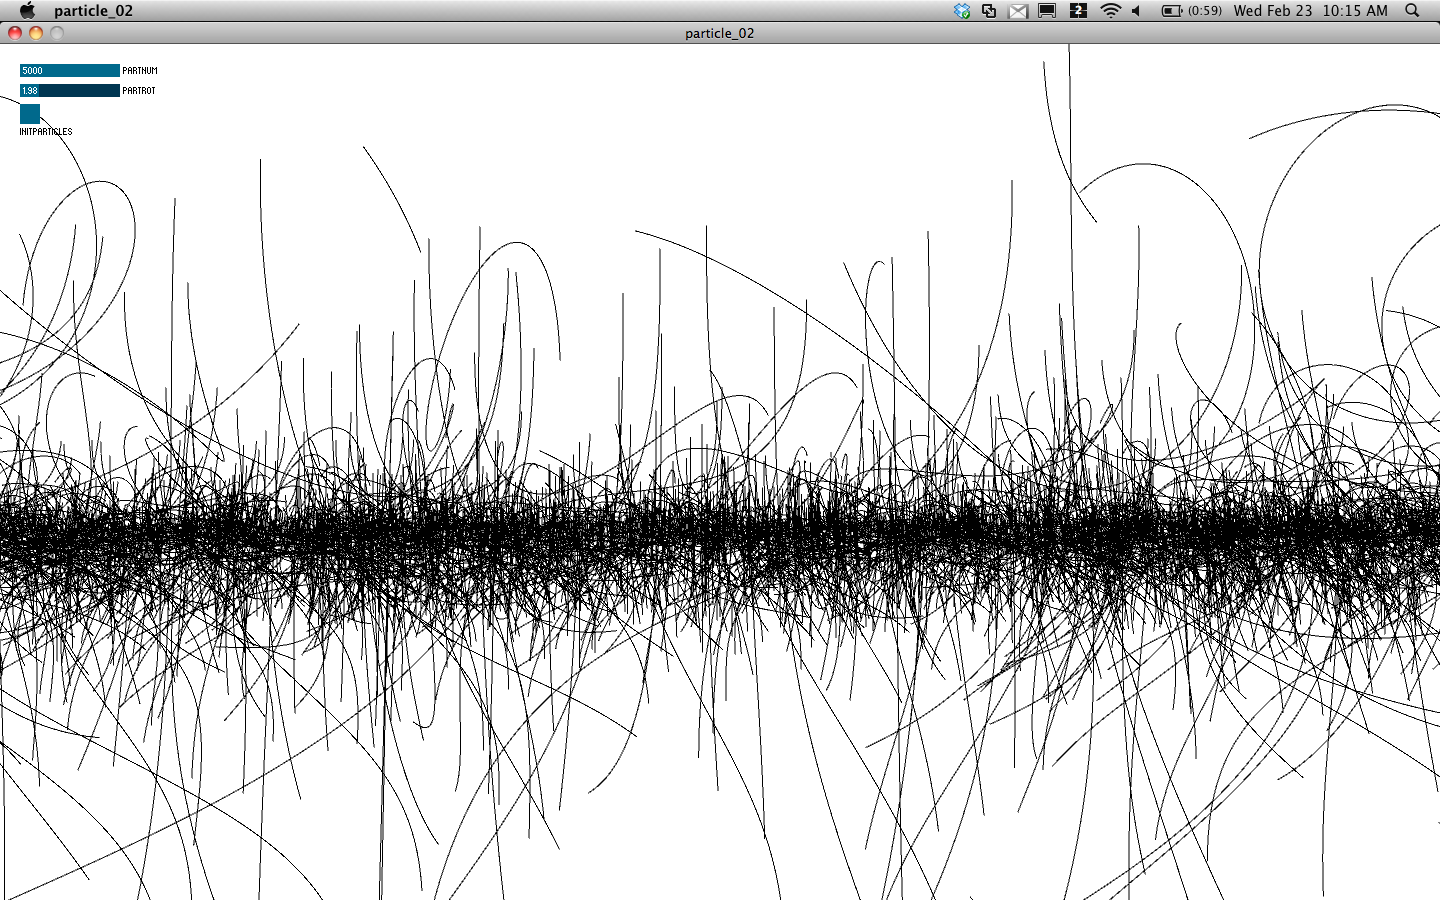
Halfway through day 2, I discovered I had bitten off a bit more than I could chew and decided to fall back on trusty flocking (which i already had running in three dimensions, and was really one of my first fascinations when i started creative coding). I dusted off my code from the Kinect project, and tweaked it a bit to run better in three dimensions/adding in the pretty OpenGL particle trails I figured out how to do in Cinder


3d flocking with Perlin noise from Alex Wolfe on Vimeo.

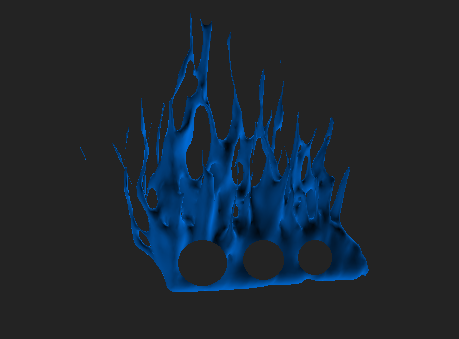
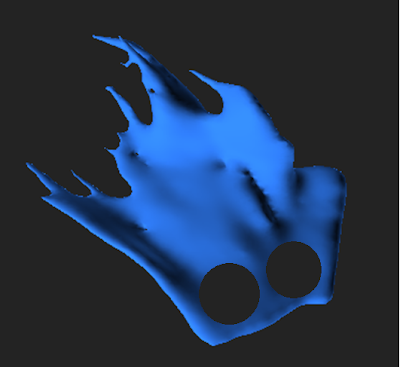
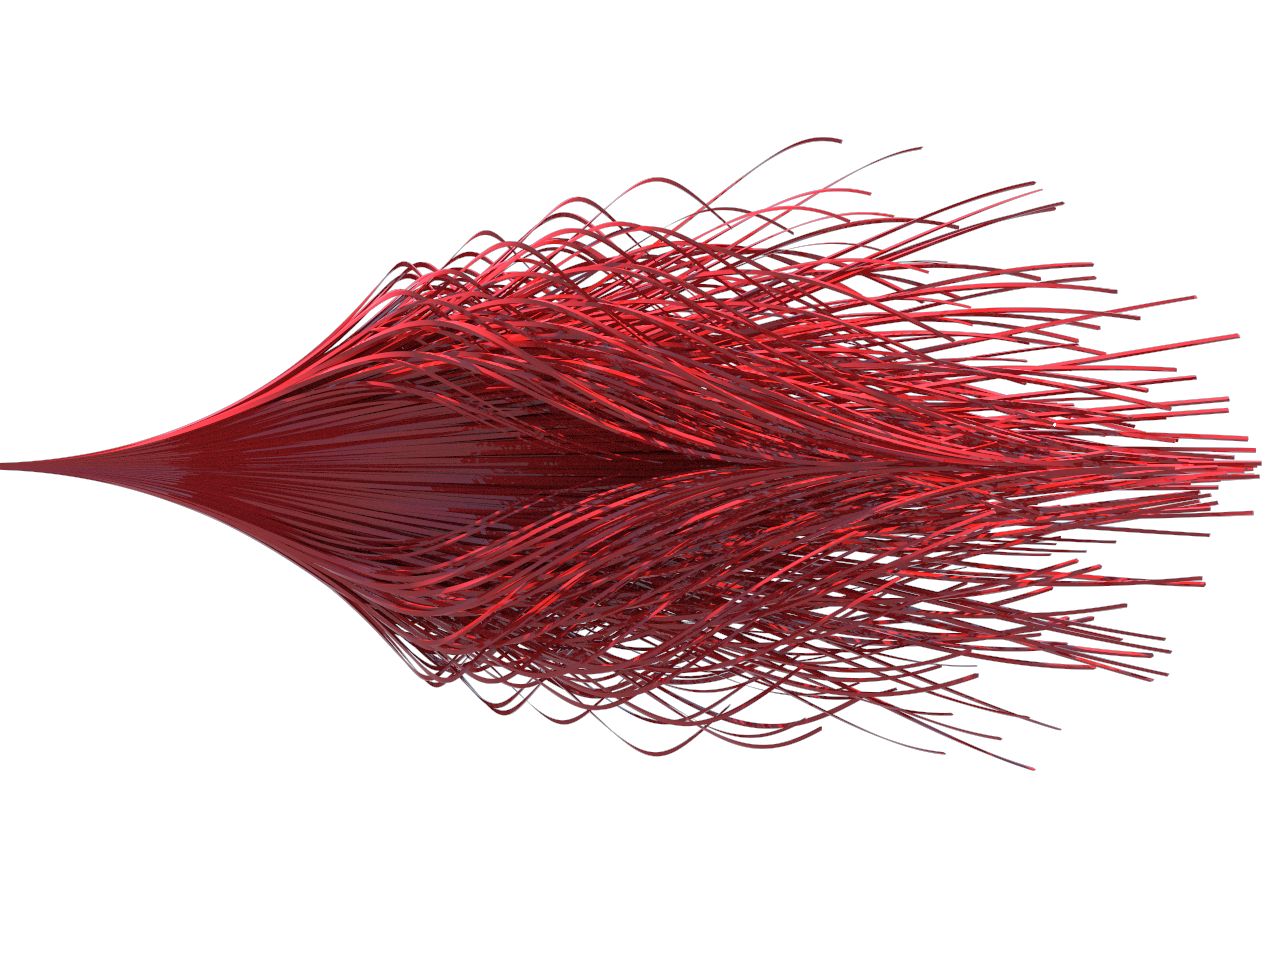
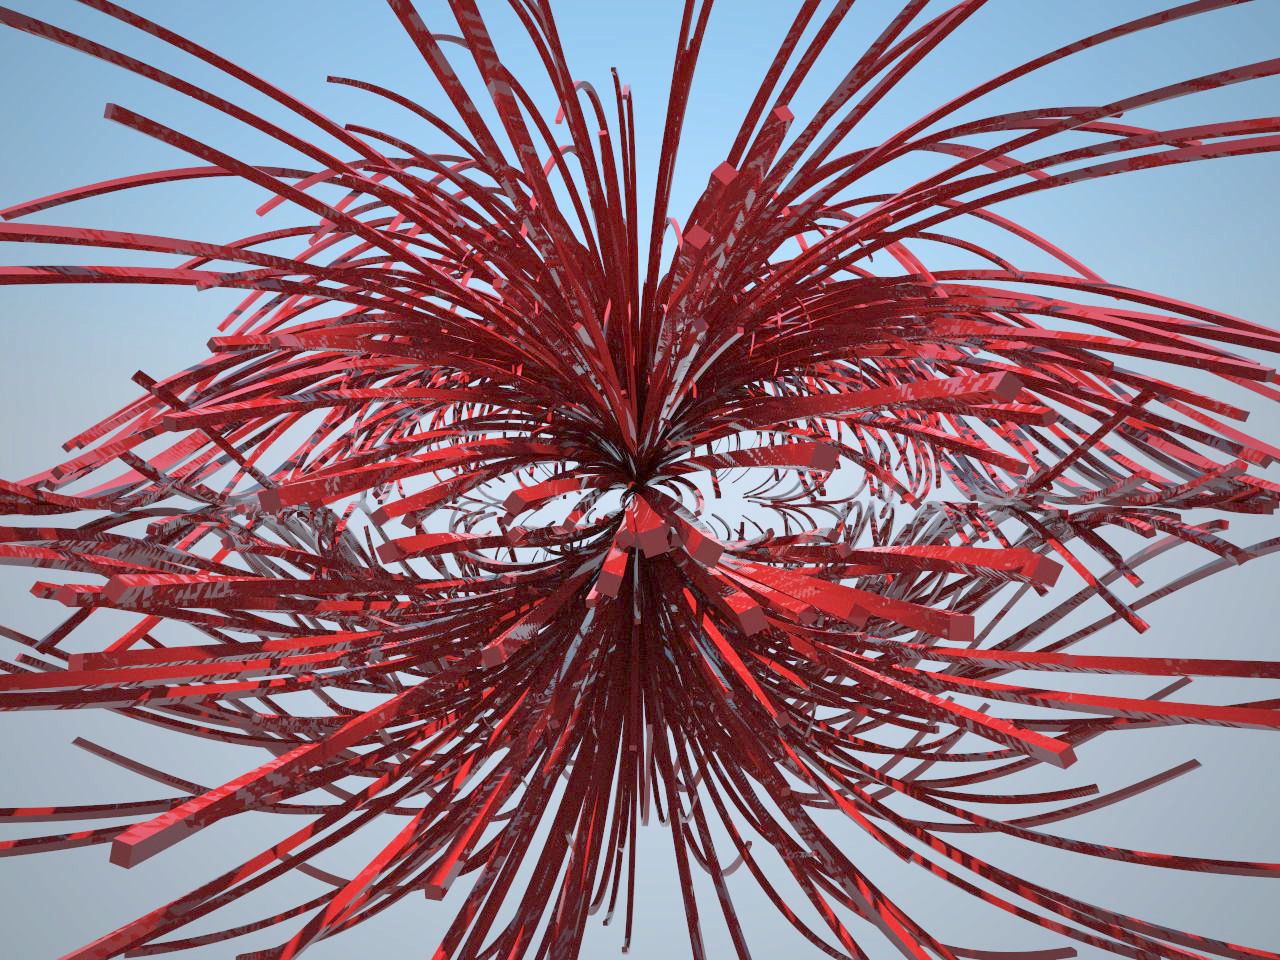
Using toxiclibs, I made each particle a volume “paintbrush”, so instead of these nice OpenGL quadstrips, each particle leaves behind a hollow spherical mesh of variable radius(that can be combined in order to form one big mesh). By constraining the form of the flocking simulation, for example setting rules that particles can’t fly out of a certain rectangle, or by adding a repulsive force to the center to form more of a cylinder, I was able to get them to draw out some pretty interesting (albeit scary/unwearable) jewelry

flocking bangle

Also, flocking KNUCKLE DUSTERS. Even scarier than normal knuckle dusters.

Here’s a raw mesh, without any added cleaning (except for a handy ring size hole, added afterwards in SolidWorks)

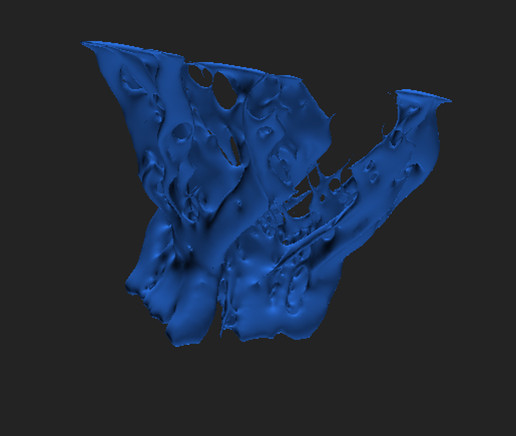
I then added a few features that would allow you to clean up the mesh. I figured the spiky deathwish look might not be for everyone. The first was Laplacian smoothing, that rounds out any rough corners in the mesh. You can actually keep smoothing for as long as you like, eventually wearing the form away to nothing

And mesh subdivison (shown along with smoothing here), which actually wasn’t as cool as I hoped, due to the already complicated geometry the particles leave behind.

The original plan was to 3D print these and paint them will nail polish (which actually makes excellent 3D printed model varnish, glossing over the resolution lines, and hardly ever chipping, with unparalleled pigment/color to boot). However, due to their delicate nature, and not being the most…er… aesthetically pleasing, I decided to hold off. It was an excellent foray into dynamic mesh creation though, and I hope I can apply a similar volume building system to a different particle algorithm (with more visually appealing results).


(some nicer OpenGL vs VRay renderings)

Charles Doomany – Project 4: Parametric Tables/ Genetic Algorithm

by cdoomany @ 7:10 pm

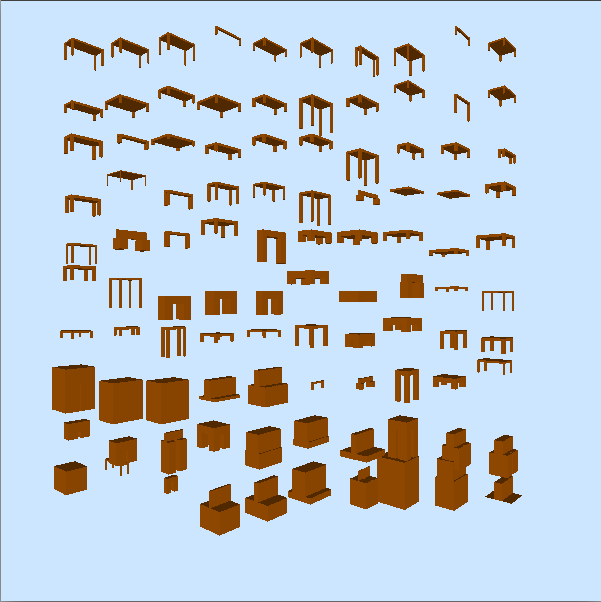
This project involved using a genetic algorithm to determine the optimal solution for a parametrically constructed table. Each table has a group of variables that define its dimensions (ex: leg height, table width, etc.). Each table (or “individual”) has a phenotype and a genotype: phenotypes consist of the observable characteristics of an individual where as genotypes are the internally coded and inheritable sets of information that manifest themselves in the form of the phenotype (phenotypes are are encoded as a binary string).

Phases of the Genetic Algorithm:

1) The first generation of tables are initialized, a population w/ randomly generated dimensions

2) Each table is evaluated based on a fitness function ( fitness is determined by comparing each individual to an optimal model, ex: maximize table height while minimizing table surface area)

3) Reproduction: Next, the tables enter a crossover phase in which randomly chosen sites along an individual’s genotype are swapped with the site of another individual’s genotype. *Elite individuals (a small percentage of the population that  best satisfy the fitness model) are exempt from this stage. Individuals are also subjected to a 5% mutation rate which simulates the natural variation that occurs within biological populations.

4) Each successive population is evaluated until all individuals are considered fit (termination)


Areas for improvement:

• Currently, the outcome is fairly predictable in that the criteria for the fitness function is predefined. An improved version of the program might use a physics simulation(ex: gravity) to influence the form of the table. Using simulated forces to influence the form of the table would yield less expected results.


shawn sims-mesh swarm-Project 4

by Shawn Sims @ 7:03 pm

Play
Download the app and get your swarm on!
Mac/Windows mesh freeware

About
Mesh Swarm is a generative tool for creating particle driven .stl files directly out of Processing. The 3d geometry is created by particles on trajectories that have a closed mesh around their trace. Parameters are set up to control particle count, age, death rate, start position, and mesh properties. These rules are able to be changed live with interactive parametric controls. This program is designed to help novice 3d modelers and fabricators gain an understanding of the 3d printing process. Once the desired form is achieved the user can simply hit the ‘S’ key and save a .stl to open in a program of choice.

The following video is a demo of the work flow of how to produce your custom mesh…

The beginnings of the project were rooted in the Interactive Parametrics 2011 workshop in Brooklyn, Ny hosed by Studio Mode and Marius Watz. Here I began to investigate point and line particle systems in 3D and later added mesh and .stl functionality. These are a few examples of screen grabs from the point and line 3D process.

From there, the next step was to begin working with 3D printable meshes. The framework of the point and line code was used to drive the 3D meshes that followed. After the .stl export, I used Maya to smooth and cluster some of the mesh output. The process of mesh smoothing creates interesting opportunities to take clustered geometry and make relational and local mesh operations giving the appearance of liquid/goo. Renderings were done in Vray for Rhino.

Eric Brockmeyer – Project 4 – CNC Gastronomy

by eric.brockmeyer @ 7:00 pm

CNC Gastronomy Presentation 1

Honray Lin – Project 4

by honray @ 6:56 pm

I built the twitterviz project to visualize a live twitter stream. Originally, I was looking at ways to visualize social media–either from facebook or twitter. I was poking around the twitter api, and noticed that they had a stream api that would pipe a live twitter stream through a post request. I wanted to work with live data instead of the static data I used for my first project (facebook collage visualization), so I decided this api would be my best bet.

The stream api allows developers to specify a filter query, after which twitter feeds containing that query will be piped, real time, to the client. I decided to utilize this to allow users to enter a query and visualize the twitter results as a live data stream.

I was also looking at Hakim El Hattab’s work at the time. For my project, I used his bacterium project as starter code for my project, using his rudimentary particle physics engine in particular. I decided to use javascript and html5 to implement the project because it’s a platform I wanted to gain experience with and also because that allowed it to be easily accessible to everyone using a web browser. I decided to visualize each twitter filter query as a circle, and when a new twitter feed containing that query is found, the circle would “poop” out a circle of the same color onto the screen.

However, I encountered some problems in this process. Since javascript has a same-domain policy for security reasons, my client-side javascript code could not directly query twitter’s api using ajax. To solve this, I used Phirehose, a PHP library that interfaces with twitter’s stream api. Thus, the application queries twitter by having client side javascript query a php script on my server, which in turn queries twitter’s stream api, thereby solving the same-domain policy issue. Due to time constraints, the application only works for one client at a time, and there are some caveats. Changing the filter query rapidly causes twitter to block the request (for a few minutes), so entering new filter strings rapid-fire will break the application.


Here are some images:

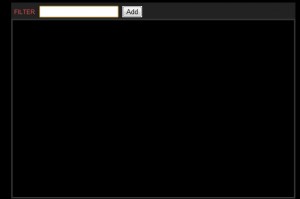
Default page, no queries.

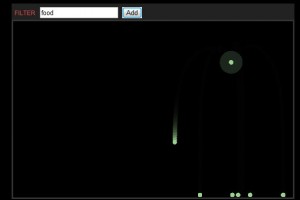
One query, “food”. The food circle is located on the top right corner, and it looks like it has a halo surrounding it. New twitter feeds with “food” poop out more green circles, which gravitate to the bottom.


You can access a test version of this application here.

CS OSC – Project 4

by chaotic*neutral @ 6:52 pm

Placeholder

Tim Sherman – Project 4 – Generative Monocuts

by Timothy Sherman @ 4:26 pm

When I began this project, I knew I wanted to make some kind of generative cinema, in particular, wanted to be able to make Supercuts/Monocuts, videos made of sequences of clips cut from movies or TV shows all containing the same word or phrase. The first step for me was figuring out exactly how to do this.

I decided to build a library of paired movie files and subtitle files of the .srt format. This subtitle format is basically just a textfile made up of a sequence of timecodes and subtitles, so it’s easy to parse. I then planned to parse subtitles into a database, and then search it for a term, get the timecodes, and use that information to chop the scene I wanted out of the movie.

I modified code Golan had written to parse .srt’s into processing, so that they were stored into an SQLite3 database using SQLibrary. I then wrote a Ruby application that could read the database, find subtitles that contained whatever word or phrase you wanted to search for, then run ffmpeg through the command line in order to chop up the movie files for each occurrence of the word.

The good news was, the code I wrote totally worked. Building and searching the database went smoothly, and the program wasn’t missing any occurrences, or getting any false positives. However, I soon found myself plagued with problems beyond the scope of code.

The first of these problems was the difficulty I had in building a large library of films with matching subtitles quickly. There were 2 real avenues I found for getting movies: Ripping and converting from DVD, or Torrenting from various websites. Each had it’s own problems. While ripping and converting allowed me to get a subtitle with the file guranteed, it took a very long time to both rip the DVD and then convert from Video_TS to avi or any other format. Torrenting, while much quicker. didn’t always provide .srt files with the movies. I had to use websites like openSubtitles to try and find matching subtitle files, which had to be checked carefully by hand to make sure they lined up – being off by even a second meant that the chopped clip wouldn’t necessarily contain the search term.

These torrenting issues were compounded by the fact that working with many different undocumented video files was a nightmare. Some files were poorly or strangely encoded, and behaved very strangely when ffmpeg read them, sometimes ignoring the duration specified by the time codes and putting the whole movie into the chopped clips, or simply not chopping at all. This limited my library of films even further.

The final issue I came across was a more artistic one, and one that while solvable with code, wasn’t something I was fully ready to approach in a week. I had to figure out, once I had the clips, how to assemble them into a longer video, and I wasn’t quite sure the best way to do this. I considered a few different things, and made sketches of them using VLC and other programs. I tried sorting by the time a clip occurred in the movie, by the length of the clip, but nothing produced consistently interesting results. As I couldn’t find one solution I was happy with, I decided to leave the problem of assemblage up to the user. The tool still is incredibly helpful for making a monocut, as it gives you all the clips you need, and you don’t need to watch or crop what you want by hand.

Embedded below is a video made by cropping only scenes containing the word “Motherfucker” out of Pulp Fiction. While the program supports multiple movies in the database, due to my library building issues, I couldn’t find a great search that took interesting clips from multiple movies.

*Video coming, my internet’s too slow to upload at the moment.*

Caitlin Boyle & Asa Foster ::Project 4 :: We Be Monsters 1.5

by Caitlin Boyle @ 8:20 am

Asa and I have decided to stick with We Be Monsters to the bitter end; we are continuing development of the project throughout the remainder of the semester as a joint capstone project for Interactive Art, Computational Design (and possibly over the summer, continuing development into a full-fledged, stand-alone instillation).  There is a lot left to do on our little Behemoth, and our to-do list doesn’t look like it’s ever going to end; besides integrating 3 and 4 person puppet capabilities into the project, each individual puppet needs a serious re-hauling to get it up to standard. After going over our to-do list and looking at the week we had left before Project 4 was due, we decided to choose the option that was most feasible; dynamically activating the front half of the puppet somehow via BOx2D physics.

In layman’s terms, we decided to make the BEHEMOTH vomit a bouncy fountain of rainbow stars.

BLARGH

The feature is not integrated into the puppet yet; we created a small demo that showcases the vomit-stars, which will be implemented after we rehaul the code for the puppets. We are also planning to tie the star-puke to sound; children (or adults) puppeteering the BEHEMOTH will be able to roar/scream, triggering a pulsing mass of stars. Our hope is that this feature adds another level of play to the program, and will encourage those using the puppets to really try and become the BEHEMOTH- not only in movement, but also in voice.

::other features on our to-do list include::

-Each piece of the puppet will be set on a spring, so it bounces back to place when not being manipulated by a user; this will hopefully alleviate the problem of the BEHEMOTH looking like it’s had a seizure if Asa and I step out of place.

-Using physics to create a more dynamic puppet in general; we like the look of the beady blank eye, but the BEHEMOTH and future puppets will include aspects that move in accordance to the movement of the puppet pieces; bouncy spines on his back, a floppy tongue, etc.


Le Wei – Project 4 Final

by Le Wei @ 7:50 am

For my generative project, I created a simulation of raindrops moving down a window. My main purpose form the beginning was to try to accurately reproduce the movement of the water on a glass windowpane, so the images of the droplets themselves are simply ellipses. The final product offers three options for the intensity of the rain: “Rain”, “Downpour”, and “Hurricane”. There is also a “Sunshine” option, which stops the rain and lets you see the water gradually dry off the window.

Research

Before beginning any coding, I looked into research papers to see if there was any helpful information on how to implement the rain movement. I knew that there would be a lot of factors to take into account, such as surface affinity, friction, air humidity, gravity, etc etc, and combining all of them could be quite difficult. Luckily, there were quite a few closely related (at least in terms  of content) papers that detailed exactly how to implement such a simulation. The three papers I relied most heavily on were “Animation of water dripping on geometric shapes and glass panes” by Suzana Djurcilov, “Simulation of Water Drops on a Surface” by Algan, Kabak, Ozguc, and Capin, and “Animation of Water Droplets on a Glass Plate” by Kaneda, Kagawa, and Yamashita.

Algorithm

I divided the window into a grid with cells of size 2×2. Each cell is given a randomly assigned surface affinity, which represents impurities on the surface of the glass. At each timestep, raindrops of random size are added to a randomly selected spot on the window, to give the simulation a raining effect. Then, existing raindrops that have enough mass to move downward calculate where to go next based on the formulas in the papers. The choices are the three cells below-left, directly below, and below-right. A small amount of water remains on the previous spot, the mass of this is also calculated from equations in the papers. Whenever raindrops run into another one, they combine and continue with the combined mass and a new velocity based on basic laws of physics. Apart from the information in the papers, I added a drying factor so that over time, raindrops on the window that are just sitting around dry off and disappear.


Paul-TrashFace

by ppm @ 2:05 am

So I saw some demos of Active Appearance Models like so:

And seeing them, I saw that they looked interesting. My original idea was to take the mesh animated by an AAM, detach it from the person’s face, put springs in for all the edges, and simulate it in Box2D. The physical properties of the mesh could vary depending on the person’s expression–springiness, fragility. A happy face could float up to the top, while a sad one could fall down.

What I have so far falls dramatically short, but it’s still fun to play with. I didn’t get an AAM working, and I’m using OpenCV’s face detector, which does not create a mesh. I only have physical bodies simulated in the corners of my rectangles, so the corners collide, while the rest passes through.

Marynel Vázquez – (r)evolve

by Marynel Vázquez @ 10:27 am 21 March 2011

This work is an attempt to generate interesting graphics from human input. I used OpenFrameworks + ofxKinect + ofxOpenCv2 (a simple add-on I created to interface with OpenCV2).

From the depth image provided by the Kinect:
1. edges are detected (Canny edge detector)
2. lines are fitted to the edges (Hough transform)
From the color image:
3. Colors are taken at the endpoints of the lines, and painting is done by interpolating these values

The result of about 10 frames is stored, and then displayed. This allows to perceive some motion evolution.


This line of projections was then multiplied, and the width of the edges were allowed to change according to how close stuff was to the Kinect. By moving the camera around the model, one can generate images like the following:


The video below shows how shapes can change,


Interesting additions to this project would be a flow field and music! In the former case, the generated lines could be forces that influence the motion of physical particles in the 3D space.

Mark Shuster – Generative – TweetSing

by mshuster @ 10:17 am

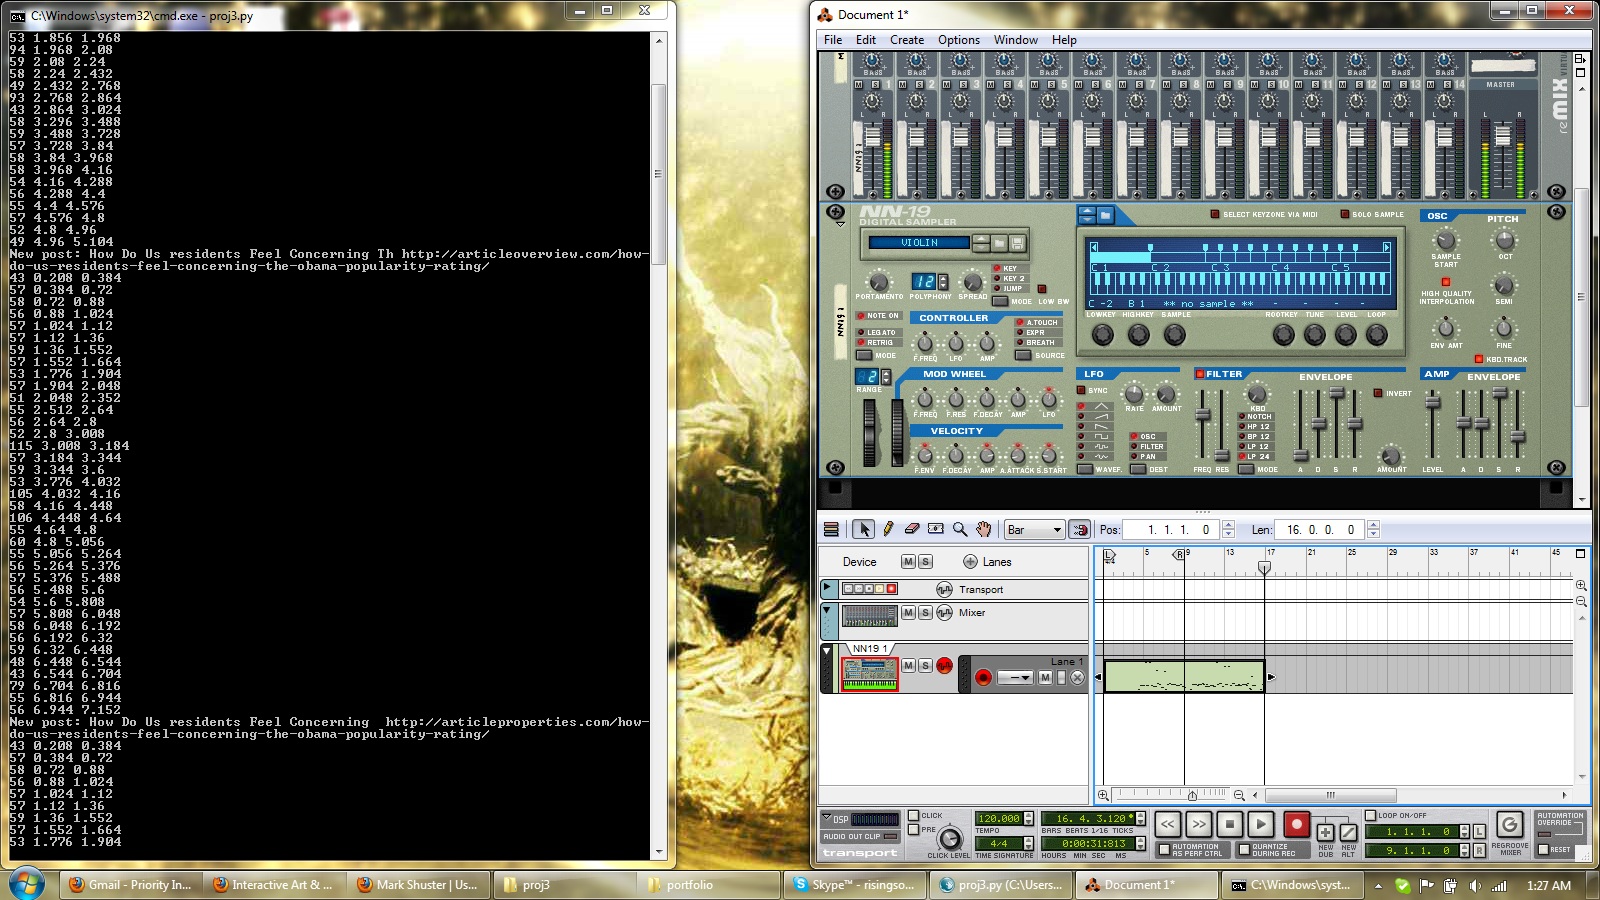
TweetSing is an experiment in generative music composition that attempts to transform tweets into music. The script reads a stream of tweets related to a specific keyword and sends the content to be converted to speech via Google TTS. The audio of the speech is then analyzed and the individual pitch changes are detected. The pitches are converted to a series of midi notes that are then played at the same cadence as the original speech, thus singing the tweet (for the demo, the ‘song’ is slowed to half-speed).

TweetSing is writted in Python and uses the TwitterAPI. The tweets are transcoded using Google Translate and the pitch detection and MIDI generation is done using the Aubio library. The final arrangement was then played through Reason’s NN-19 Sampler.

For an example, tweets relating to President Obama were played through a sampled violin. Listen to ‘Obama’ tweets on Violin.

Next Page »
This work is licensed under a Creative Commons Attribution-Noncommercial-Share Alike 3.0 Unported License.
(c) 2023 Interactive Art & Computational Design / Spring 2011 | powered by WordPress with Barecity