Our course website is implemented as a WordPress blog, customized with a variety of plugins. For general information about editing WordPress pages, see this resource, or this one. To get started making posts, log in here.
Student Projects will be submitted in the form of WordPress Posts (not "Pages"), that you edit and publish with the WordPress editor after logging in.
Below, you can find additional information and links describing how to:
- Upload and embed images
- Use standard "shortcodes" to embed external media, such as YouTube videos
- Embed syntax-colored code in your posts
Embedding uploaded images.
Customary varieties of web-ready images (.jpg, .gif, .png) can be uploaded to our site using the "Add Media" button in the top left of the WordPress post editor. Click this button, upload your media to the site, and then be sure to "insert into post". (If you forget to insert the image into your post, it will just languish in a directory of uploaded images.) Here's what the "Add Media" button looks like:
Note that there are restrictions on the maximum file size (10MB) you may upload. You are advised to save your file with a smaller file size and resolution, using Photoshop's "Save for Web & Devices" feature.
Embedding external media in your posts.
Some assignments, such as Looking Outwards reports, will require you to embed a variety of external media objects into a WordPress post. For example, you may need to embed a YouTube or Vimeo video documenting one of your projects, or a project by someone else. To do this, see these instructions for embedding such external media resources.
Embedding syntax-colored code.
You may sometimes wish to embed properly-formatted code. For this purpose, we are using the WP-Syntax plugin, which provides syntax highlighting for a wide range of popular languages. For a quick example, suppose your code is the following:
function setup() {
    createCanvas(640,160);
}

function draw() {
    background(255,200,200);
    line (0,0,          mouseX, mouseY);
    line (width,0,      mouseX, mouseY);
    line (0,height,     mouseX, mouseY);
    line (width,height, mouseX, mouseY);
    ellipse(mouseX, mouseY, 30,30);
}
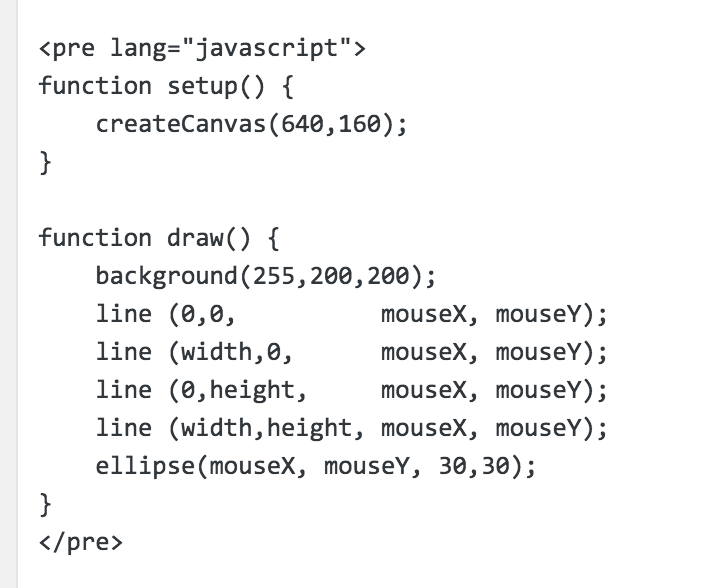
That's what you get if you just copy-paste your code into a WordPress post, and it looks awful. To see your code formatted properly, instead: In the WordPress editor's HTML or "Text" mode, wrap your code blocks with <pre lang="javascript" > and </pre>. See here for more information and examples. The result will look like the following example:
function setup() { createCanvas(640,160); } function draw() { background(255,200,200); line (0,0, mouseX, mouseY); line (width,0, mouseX, mouseY); line (0,height, mouseX, mouseY); line (width,height, mouseX, mouseY); ellipse(mouseX, mouseY, 30,30); } |
Here's what that looks like in the WordPress "Text" Editor. Note that the quotes around the word JavaScript are not "smart" quotes:
