Automino
Automino is a modular construction kit, designed by Prof. Paolo Pedercini in the CMU School of Art, for prototyping small scale robotic/kinetic art projects. You can expand or modify the kit with a vector based design application like Illustrator or Inkscape and fabricate the pieces with a laser cutter.
Automino is specifically designed to be used with:
- Machine screws 6-32. You have been given 3/4” and 3/8” lengths, with nuts.
- 0.12 inch thick HDF hardboard, from the CMU Art Supply Store (get 24″x18″)
- 0.11 inch diameter kabob sticks, from Target
- The components from your extended Sparkfun Inventor Kit powered by Arduino
Downloads
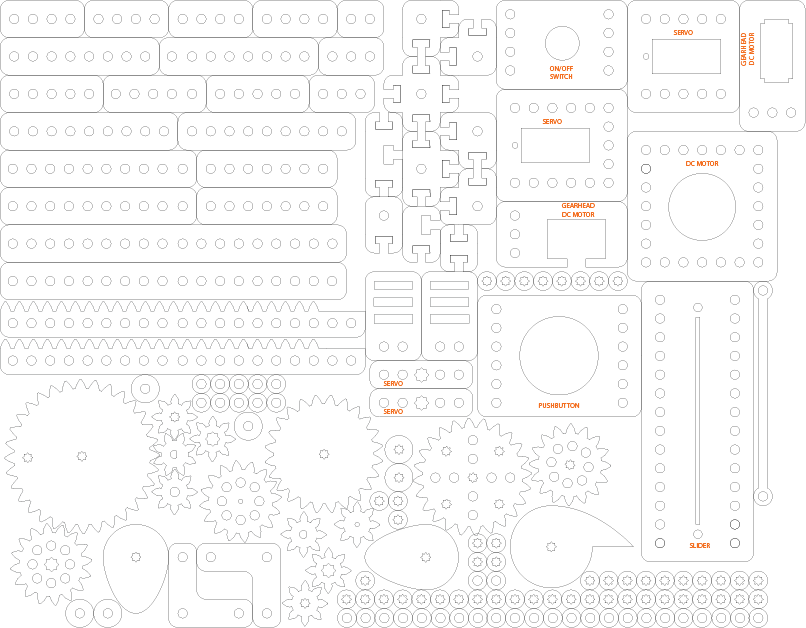
Download sheet 1 (Illustrator eps file)
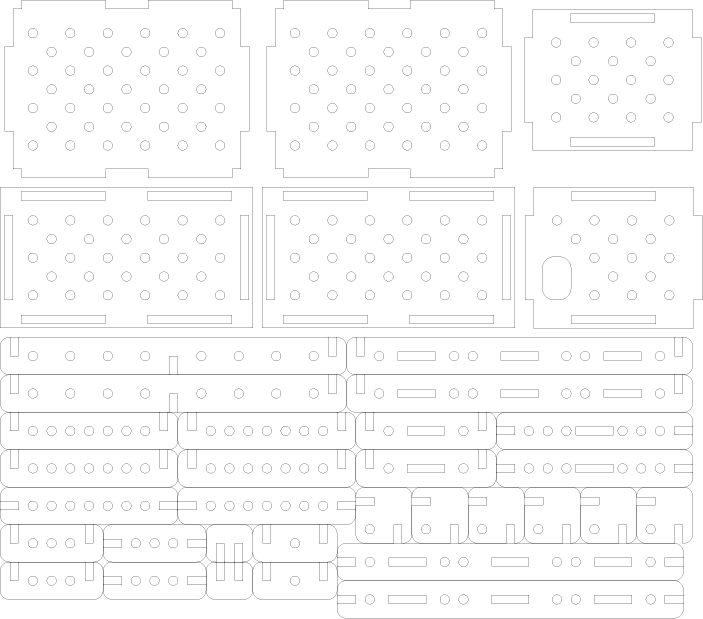
Download sheet 2 (Illustrator eps file)
Examples
 Put Arduino in a box!
Other laser cutter friendly box solutions:
Boxmaker (PDF generation)
Boxotron(python script)
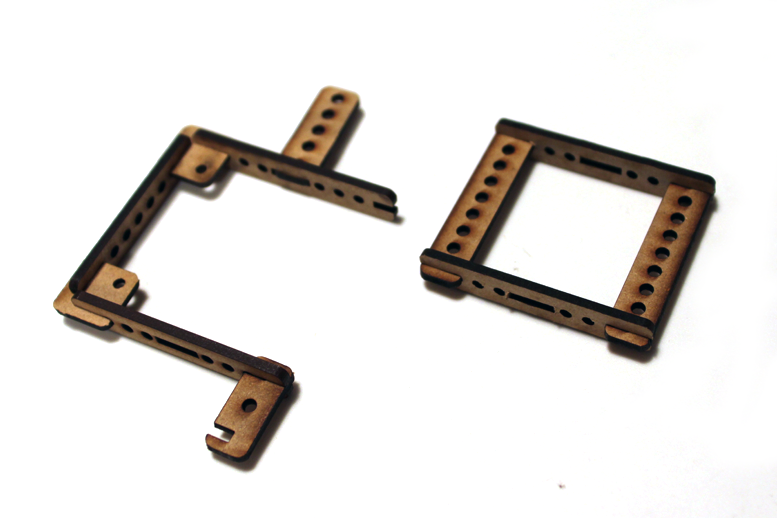 Snap-on joints! Better than Erector and with a slightly less embarrassing name.
Why always 90 degrees? Check this organic construction kit.
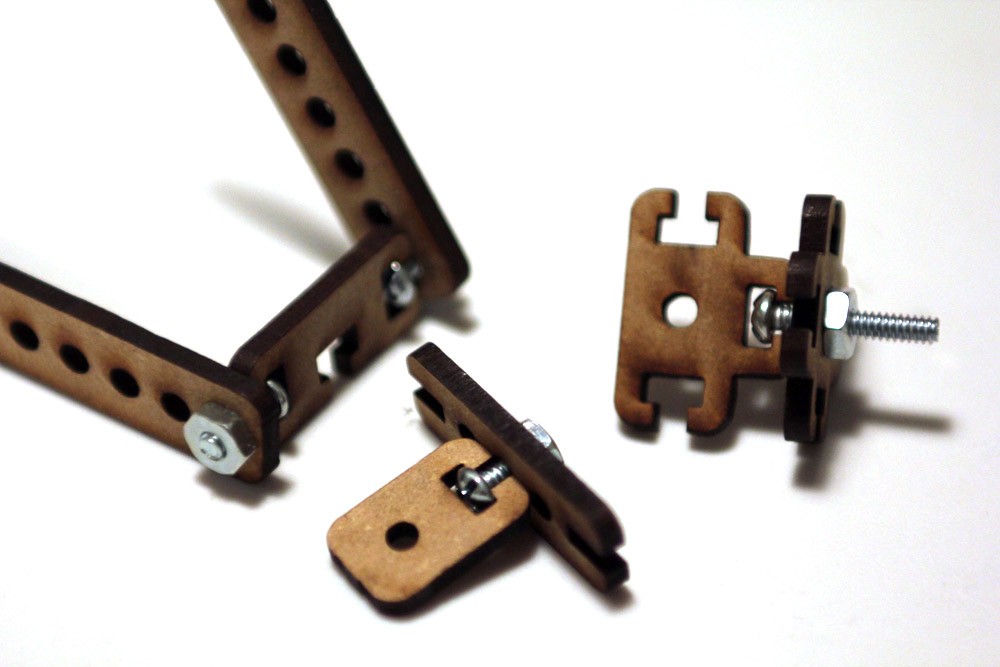 Weirdo screw-centric joints.
Based on this wooden construction kit
 No more floating switches!
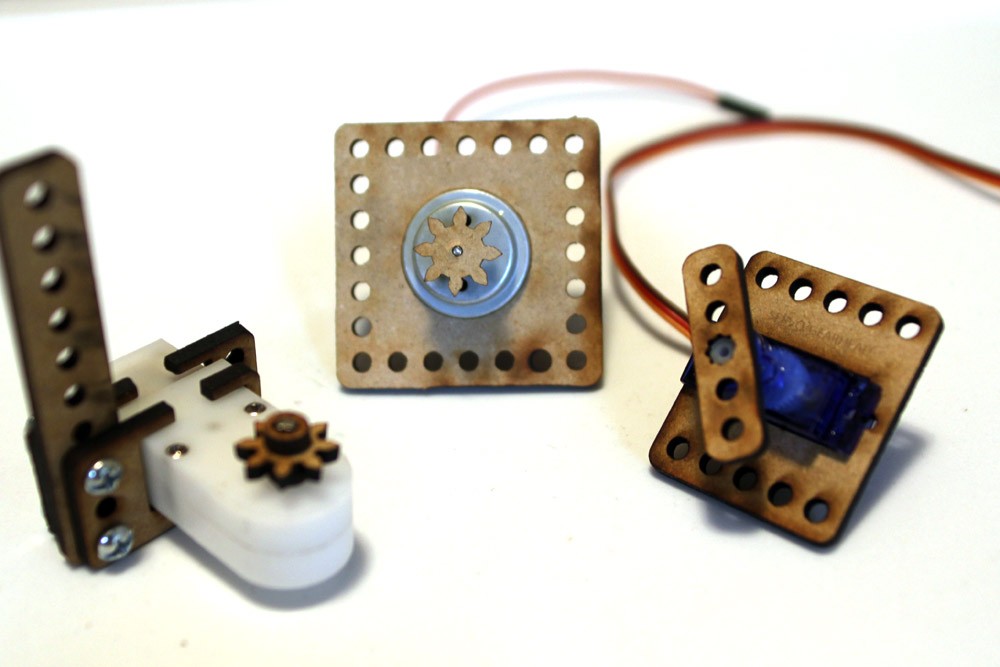 No more out-of control motors!
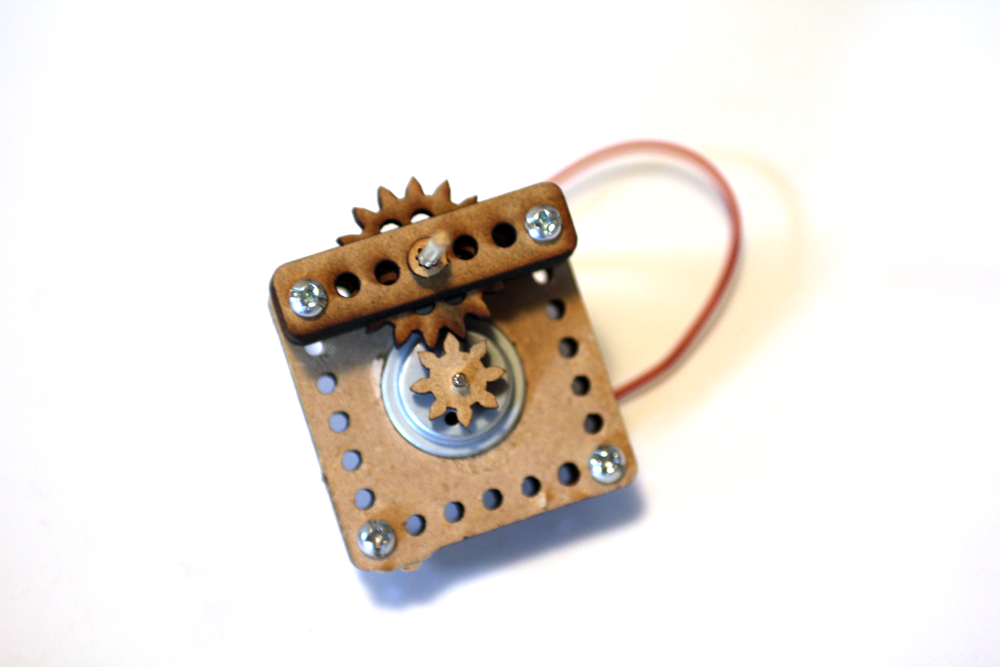 A way to integrate the DC motor
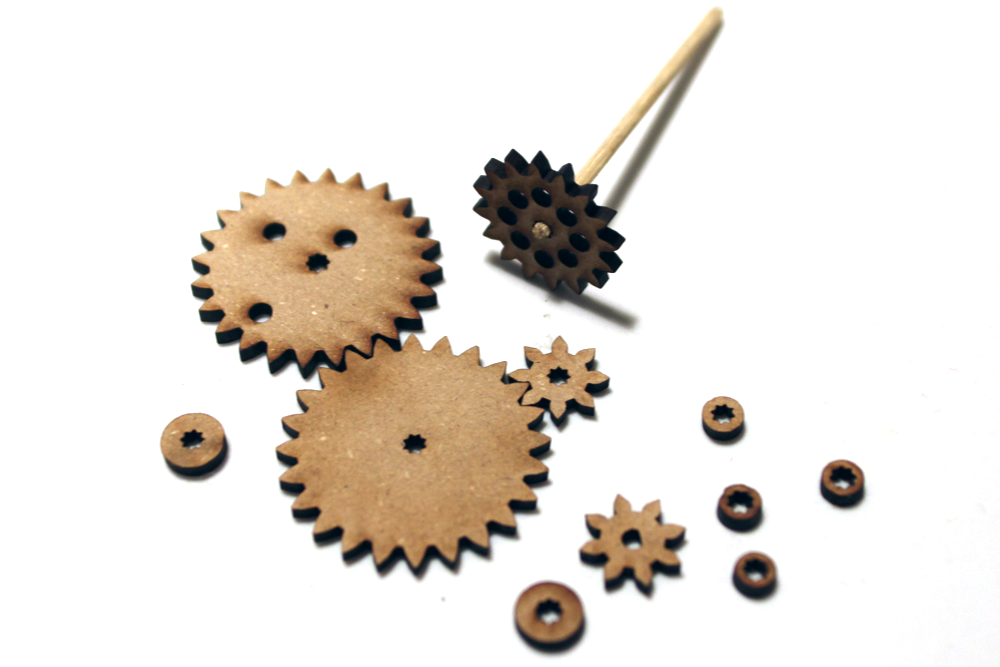 Gears that work (hopefully) and many basic mechanical elements!
That’s how you use the kabob sticks as axles. Use the star-shaped hole symbol to make jammable pieces.
Check this page for more mechanism.
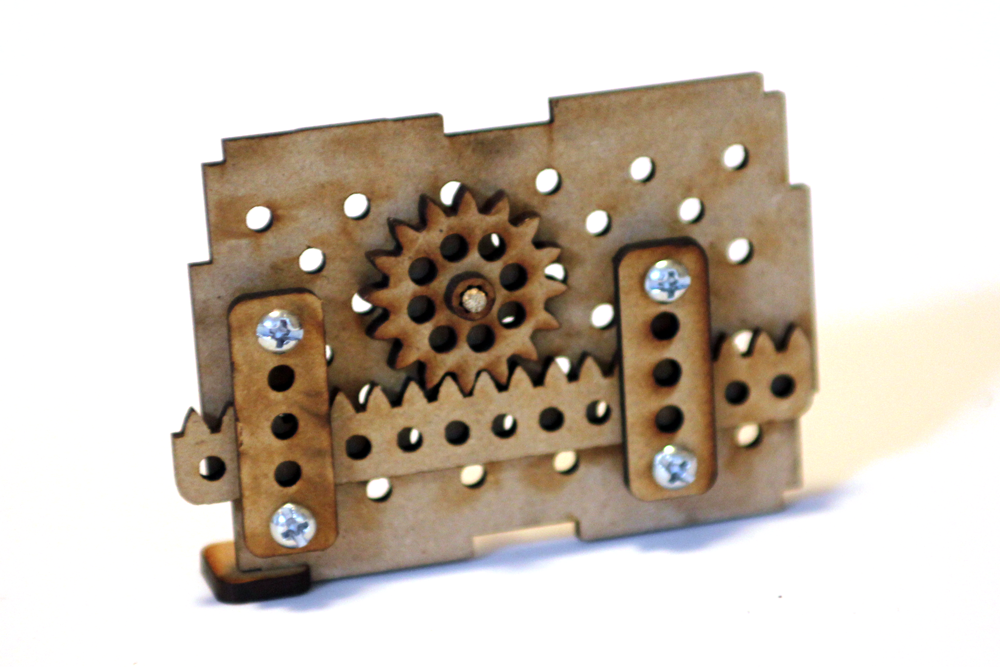 The rack and pinion is used to convert between rotary and linear motion. You can use it with a servo
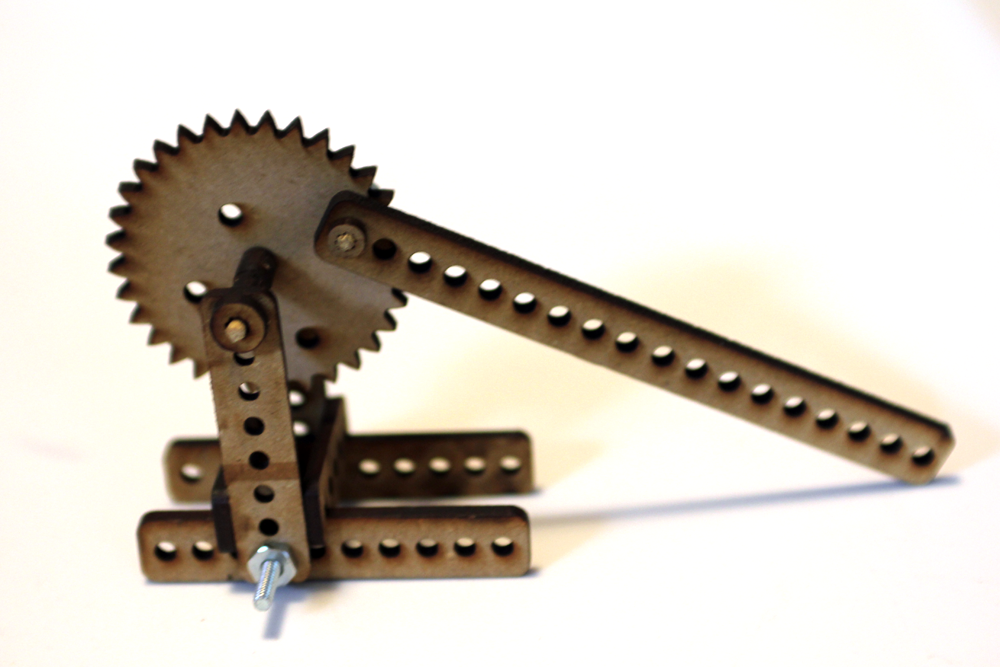 180 degrees Crank. Warning: I’m pretty sure it’s not possible to make a proper crank that doesn’t fall apart using these materials. This is meant to be used with the servo, it can’t do full rotation.
 Cam: rotary to linear motion. The two oval pieces rotate pushing up and down the two vertical bars.
Customizing the kit
The basic module for all the pieces is a square of 0.065. If you are not opening the .ai files set the grid to .13 inches with 2 subdivisions and “snap” to the grid every time you are drawing new parts.
Don’t worry if you are not familiar with Illustrator, you can do pretty much anything by using the pen, the arc, the free transform and the direct selection tools.
Remember
– use a stroke of 0.001 or less
– Get rid of the text layer with orange labels
– Export in eps format
Symbols
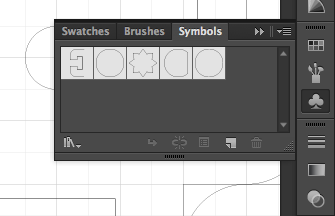
If you have Illustrator you can easily adapt the kit for other materials and other types of screws by modifying the symbol library (window > symbols). The symbols define the slots for snap-on joints and the holes for the screws. By changing a symbol, you’ll affect all of its instances in the document.
Laser cutting
The School of Art’s laser cutter is in Doherty Hall C316.
You can schedule an appointment with a monitor by emailing laser-art [at] andrew…
Monitor hours are on Friday and Saturdays 10.30-4.30.
Here’s a step by step guide:
- Get the material first. Hardboard panels are sold at the art store (University Center underground floor). You can’t buy them in the lab.
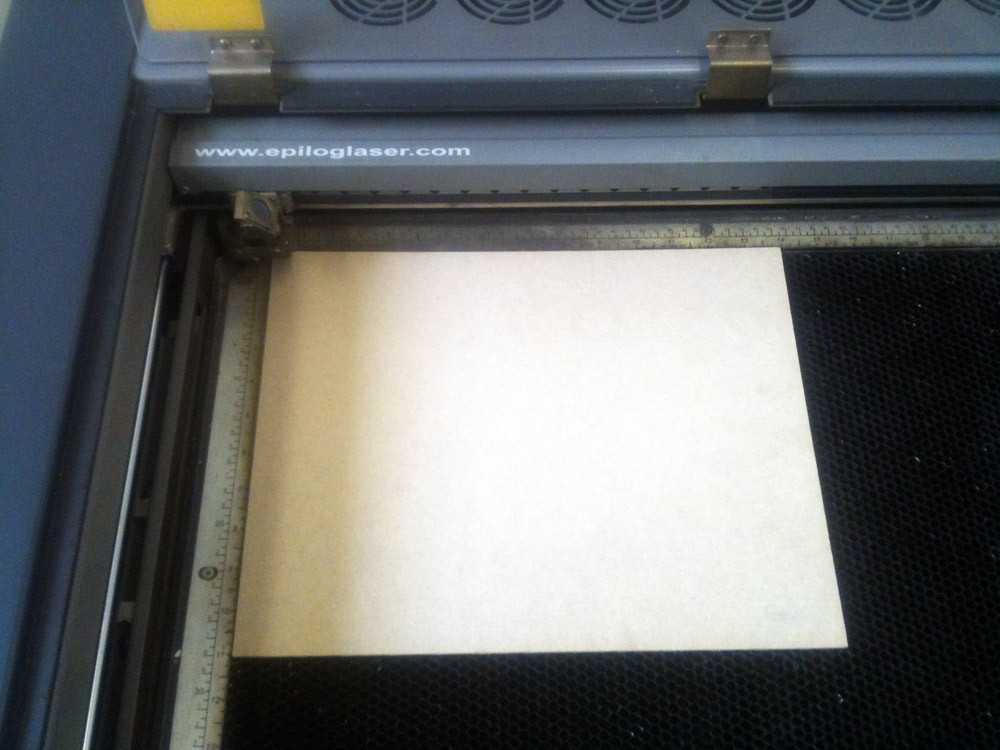
- Measure your panel and put it in the cutter as shown below. Close the glass panel.
- I assume the monitor is there, in any case make sure the laser cutter is on and the gas valve is open.
- Once you are logged in the laser cutter’s PC, download your eps file and open it with Corel Draw X5.
- Make sure all the lines are set as hairline. Object properties > stroke > width
- Make sure your design fits into the page dimension, if not change the document size. You can move and rearrange the design in Corel according to your hardboard size and design.
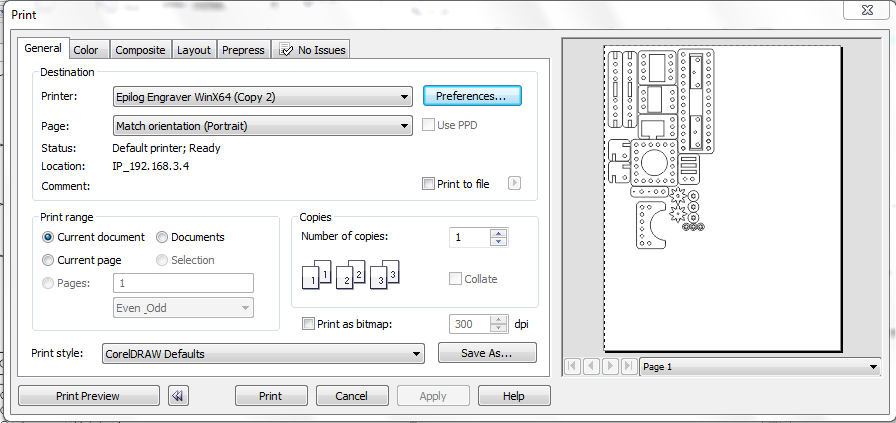
- Click file > print…
- Choose Epilog Engraver as device
- Click on preferences
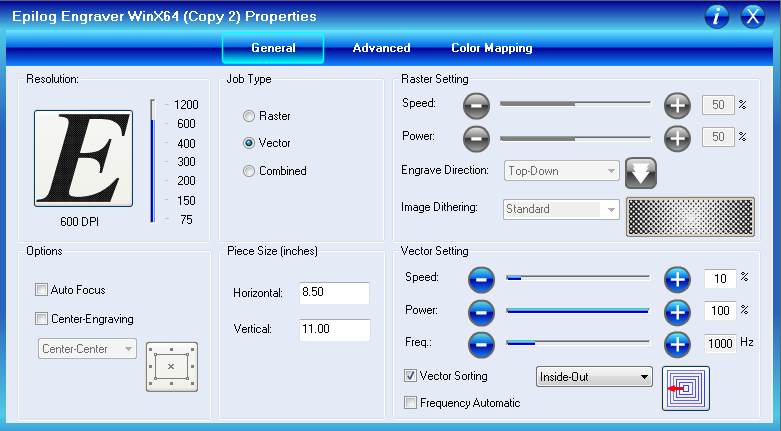
- Make sure that the piece size corresponds to the page size
- Change the vector settings to: speed 10, power 100%, frequency ~1000hz
If you are using other materials check the reference table.
- Click ok, check the preview image on the right and click print if everything looks fine.
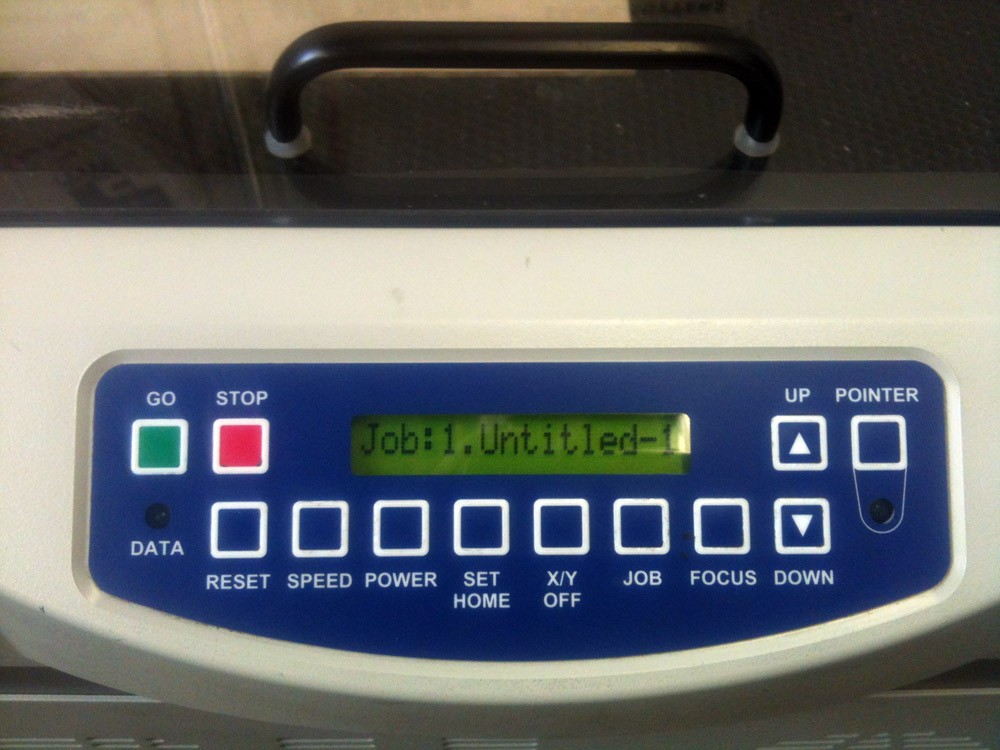
- Press the “Go” button on the cutter.
- Stick around until is done but don’t stare at the laser!
- Clean up the machine when you are done.
More info about the laser cutter here.

