Agenda
- Looking Outwards: Some generative patterns
- Review of for() Loops
- Randomness + conditional testing: if() statements
- The map() Function
- Transforms: translate(), scale(), rotate()
- Activity: Schotter assignment (2F-3)
Looking Outwards: Some Generative Patterns
- Fragments of an Infinite Field • by Monica Rizzolli
- Trossets • by Anna Carreras
- Two Mathematicians • by MA
- Archetype • by Kjetil Golid
- Automatism • by Yazid
- Collapsed Sequence • by toiminto
- Alan Ki Aankhen • by Fahad Karim
- Anticyclone • William Mapan (interview; article)
- Zodoko • by Zolfaghari
Review of for() Loops
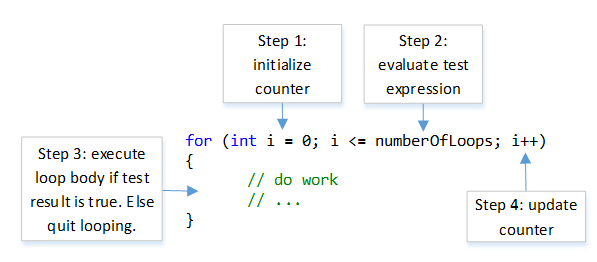
The for-loop is an iterative code structure that specifies how many times a block of instructions will be evaluated. The for-loop header has three elements, which are separated by semicolons. Here’s a schematic:

And here’s a simple real example, below. The numberOfLoops is a variable that must be previously defined.
//   INIT     TEST             UPDATE
for (var i=0; i<numberOfLoops; i++   ){
   // do stuff here
}
- Initialization: This part declares a counter variable, and initializes it to a starting value. (“What’s the counter variable called, and what is its initial value?”)
- Test: This part tests the counter variable by comparing it to a final value, in order to determine whether or not to continue repeating. (“Given this counter variable, under what condition will the for-loop continue repeating?”)
- Update: it must use some method to update the counter variable after each iteration. (“How shall the for-loop update the counter variable each time?”) For example, i++, which is a compact way of saying “increment the variable i by 1″.
Here is how the steps are actually ordered:
Here’s a real-world functioning example, a small but complete p5 program:
function setup() {
   createCanvas(400, 400);
}

function draw() {
   background("Burlywood");
   strokeWeight(6);
   for (var i=1; i<=7; i++){
      var cx = i*50;
      var cy = 200;
      circle(cx, cy, 35);
   }
}
For more information, here’s a helpful Coding Train video:
To do some of the homeworks due Tuesday, you’ll need to understand “nested loops”, also called “embedded iteration”. All this means is: a for() loop inside of a for() loop. Here’s an example:
function setup() {
  createCanvas(400, 400);
}

function draw() {
  background("wheat");
  strokeWeight(5);

  for (var j = 1; j <= 7; j++) {
    for (var i = 1; i <= 7; i++) {
      var cx = i * 50;
      var cy = j * 50;
      var diam = 40;
      circle(cx, cy, diam);
    }
  }
}
Here’s a helpful Coding Train video about nested for() loops:
Randomness + Conditional Testing: if() statements
Observe how the if() block is being used in the code below.
function setup() {
	createCanvas(400, 400);
}

function draw() {
	background("pink");
	strokeWeight(6);
	noLoop();

	for (var i=1; i<=7; i++){
		var cx = i*50;
		var cy = 200;
		var diam = 40;
		if (random(1.0) < 0.333){
			diam = 20;
		}
		circle(cx,cy, diam);
	}
}

function mousePressed(){
	loop();
}
Also, check out Truchet Tiles: Here’s a p5 sketch example; here’s some nice Truchet riffs by Roni Kaufmann; here’s a large-scale Truchet rug project by Alexander Reben; and another page of Truchet project links from my Drawing with Machines class.
Here’s a helpful Coding Train video:
The map() Function
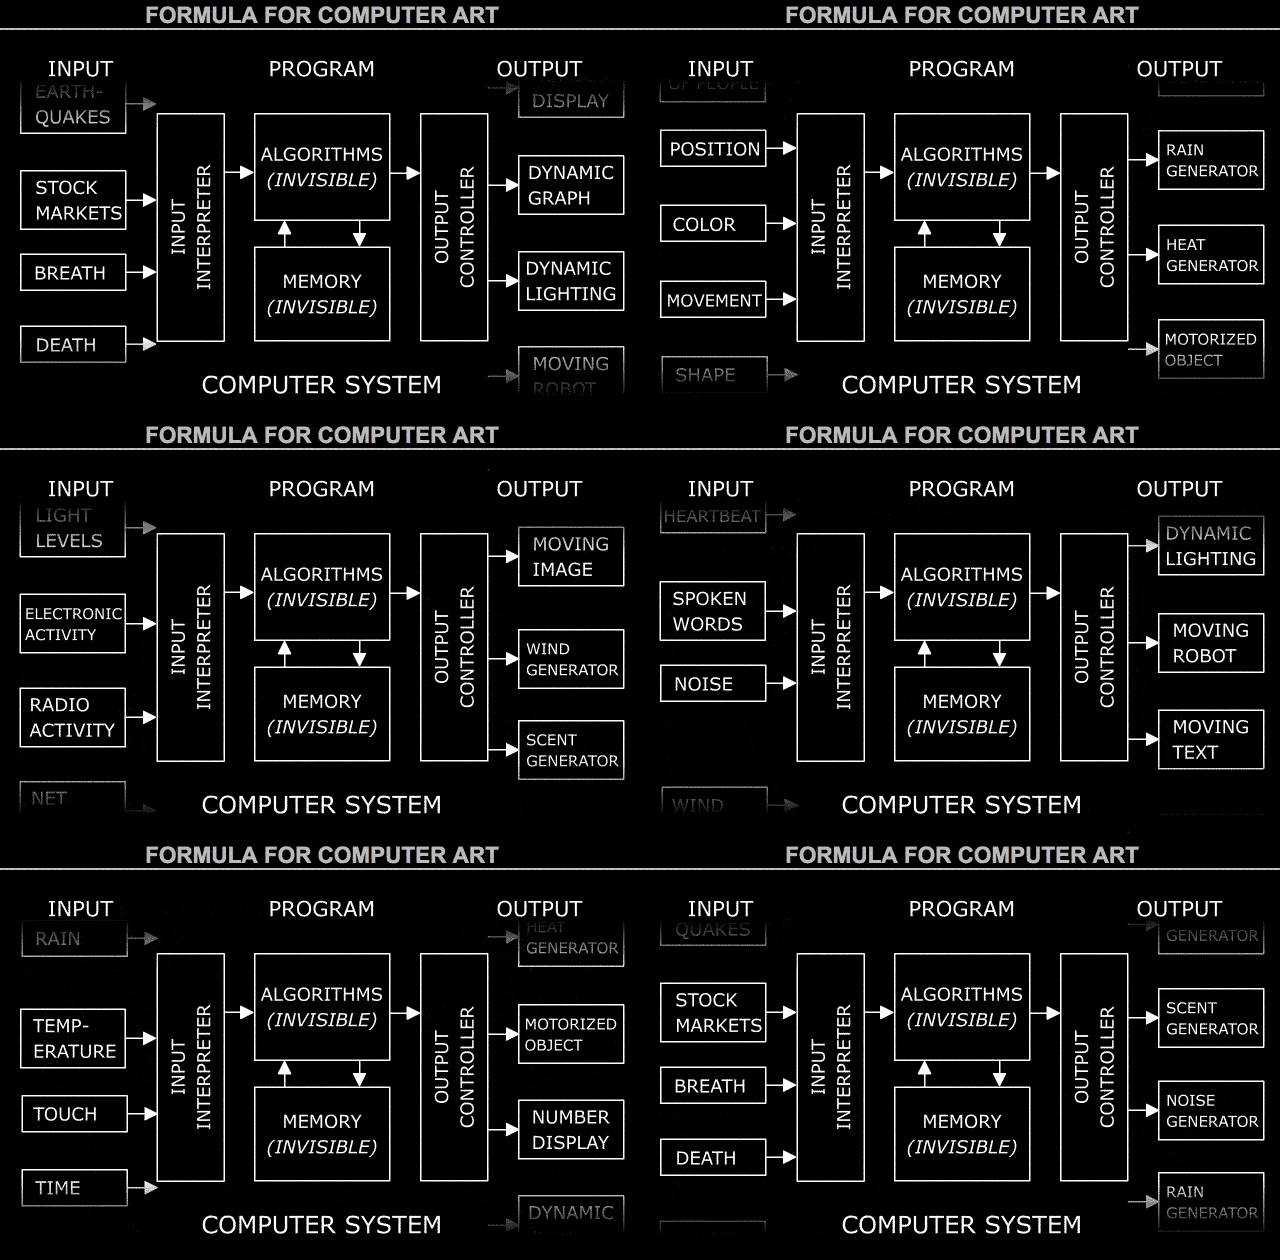
 Often in computational art, it is necessary to create proportions, where numbers from some input range (like a sensor) are mapped to numbers in an output range (for some sort of display). This operation is so common, that renowned artist Jim Campbell made a facetious “Formula for Computer Art”, above, in which you can see things like “movement” being mapped to a “wind generator”, etcetera. For a practical example in p5.js, you may wish to map the input sensor value, mouseX (which ranges from 0 to width), to the output display value, the luminance of a fill() or background() color (which ranges from 0 to 255). This is accomplished with the map() function, whose reference is here:
output = map(input, inputMin, inputMax, outputMin, outputMax);
thus in the example I describe above, we would write:
var myGrayValue = map(mouseX, 0, width, 0, 255);
background(myGrayValue);
…and for your Schotter homework, you might wish to map() an iterator variable to an amount of randomness. More information about map() can be found in the videos below.
Graphic Transforms: translate(), scale(), rotate()
Using coordinate transformation commands, it is possible to to rotate(), scale() and translate() graphic elements to place and orient them exactly where you want them. You might also find the rectMode() function helpful, to changes a rectangle’s origin or registration point. Note: You’ll need to use push() and pop() to indicate when to begin and end your transformations!
Here’s a demonstration of a rotating rectangle, below:
function setup() {
   createCanvas(400, 400);
}

function draw() {
   background('BlanchedAlmond');
   strokeWeight(6);
   rectMode(CENTER);

   push();
   translate(width/2, height/2);
   rotate(radians(frameCount));
   rect(0,0, 200,75);
   pop();
}
And here are some helpful videos:

