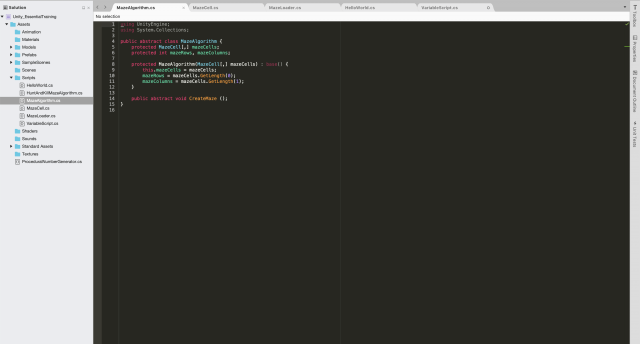
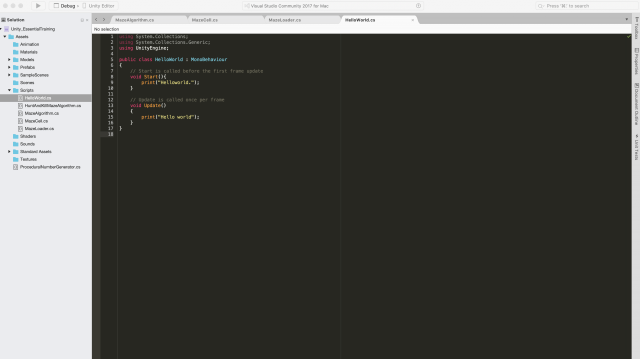
I'm a huge fan of CatLikeCoding's Unity scripting tutorials, but I've only used their beginner tutorials. I decided to move onto a more advanced one, so I picked marching squares as a topic. I thought it would be fun to evaluate, given the recent works of Oskar Stålberg.
Category: Uncategorized
lsh-UnityEssentials
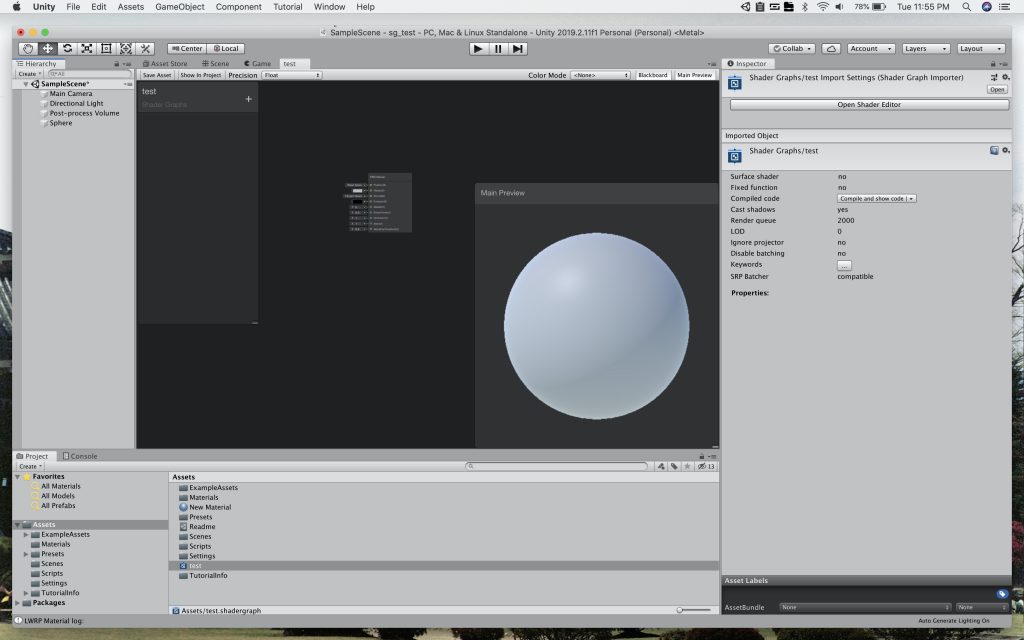
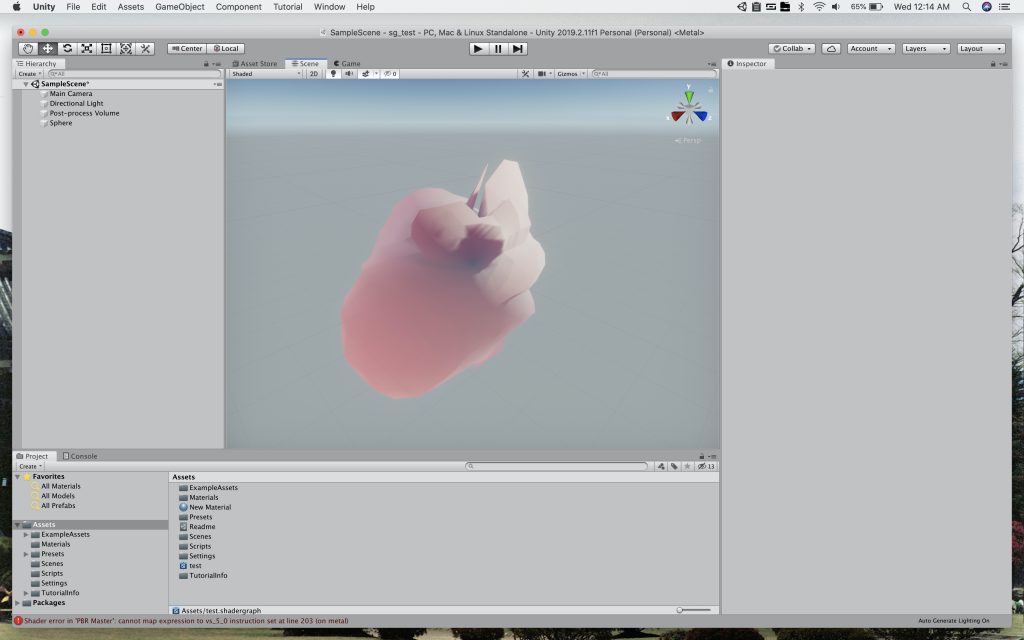
Given that I had prior experience with Unity, I decided to use this assignment as a reason to watch a tutorial on ShaderGraph. While working this summer, the company I was at this weekend expressed incredible interest in the tool, but it did not fit any of our project pipelines. I followed a getting started with ShaderGraph tutorial, then moved on to a vertex displacement tutorial. My initial impressions are: the graph seems useful. I like the realtime abilities. It currently holds no torch to, for example, Substance Designer or even Houdini. I also noticed a few weird bugs, but I'll chock those up to ShaderGraph still being new and my laptop running OS X Catalina.

szh-UnityScripting
szh-UnityEssentials


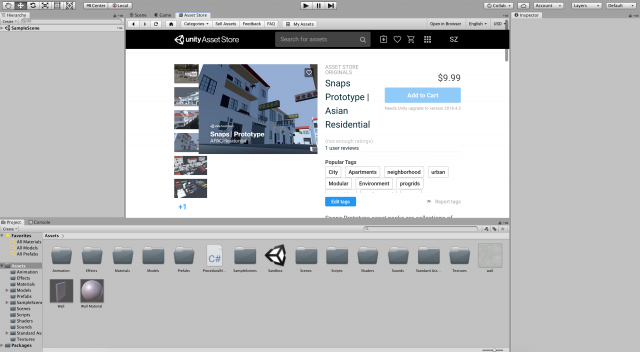
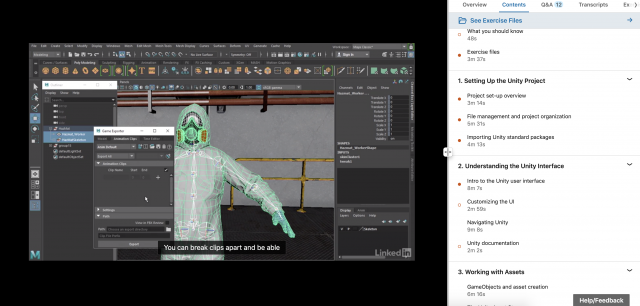
I didn't know you could export directly from Maya; this would be helpful for me in the future since previously I would always export an .fbx file from my Maya file. Also interesting how often these two platforms are used that there is a direct transfer...



sovid – Unity Tutorials
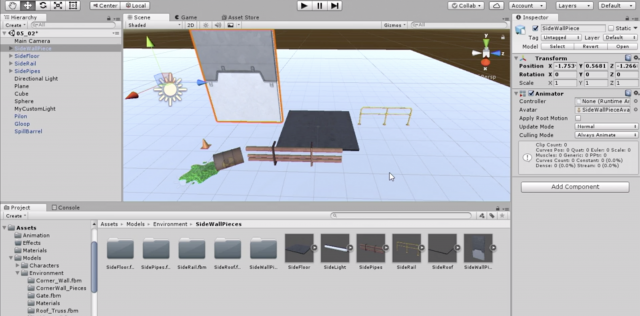
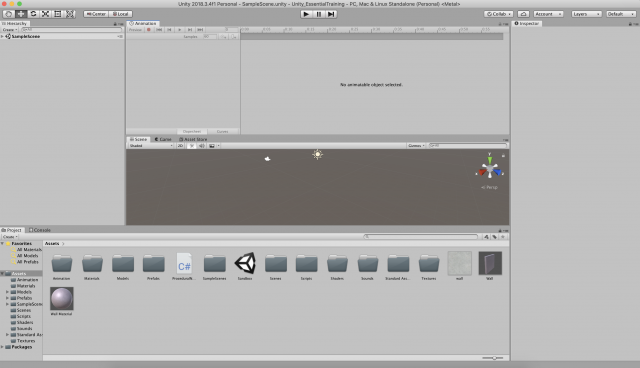
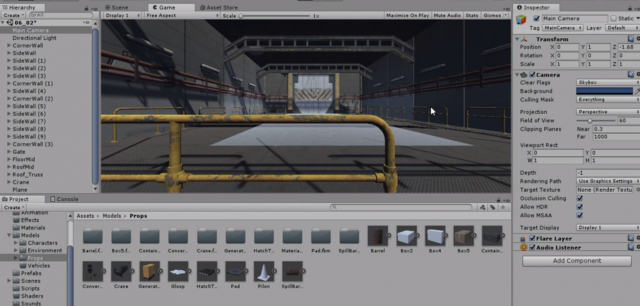
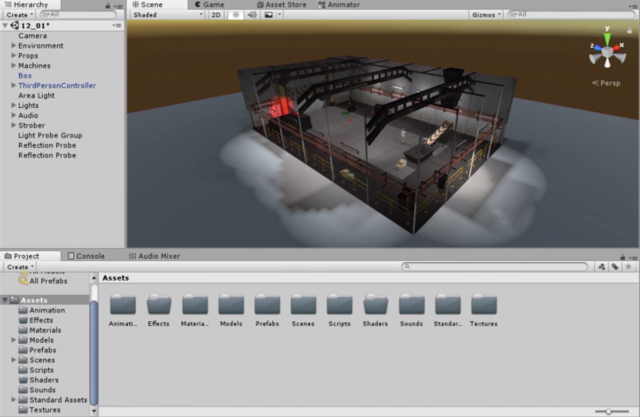
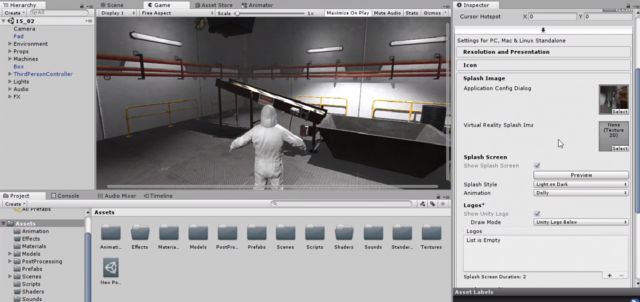
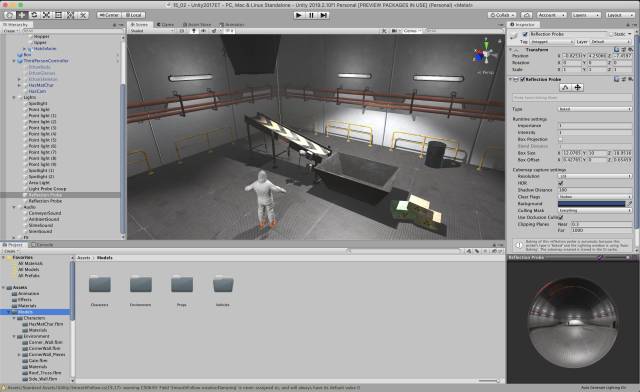
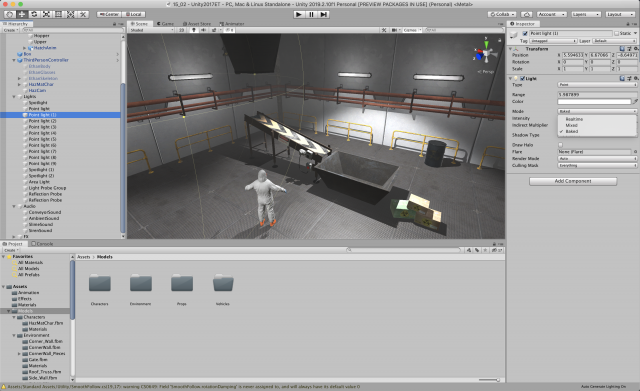
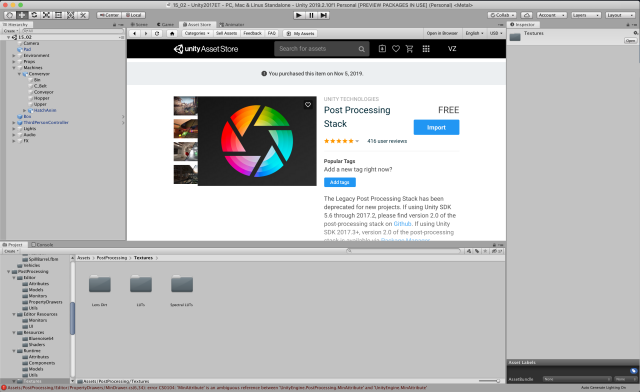
I have worked with Unity in the past, mainly from an asset standpoint, so I went into some intermediate tutorials to learn some new things. I followed an intermediate scripting tutorial as well as an intermediate lighting and rendering tutorial. They were more conceptual for tutorials, so there wasn't much to screenshot, but I got a good idea of how to apply these techniques to my own work when using my models and scripts in Unity.
viks-UnityScripting
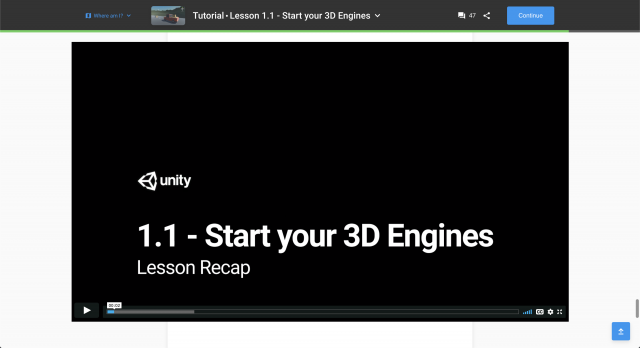
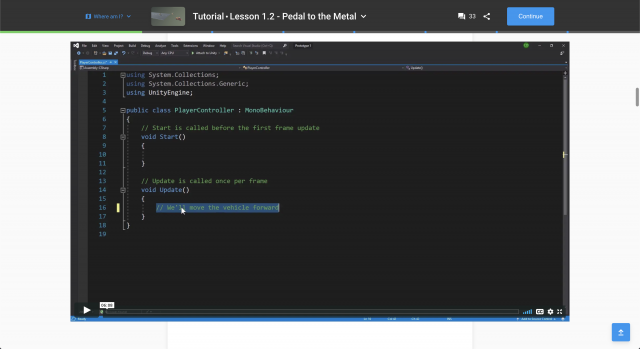
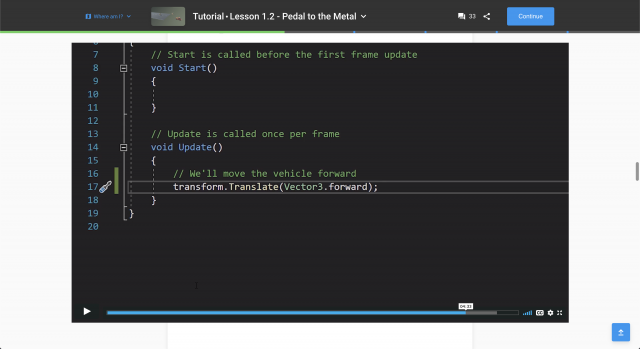
For my Unity Scripting tutorial, I decided to start at the basic fundamentals and dive into the Course with Code. I went through the first tutorial of the series, Start Your 3D Engine, in which a simple car game "world" and assets are being created and imported, and then I went through the second tutorial, in which we create and apply the first C# script.
Part 1.1



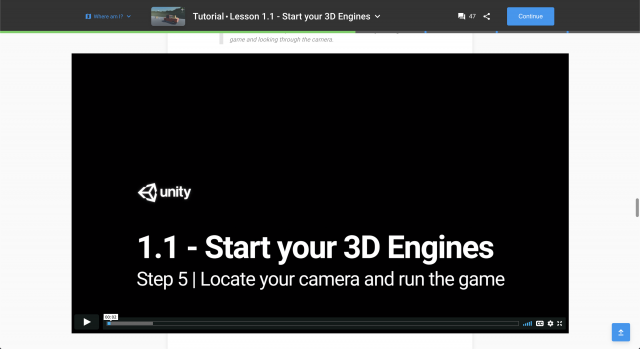


Part 1.2 with scripts




MoMar – UnityTutorial
Since I have some experience in Unity, I found my own tutorials on PluralSight.



vikz-UnityEssentials







tli-UnityExercises
Dynamic Mesh Generation
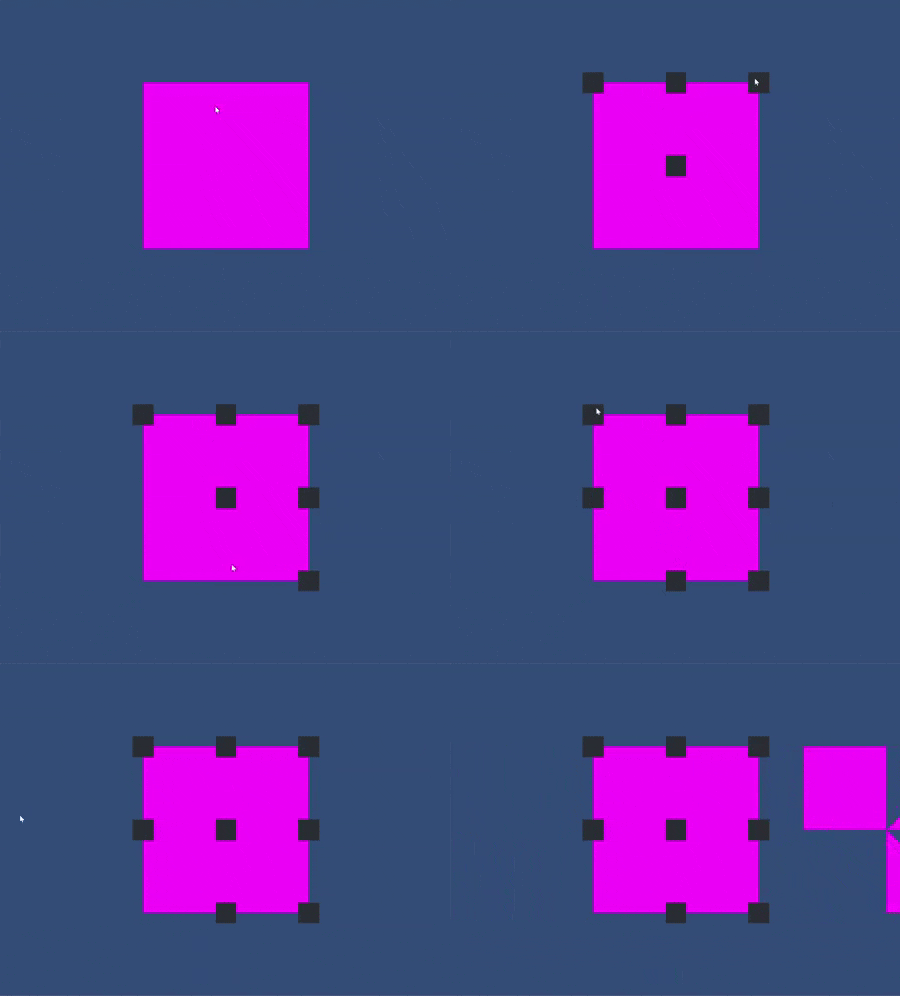
In the spring semester, I created a rough prototype of a drawing/rhythm game that drew lines on a canvas by following DDR-style arrows that scrolled on the screen. For my first Unity exercise, I prototyped an algorithm to dynamically generate meshes given a set of points on a canvas. I plan to use this algorithm in a feature that I will soon implement in my game.
There are a couple assumptions I make to simplify this implementation. Firstly, I assume that all vertices are points on a grid. Second, I assume that all lines are either straight or diagonals. These assumptions means that I can break up each square in the grid into four sections. By splitting it up this way, I can scan each row from left to right. I check if my scan intersects with a left edge, a forward diagonal edge, or a back diagonal edge. I then use this information to determine which vertices and which triangles to include in the mesh.

A pitfall of this algorithm is double-counting vertices, but that can be addressed by maintaining a data structure that tracks which vertices have already been included.
Shaders
My second Unity exercise is also a prototype of a feature I want to include in my drawing game. It's also an opportunity to work with shaders in Unity, which I have never done before. The visual target I want to achieve would be something like this:
I have no idea how to do this, so the first thing I did was scour the internet for pre-existing examples. My goal for a first prototype is to just render a splatter effect using Unity's shaders. This thread seems promising, and so does this repository. I am still illiterate when it comes to the language of shaders, so I asked lsh for an algorithm off the top of their head. The basic algorithm seems simple: sample a noise texture over time to create the splatter effect. lsh also suggests additively blending two texture samples. lsh was also powerful enough to spit out some pseudocode in the span of 5 minutes:
P = uv
Col = (0.5, 1.0, 0.3) //whatever
Opacity = 1.0 // scale down with time
radius = texture(noisetex, p)
splat = length(p) - radius
output = splat * col * opacity
Thank you lsh. You are too powerful.
After additional research, I decided that the Unity tool I'd need to utilize are Custom Render Textures. To be honest, I'm still unclear about the distinction between using a render texture as opposed to straight-up using a shader, but I was able to find some useful examples here and here. (Addendum: After talking to my adviser, it's clear that the custom render texture is outputting a texture, whereas the direct shader outputs to the camera).
Step 1: Figure out how to write a toy shader using this very useful tutorial.
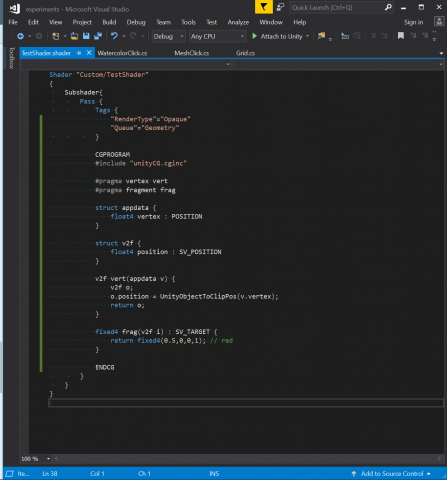
Step 2: Get this shader to show up in the scene. This means creating a material using the shader and assigning the material to a game object.
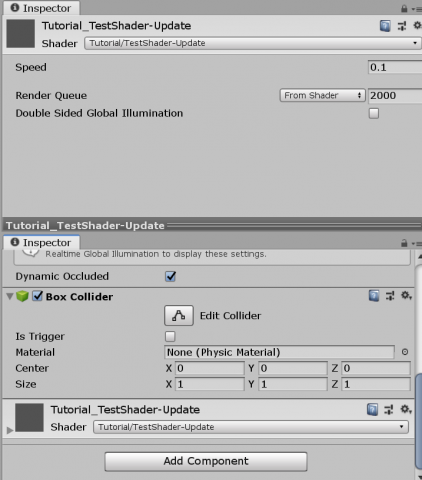
I forgot to take a screenshot but the cube I placed in the scene turns a solid dark red color.
Step 3: Change this from a material to a custom render texture. To do this, I based this off of the fire effect render texture I linked to earlier. I create two shaders for this render texture, one for initialization and one for updates. It's important that I make a dynamic texture for this experiment because the intention is to create a visual that changes over time.


I then assign this to the fields in the custom render texture.
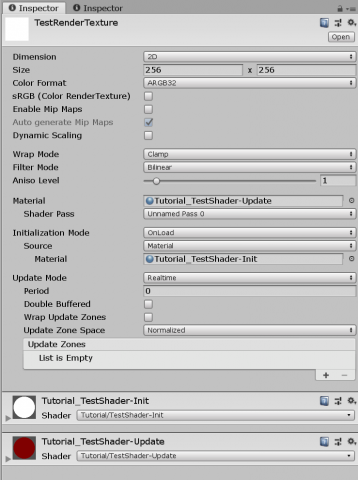
But this doesn't quite work...
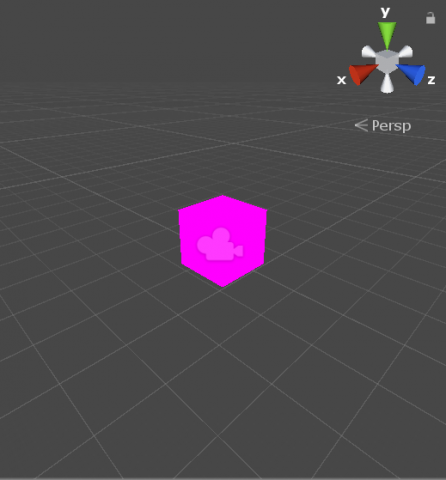
After thirty minutes of frustration, I look at the original repository that the fire effect is based on. I realize that that experiment uses an update script that manually updates the texture.
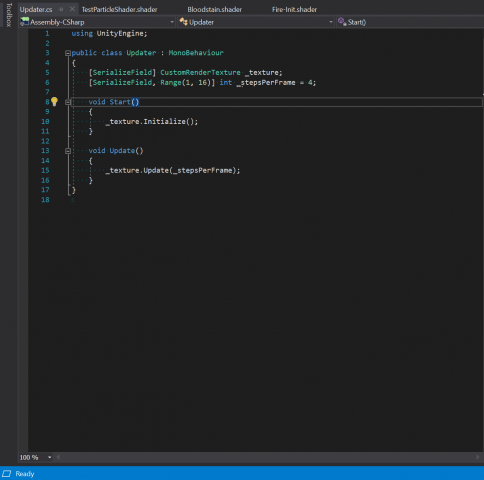
I assign this to a game object and assign the custom render texture I created to the texture field. Now it works!
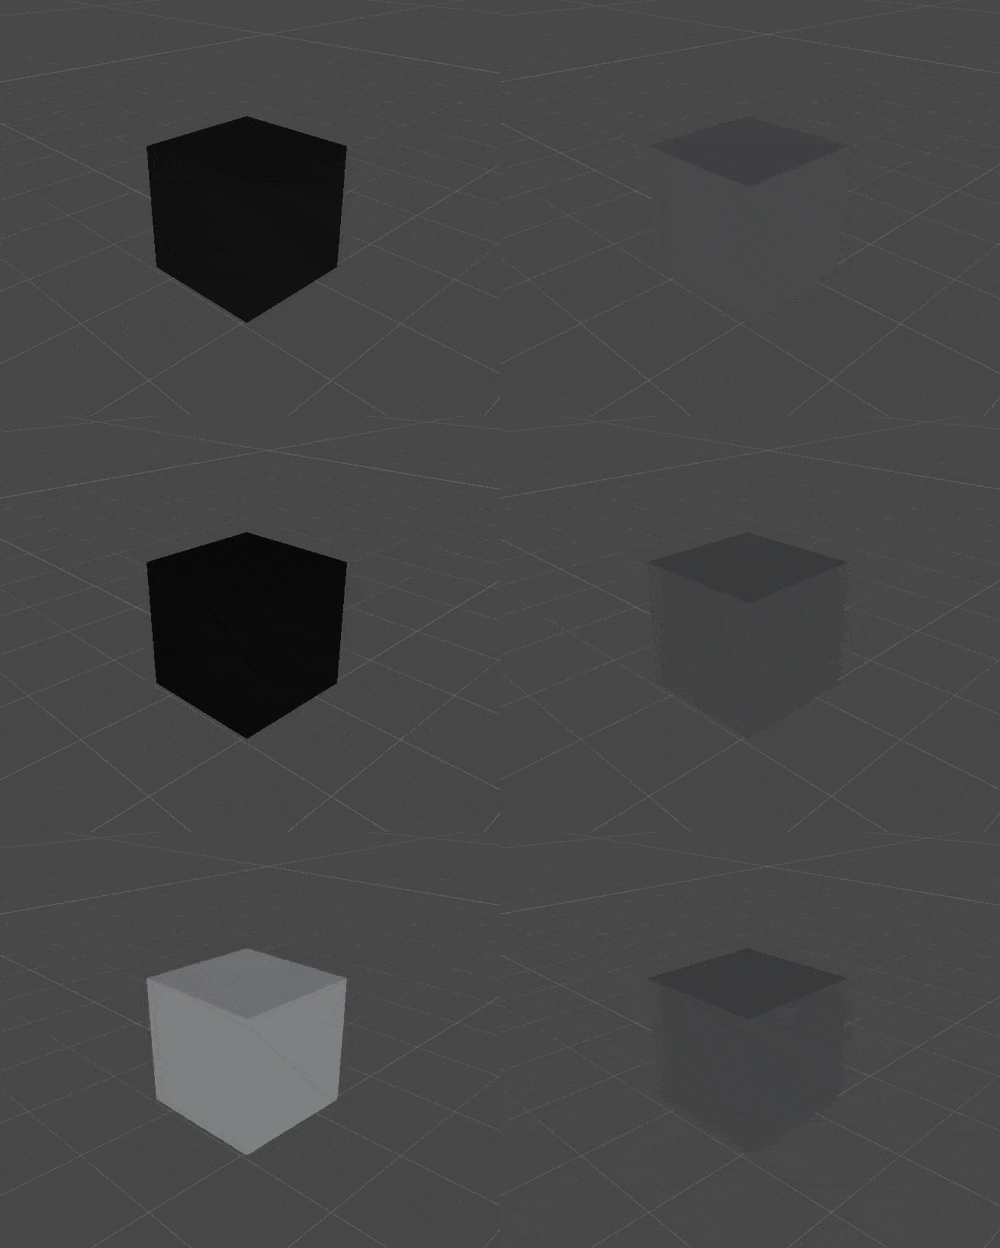
Step 4: Meet with my adviser and learn everything I was doing wrong.
After a brief meeting with my adviser, I learned the distinction between assigning a shader to a custom render texture to a material to an object, versus directly assigning a shader to a material to an object. I also learned to change the update method of the custom render texture, as well as how to acquire the texture from the previous frame in order to render the current frame. The result of this meeting is a shader that progressively blurs the start image at each timestep:
I'm very sorry to my adviser for knowing nothing.
Step 5: Actually make the watercolor shader... Will I achieve this? Probably not.
iSob-SituatedEye
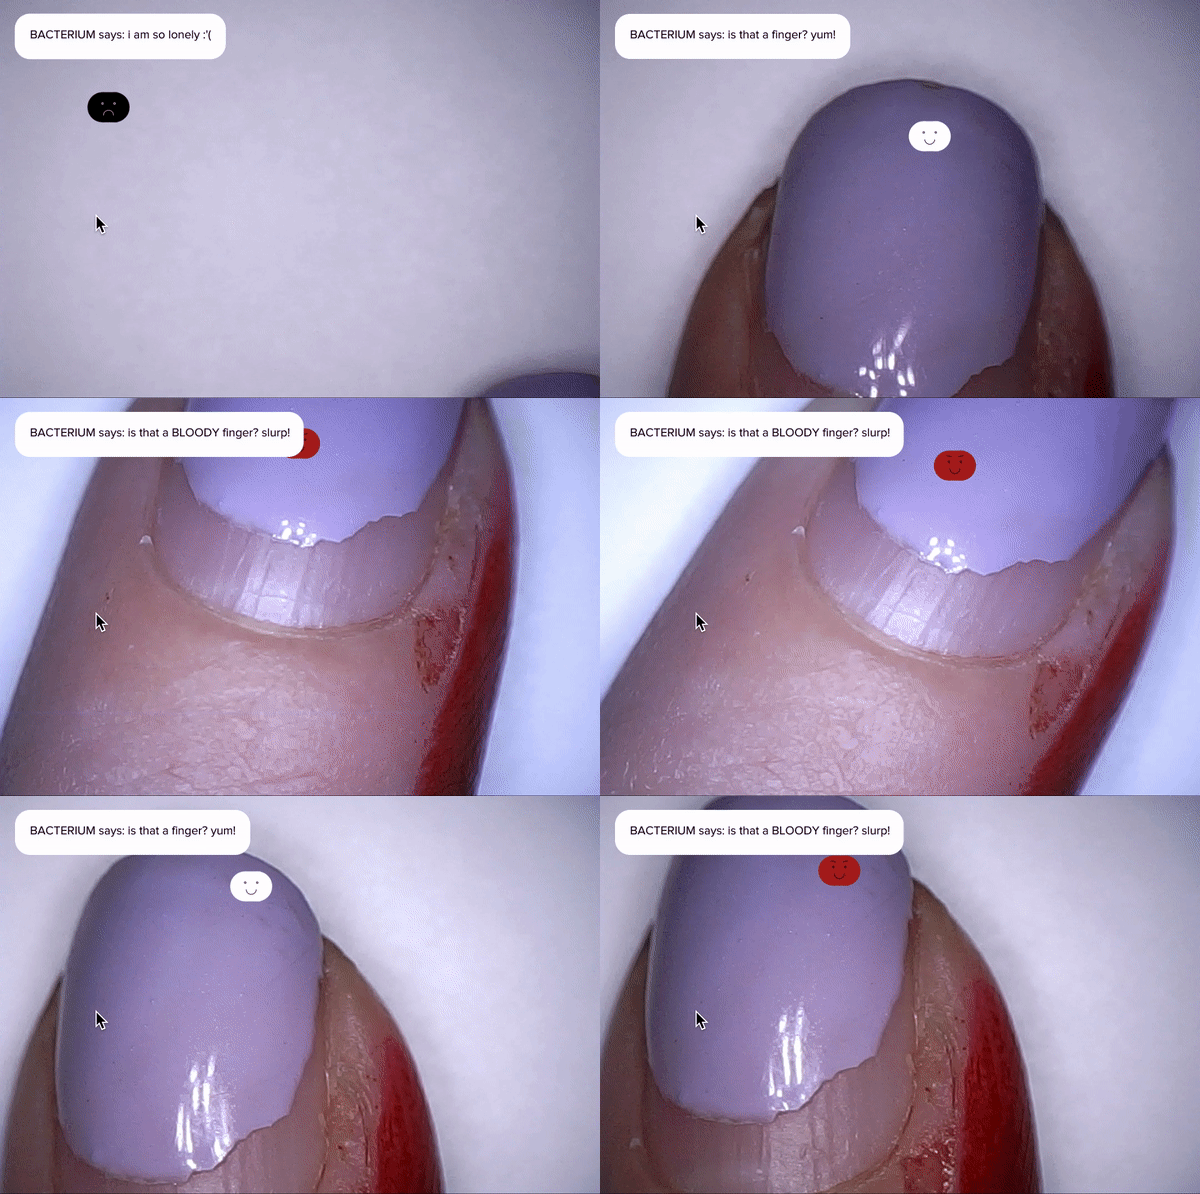
Even compared to all the other projects, I spent a very long time troubleshooting and down-scoping my idea for this project! My first idea was to train a model to recognize its physical form -- a model interpreting footage of the laptop the code was running on, or webcam footage reflecting the camera (the model's 'eyes') back at it. However, training for such specific situations with so much variability would have required thousands of training data.
Next, I waffled between several other ideas, especially using a two-dimensional regressor. I was feeling pretty bad about the whole project because none of my ideas expressed interesting ideas in a simple but conceptually sophisticated way. I endeavored to get the 2D regressor working (which was its own bag of fun monkeys,) and make the program track the point of my pen as I drew.
Luckily, Golan showed me an awesome USB microscope camera! The first thing I noticed when experimenting with this camera was how gross my skin was. There were tiny hairs and dust particles all over my fingers, and a hangnail which I tried to pull off, causing my finger to bleed. Though the bleeding healed within a few hours, it inspired a project about a deceptively cute vampiric bacterium who is a big fan of fingers.
This project makes use of two regressors (determining the x and y location of the fingertip) and a classifier (to determine whether a finger is present and if it is bloody.) I did not show the training process in my video because it takes a while. If I had more time, I think there is lots of potential for compelling interactions with the Bacterium. I wanted him to provoke some pity and disgust in the viewer, while also being very cute.
In conclusion, I spent many hours on this project and tried hard. I really like Machine Learning, so I wanted my piece to be 'better' and 'more'. But I learnt a lot and made an amusing thing so I don't feel unfulfilled by it.
Documentation:


