Alex Wolfe + Mahvish Nagda | Waterbomb
For our final project, we completed a series of studies experimenting with soft origami in the context of creating a wearable. Kinetic wearables are often bulky, with incredibly complex mechanical systems driving them. We wanted to create a simpler lightweight system without sacrificing the drama of global movement, by capitalizing on the innate transformative qualities of origami.
We developed several methods of creating tessellations that cut normal folding time in half, and were simple to create in bulk and at a huge scale. These included scoring with a laser cutter, creating stencils to use the fabric itself as a flexible hinge, and heat setting synthetics between origami molds. We also examined the folds themselves, writing scripts in Processing to generate crease patterns that either focused on kinetic properties or being able to control the curve and shape of the final form.
These studies culminated in a dress that took advantage of the innate kinetic properties of the waterbomb fold to display global movement over the entire skirt structure with a relatively lightweight mechanical system. The dress moves in tandem with a breath sensor, mimicking the expanding/contracting movements of the wearer.
Inspiration + Background
(images from left to right: Tai + Nussey’s Pen Nib Dress, Intimacy 2.0 by studio roosegaarde, Origami Hemisphere by tactom)
When we began this project, Mahvish and I were really interested on how we could get a garment to move in an interesting way. Most electronic wearables focus on lighting up using LEDs (since they don’t require much power and it is an instantaneous noticeable effect) and we really wanted to move away from that. As two women who like dressing up a lot, there were not many scenarios where we would want to be blinking or emitting light (several amazing jackets for cycling/safety, and those sneakers that light up when you walk aside). However, kinetic pieces with really impressive/dramatic movement, like the Pen Nib Dress above, require equally impressive electrical systems underneath to make it move that really discourages daily wear. Magnificently engineered ones that don’t, like the Intimacy collections, relied on custom e-foils that were inaccessible and out of our price range.
We wanted to create our own fabric, similar to the efoils, that had some sort of innate property that would allow us the global movement we desired, without having to connect an individual motor to each moving element. Our shared interest/past experience with origami stared us down the ridiculously long and meandering path documented below.
Prototypes
Paper/Cardboard
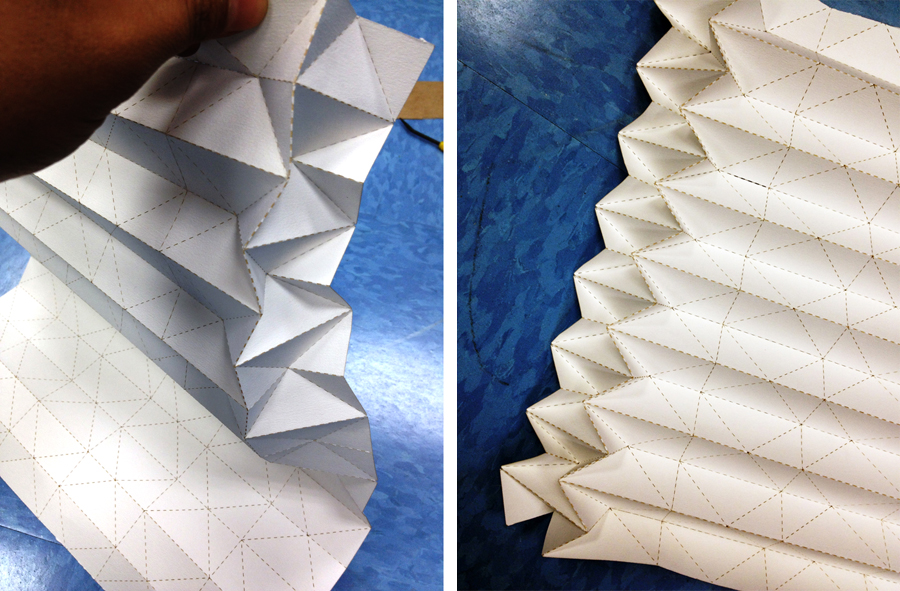
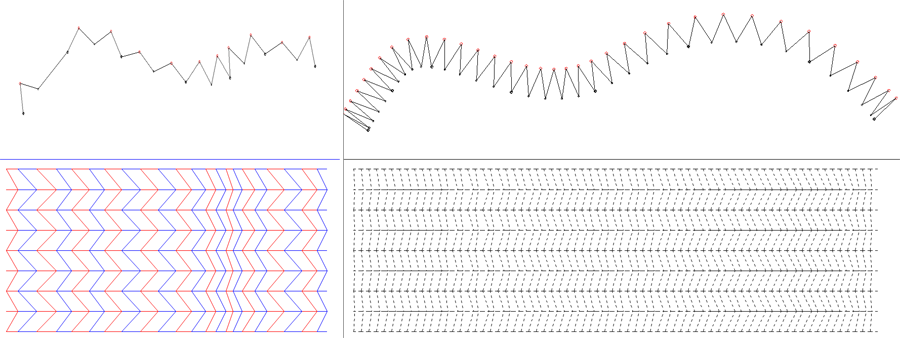
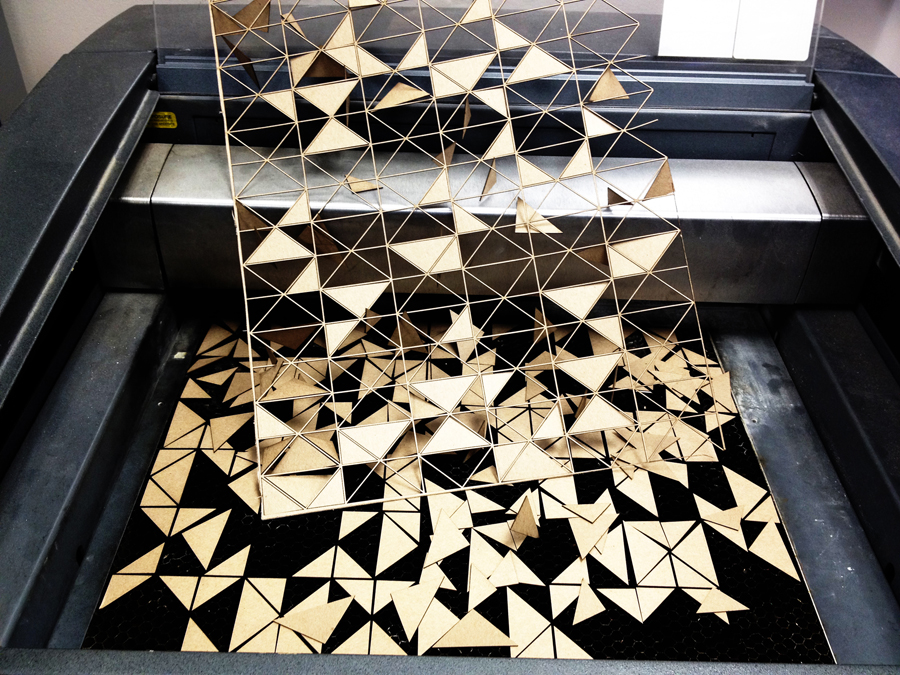
Really the key to beautiful origami is precision, one thing computers are great at, and humans are not. For our initial explorations we created by perforating the crease patterns into various materials, eliminating the hours of pre-folding usually needed to create these tessellations. Initially we split each design in two, and etched one side of the material where we wanted mountain folds, and the other with valleys. However, despite much time wasted fiddling with settings, the etchings proved to be either not deep enough to be useful, or cut all the way through the material. It turned out to be much easier to have perforated vectors that could be folded into mountains or valleys. Using Processing scripts (and ToxicLibs libraries), we then generated known folding patterns, focusing on those with interesting kinetic properties. Once we had the scripts written, it was easy to tweak the angles and intersections of the patterns in order to produce different overall curvatures and behaviors.
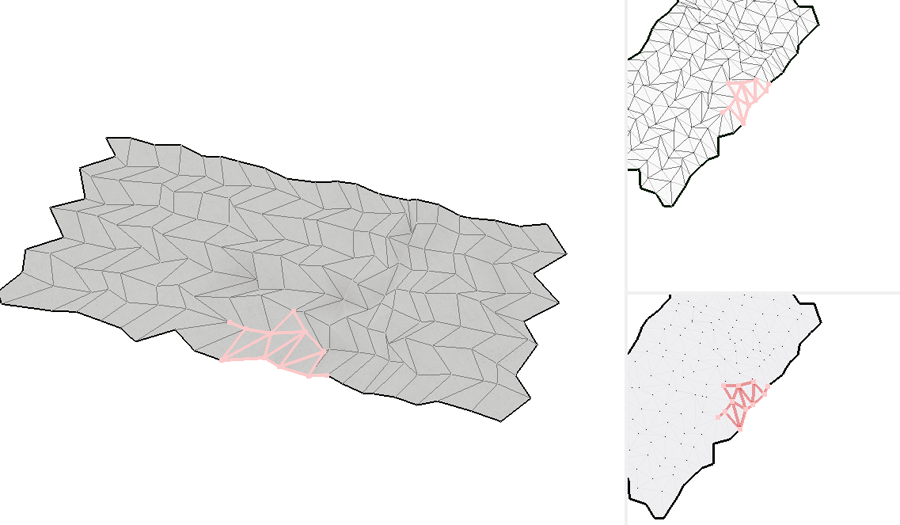
screens from our generative miura ori code. We generated the pattern based on the points in a user controlled spline to control curvature in the final piece. We can also add noise to the patterns and export .dxf files for prototyping in Tactom‘s freeform origami simulator
Heat Setting
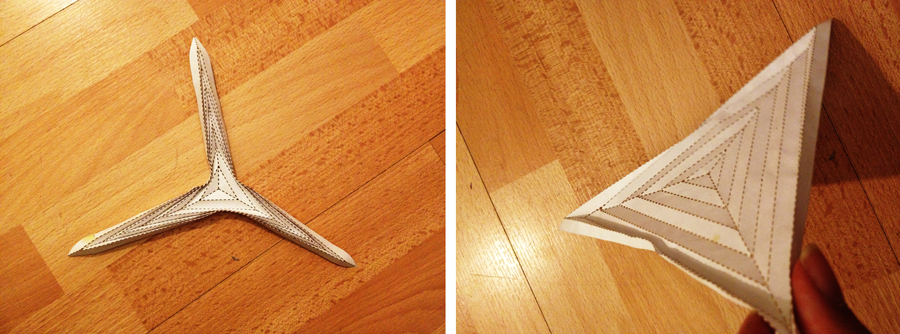
One of the most interesting curvatures we found was the Origami Hyperbolic Parabola. As you tween between an equilaterial triangle and a square, the simple pattern transitions from being completely flat to a perfect parabolic curve. We decided to use it as a base for our studies in heat setting.
While researching various shibori techniques, we discovered that synthetic fabrics can be melted and then quickly cooled in order to retain very complex shapes relatively robustly. We placed synthetic organza between two parabola moulds and heated it. We explored steaming and baking the moulds.
We steamed for 15 minutes. We found that steaming deteriorated the moulds and the final creasing wasn’t as strong.
Baking was much more effective but needed at least 30 minutes at 170 degrees. However, the folds were quite durable and could withstand any pulling/tugging and even washing we threw at it. We also used thicker paper for the moulds with tighter creasing.
Stenciling
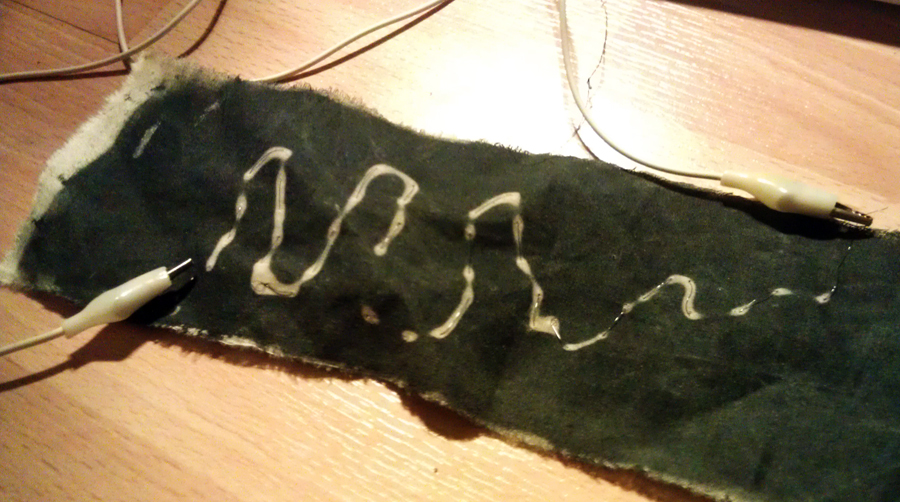
Earlier in the process, we had planned to actuate the dress with nitinol, and decided to use thermochromatic dye for our fabric which would react to the heat it generates. However, nitinol was far too weak to create the movement we wanted, though the dye worked surprisingly well as a stiffening agent.
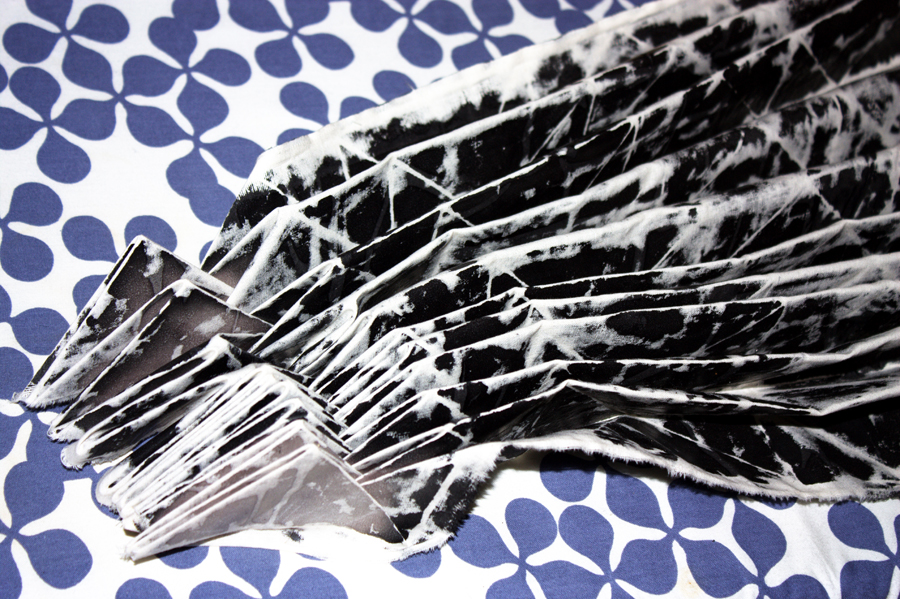
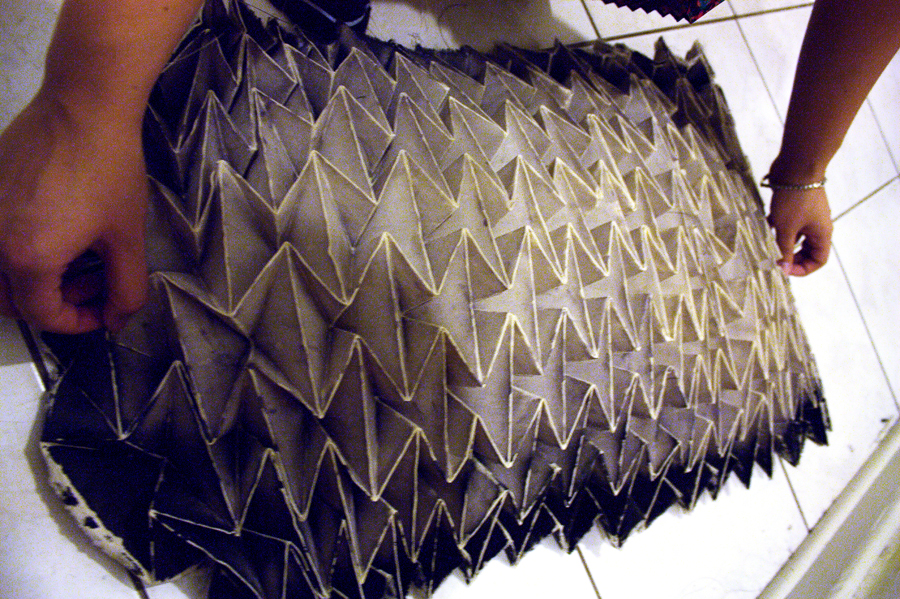
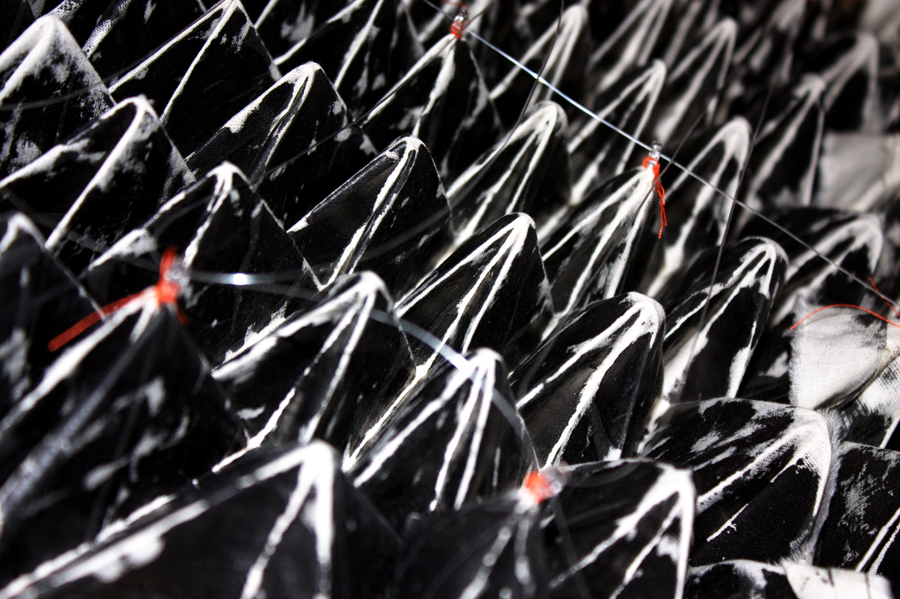
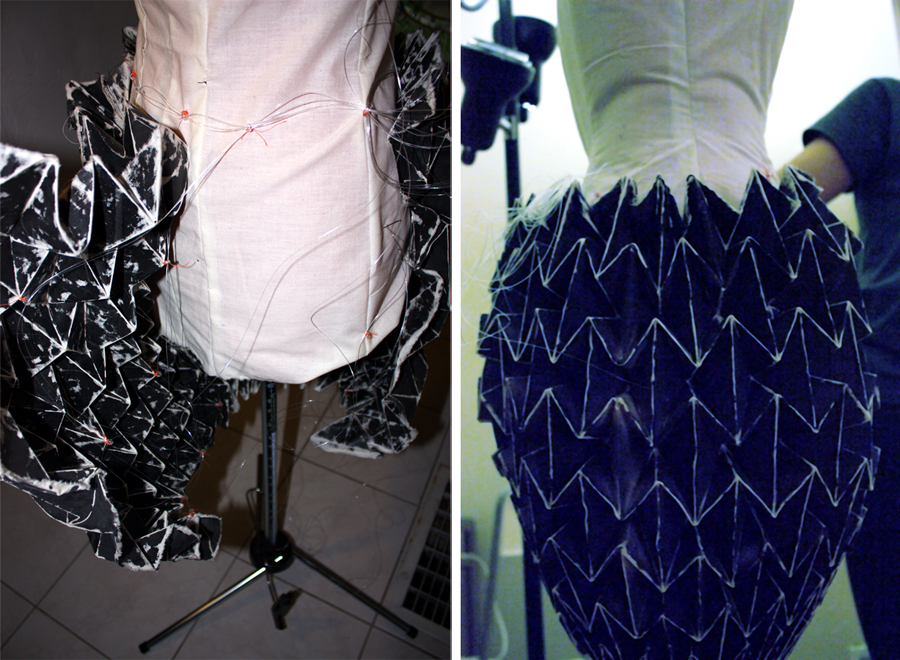
By stenciling in the dye into the non-crease areas and leaving the creases un-dyed, we were able to effectively pre-crease the fabric, and create bi-directional folds that didn’t need to be refolden/broken in. We used the generated crease patterns to laser cut stencils, and used them to silk screen the pattern onto muslin fabric. The parts that were un-dyed were more pliable and because of this combined with the fabric being more accommodating than paper, we were able to cut down the folding time to about half an hour (from 3 hours). We started with a smaller prototype waterbomb tesselation and then made a skirt using a larger crease pattern. Because stencils that we got from the laser cutter can only be so wide, we silk screened smaller sections and then stitched them together. To strengthen the folds, we ironed the creases. We also found that stiffener (Stiffen Spray) was inflammable and ironing it on made the creases stronger post folding.
Mechanical System
Once we had the waterbomb fabric, we looked at different mechanical systems that we could use to actuate it. We finally decided on monofilament truss system that we threaded through eyelets that we laser cut and hand sewed onto the vertices of the waterbomb valleys. We used these to control the movement we wanted from the dress via 3 cords made up smaller connections from the wiring in the dress. One string controlled the front vertical movement of the dress, the other the back vertical movement and the last one controlled constricting horizontal movement.
Electrical System
Mahvish and I are both software kind of girls with experience in small scale robotics, so we were super excited to jump in and …learn some basic electrical engineering. We designed the system to be relatively straightforward with that in mind. We anchored most of the heavier elements to the incredibly sturdy zipper of the dress so we wouldn’t need crazy boning/corsetry to hold it up.
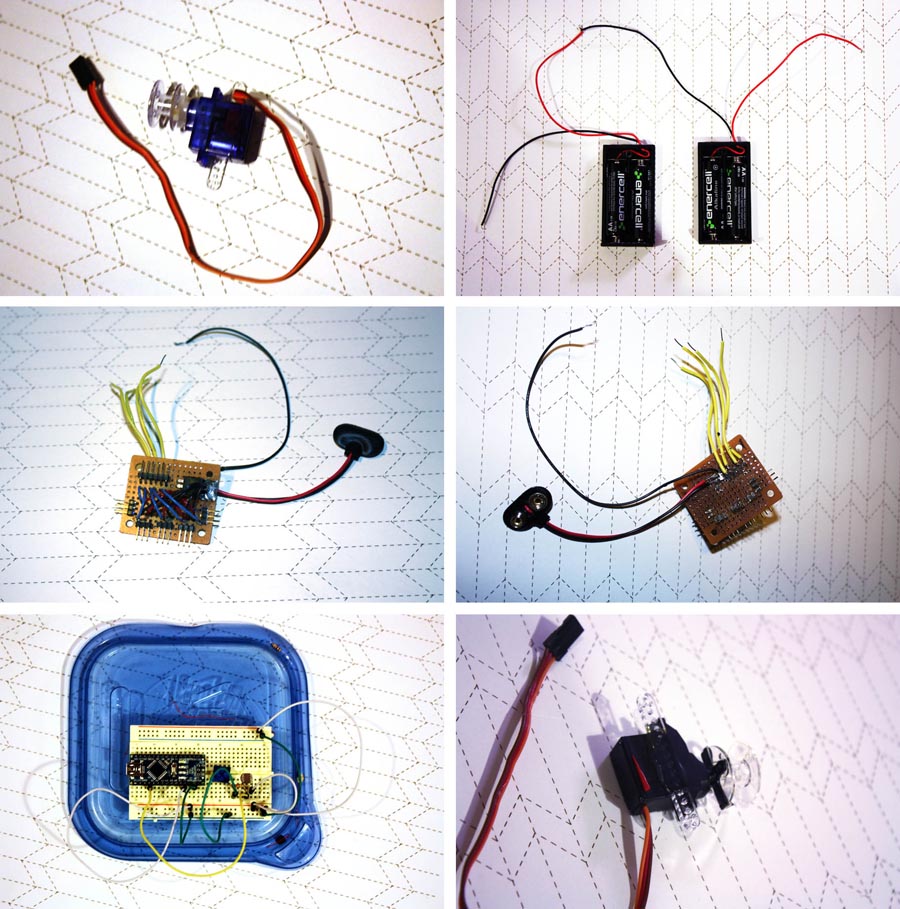
One of the most exciting elements of this project for us (and ultimately, the key to our doom), was the fact that we built the key elements of the electrical system ourselves. We hacked some basic hobby servos Mahvish had for continuous rotation by removing the pentometer and replacing it with two 2.2kohm resistors. We also built a voltage regulator so we could power our initial design, which required 5 normal servos, off of a single 9volt that we ended up scrapping, but were immensely proud of. Lastly the breath sensor built into the collar took advantage of the thermochromatic paint. When the wearer breathes on it, the paint changes color which is picked up by a light sensor and sent to the Lilypad.
(parts from top left clockwise: diy continuous rotation servo with bobbin, battery packs x2, diy voltage regulator, breadboard prototype for the breath sensor, slightly more buff diy continuous rotation servo hot glued to laser cut mount)
Kinetic Waterbomb Dress


